

This post may contain affiliate links. Please read my disclosure policy.
Japanese Sesame Dressing at a Glance
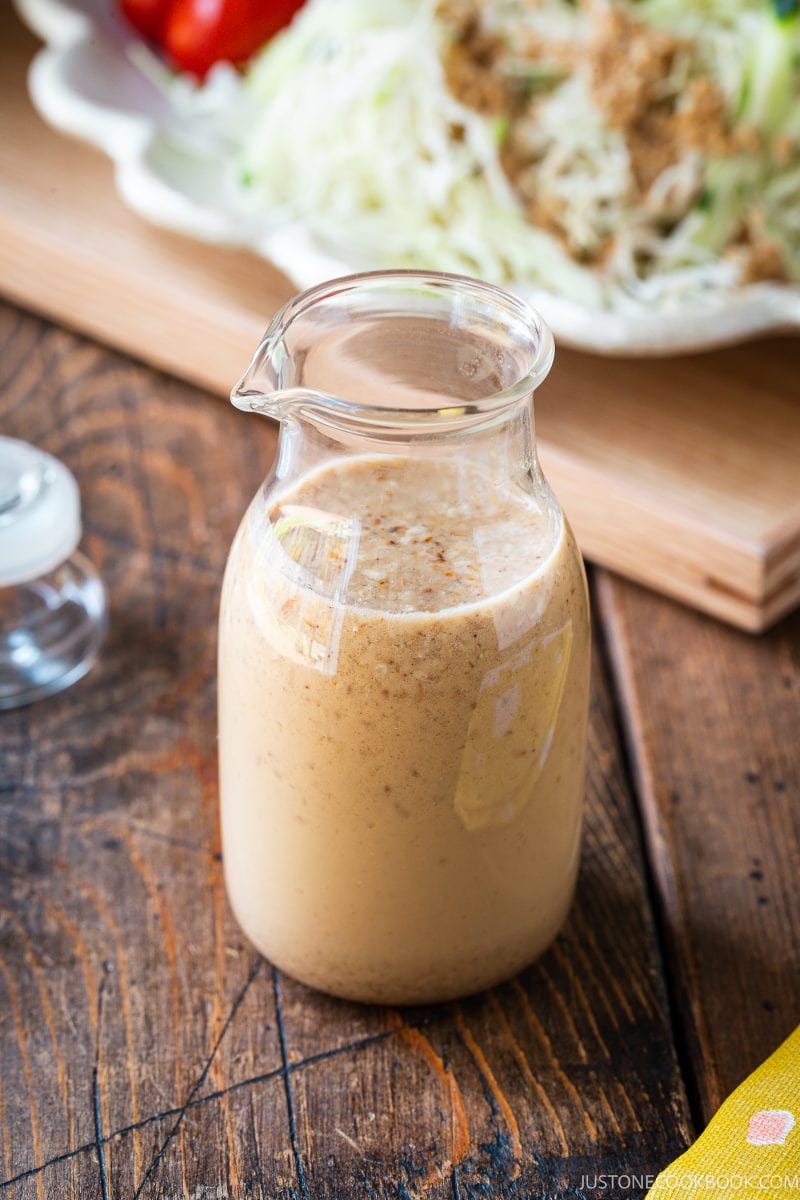
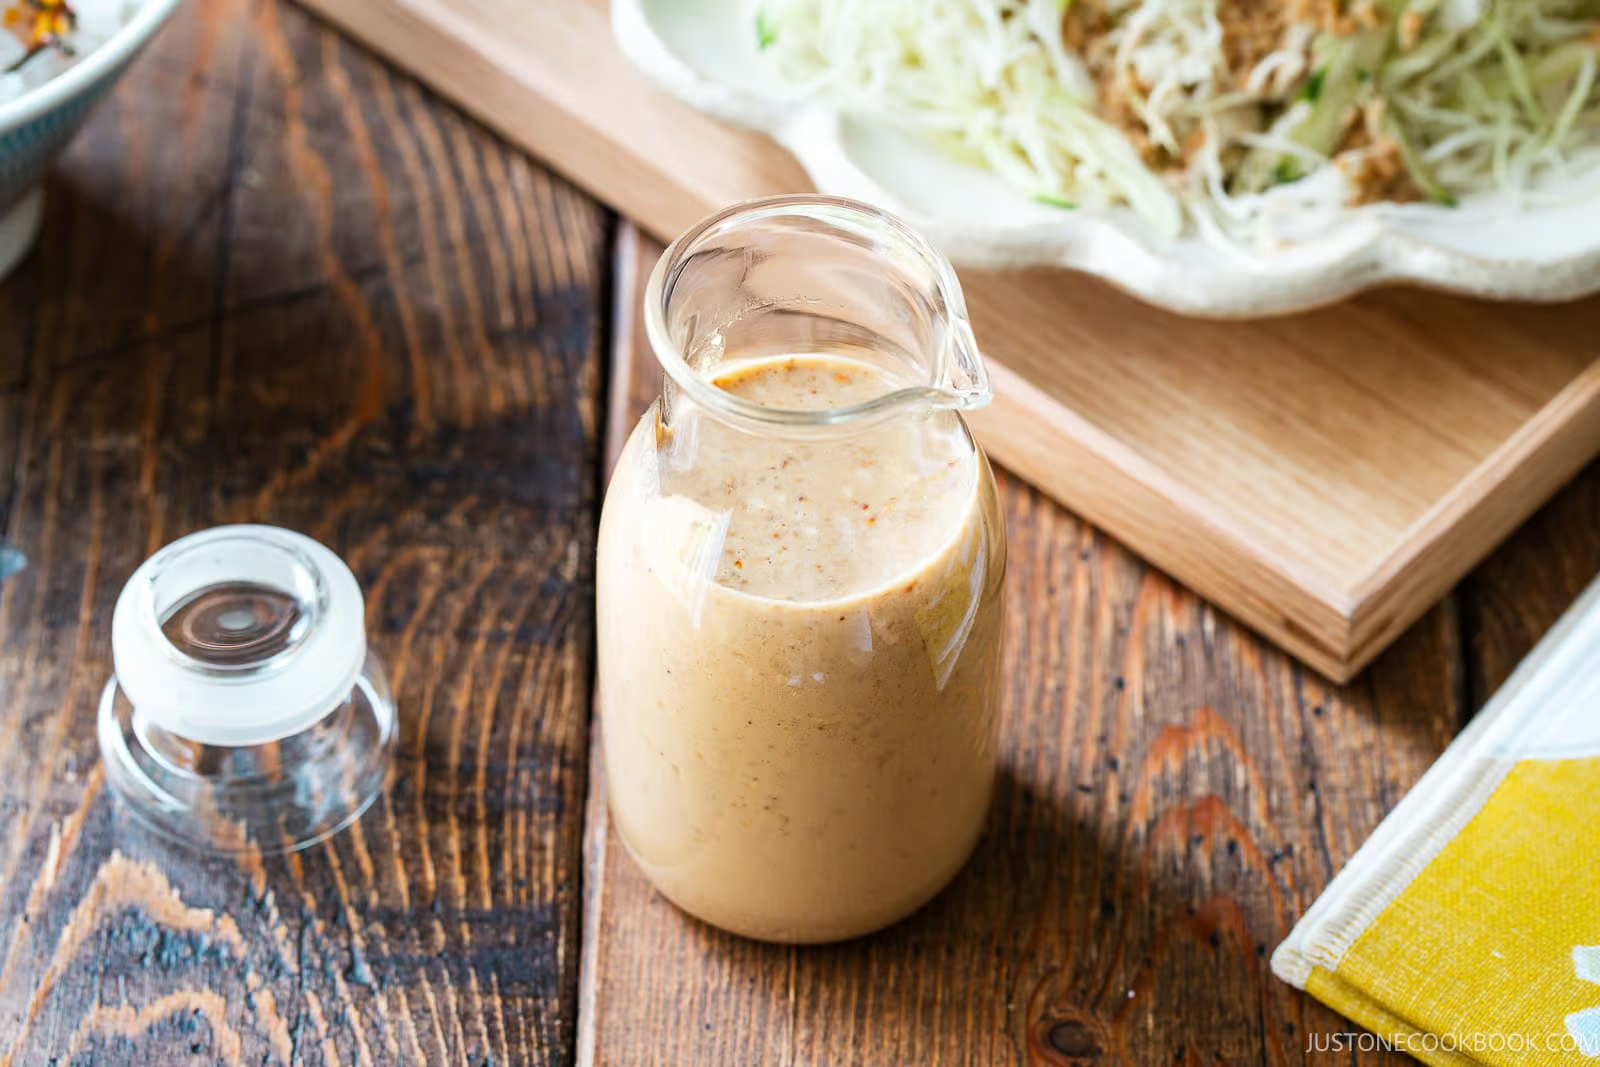
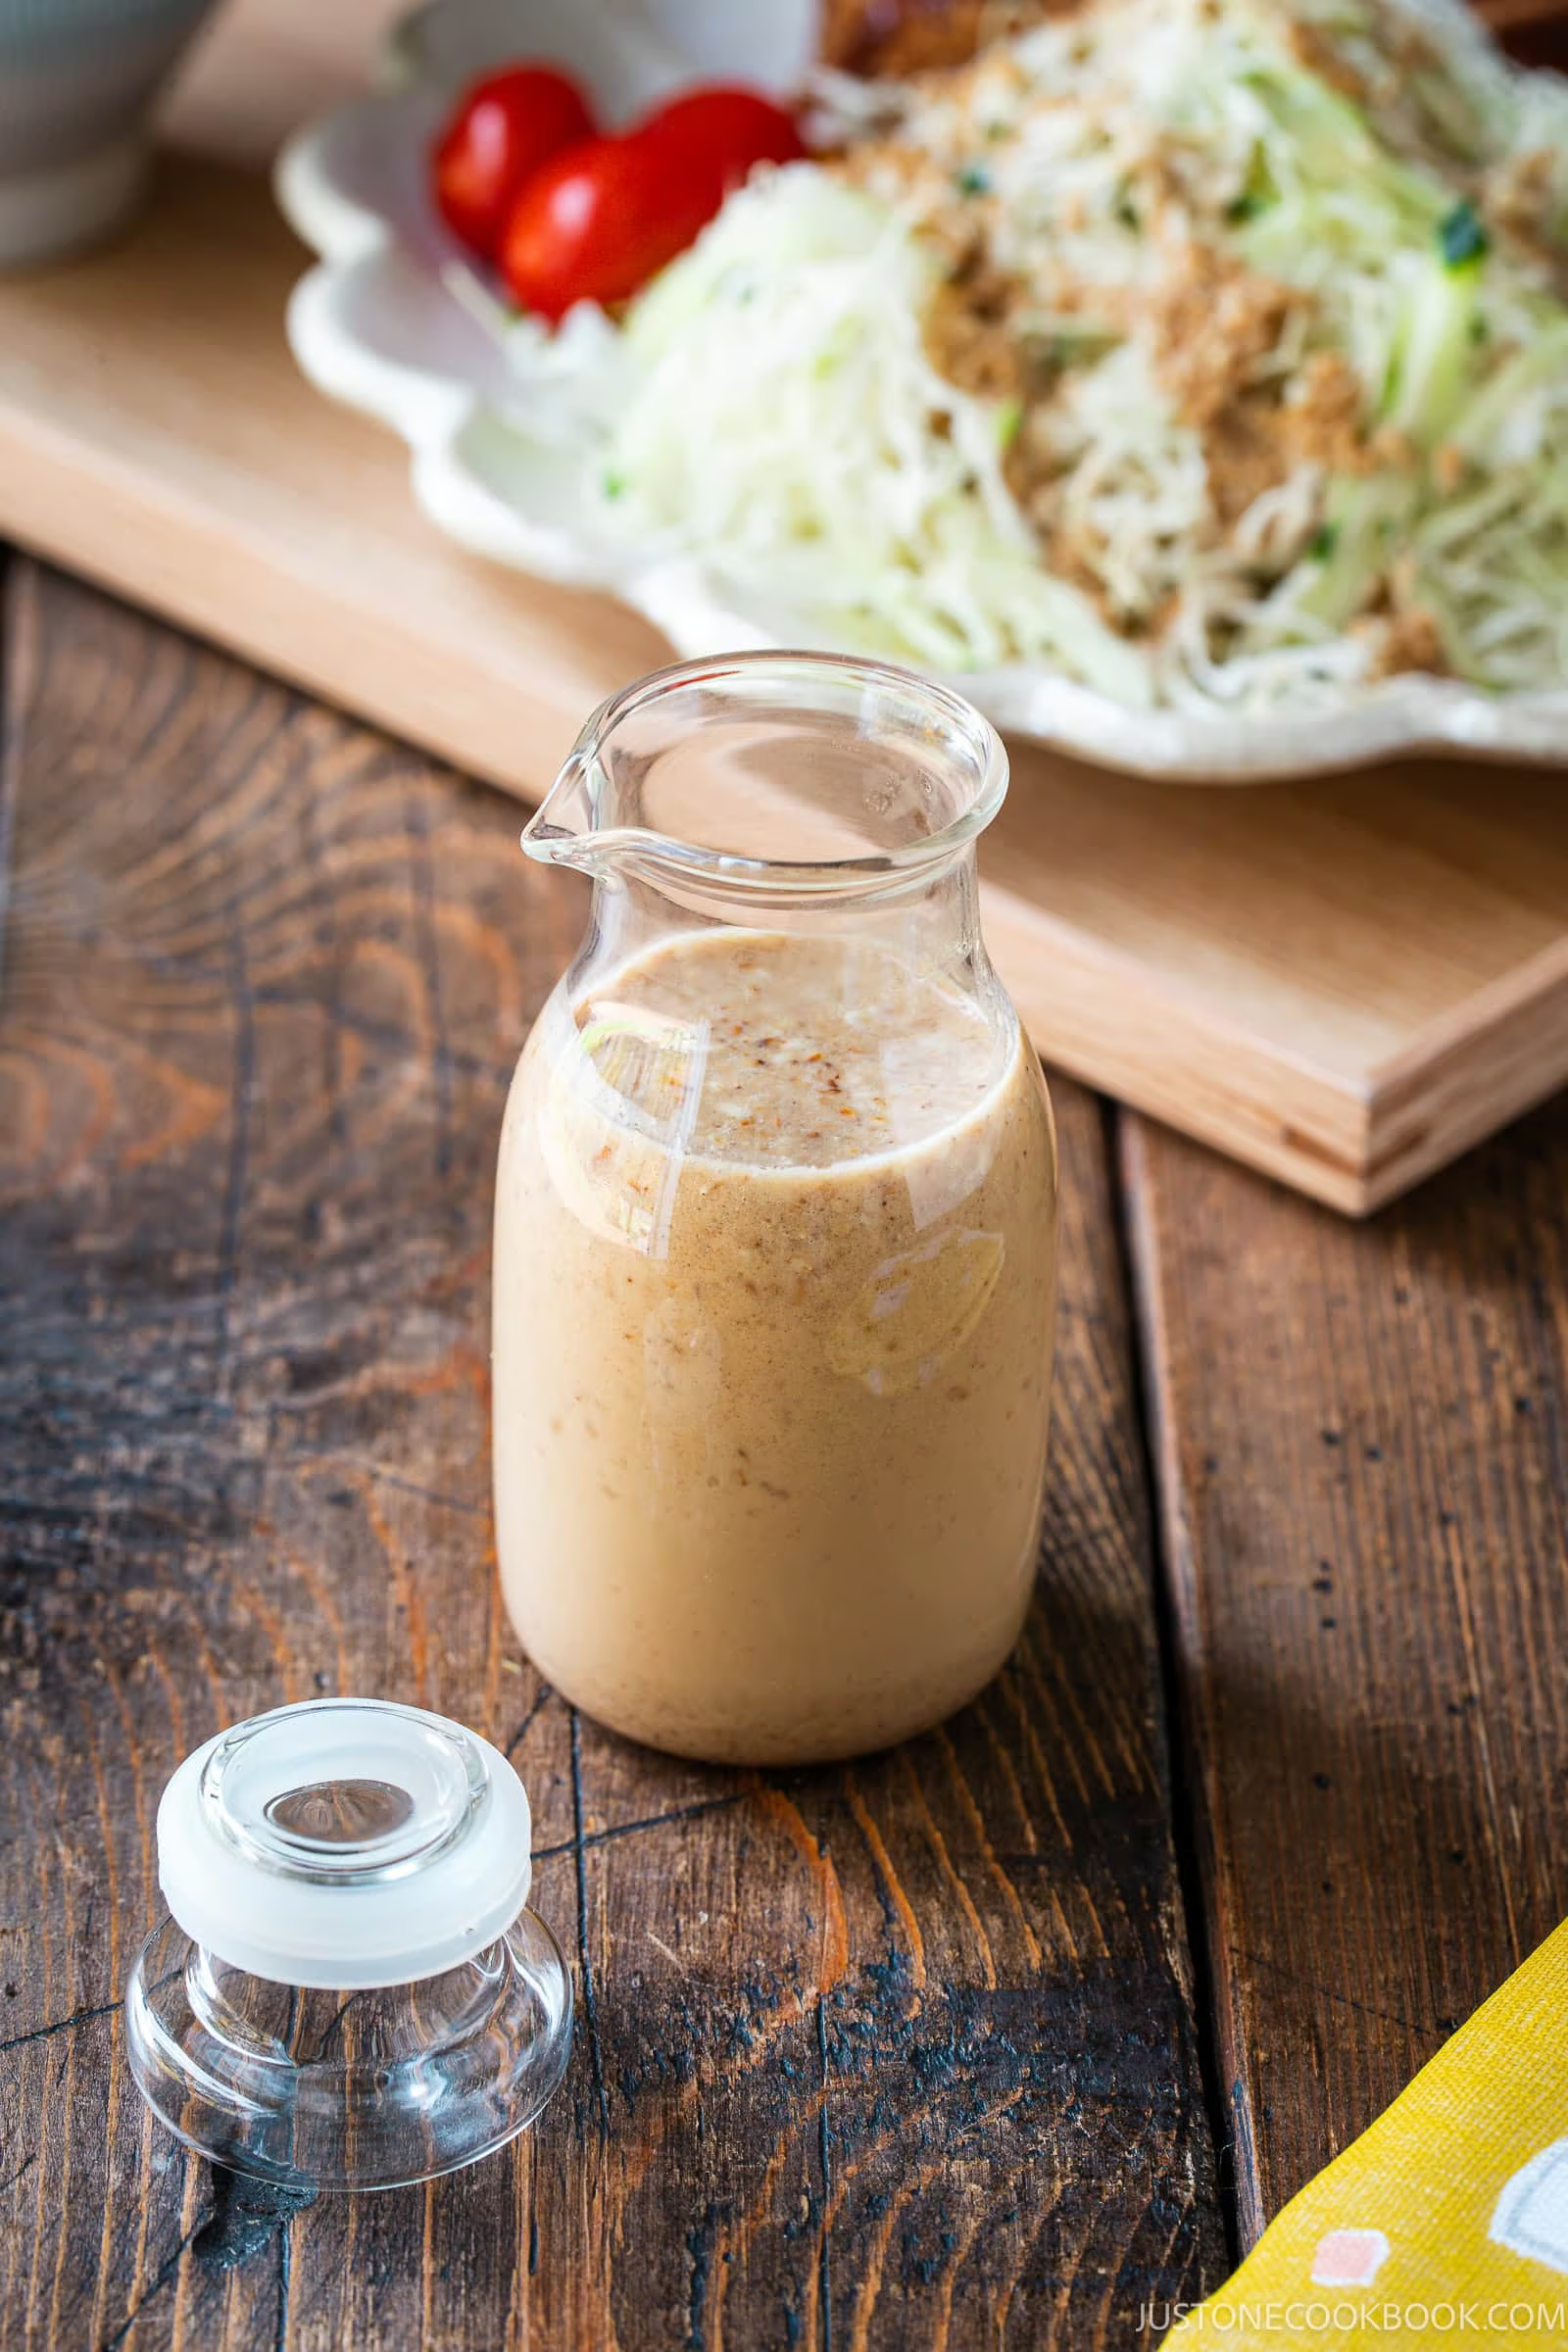
Japanese sesame dressing (goma dressing, 胡麻ドレッシング) is a savory dressing served over salads in Japanese homes and yoshoku restaurants. I toast and grind the seeds fresh rather than starting from canned paste. It’s creamy, but you can still feel the sesame in there, and it’s got a toasty, nutty flavor store-bought dressings just don’t have.
Why You’ll Love It
- Ground fresh, not from paste – Toasting and grinding whole seeds leaves a rough, fragrant texture that that’s missing from bottled dressings and tahini.
- Stop at two or three pops – That is when the sesame seeds are toasted through; seconds longer and the seeds will burn turning the batch bitter.
- Kewpie mayonnaise is the base – It does the job holding oil and vinegar together so the dressing will not separate.
What readers say
Sinéad
“I made it for dinner last night and have been craving it so bad I had a salad for breakfast just so I could have it again. I really can’t stress enough what a big difference the kewpie mayo makes.”
My Recipe Story
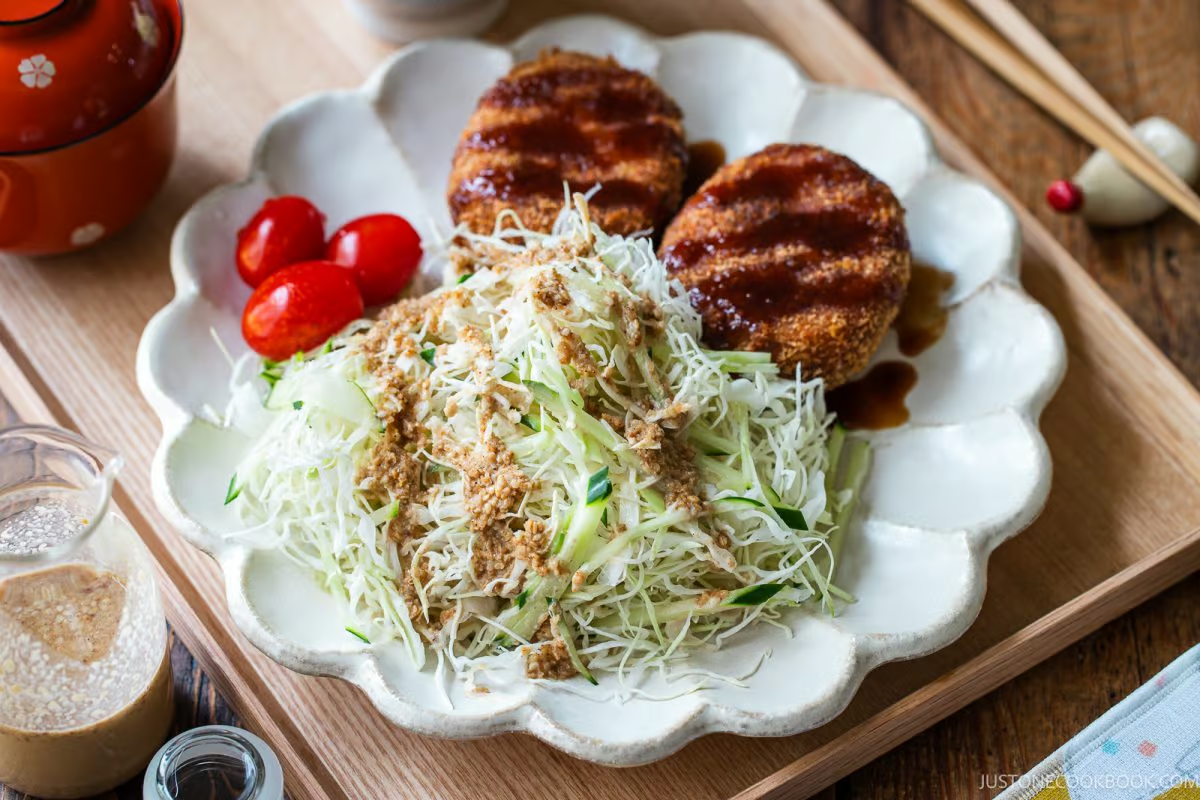
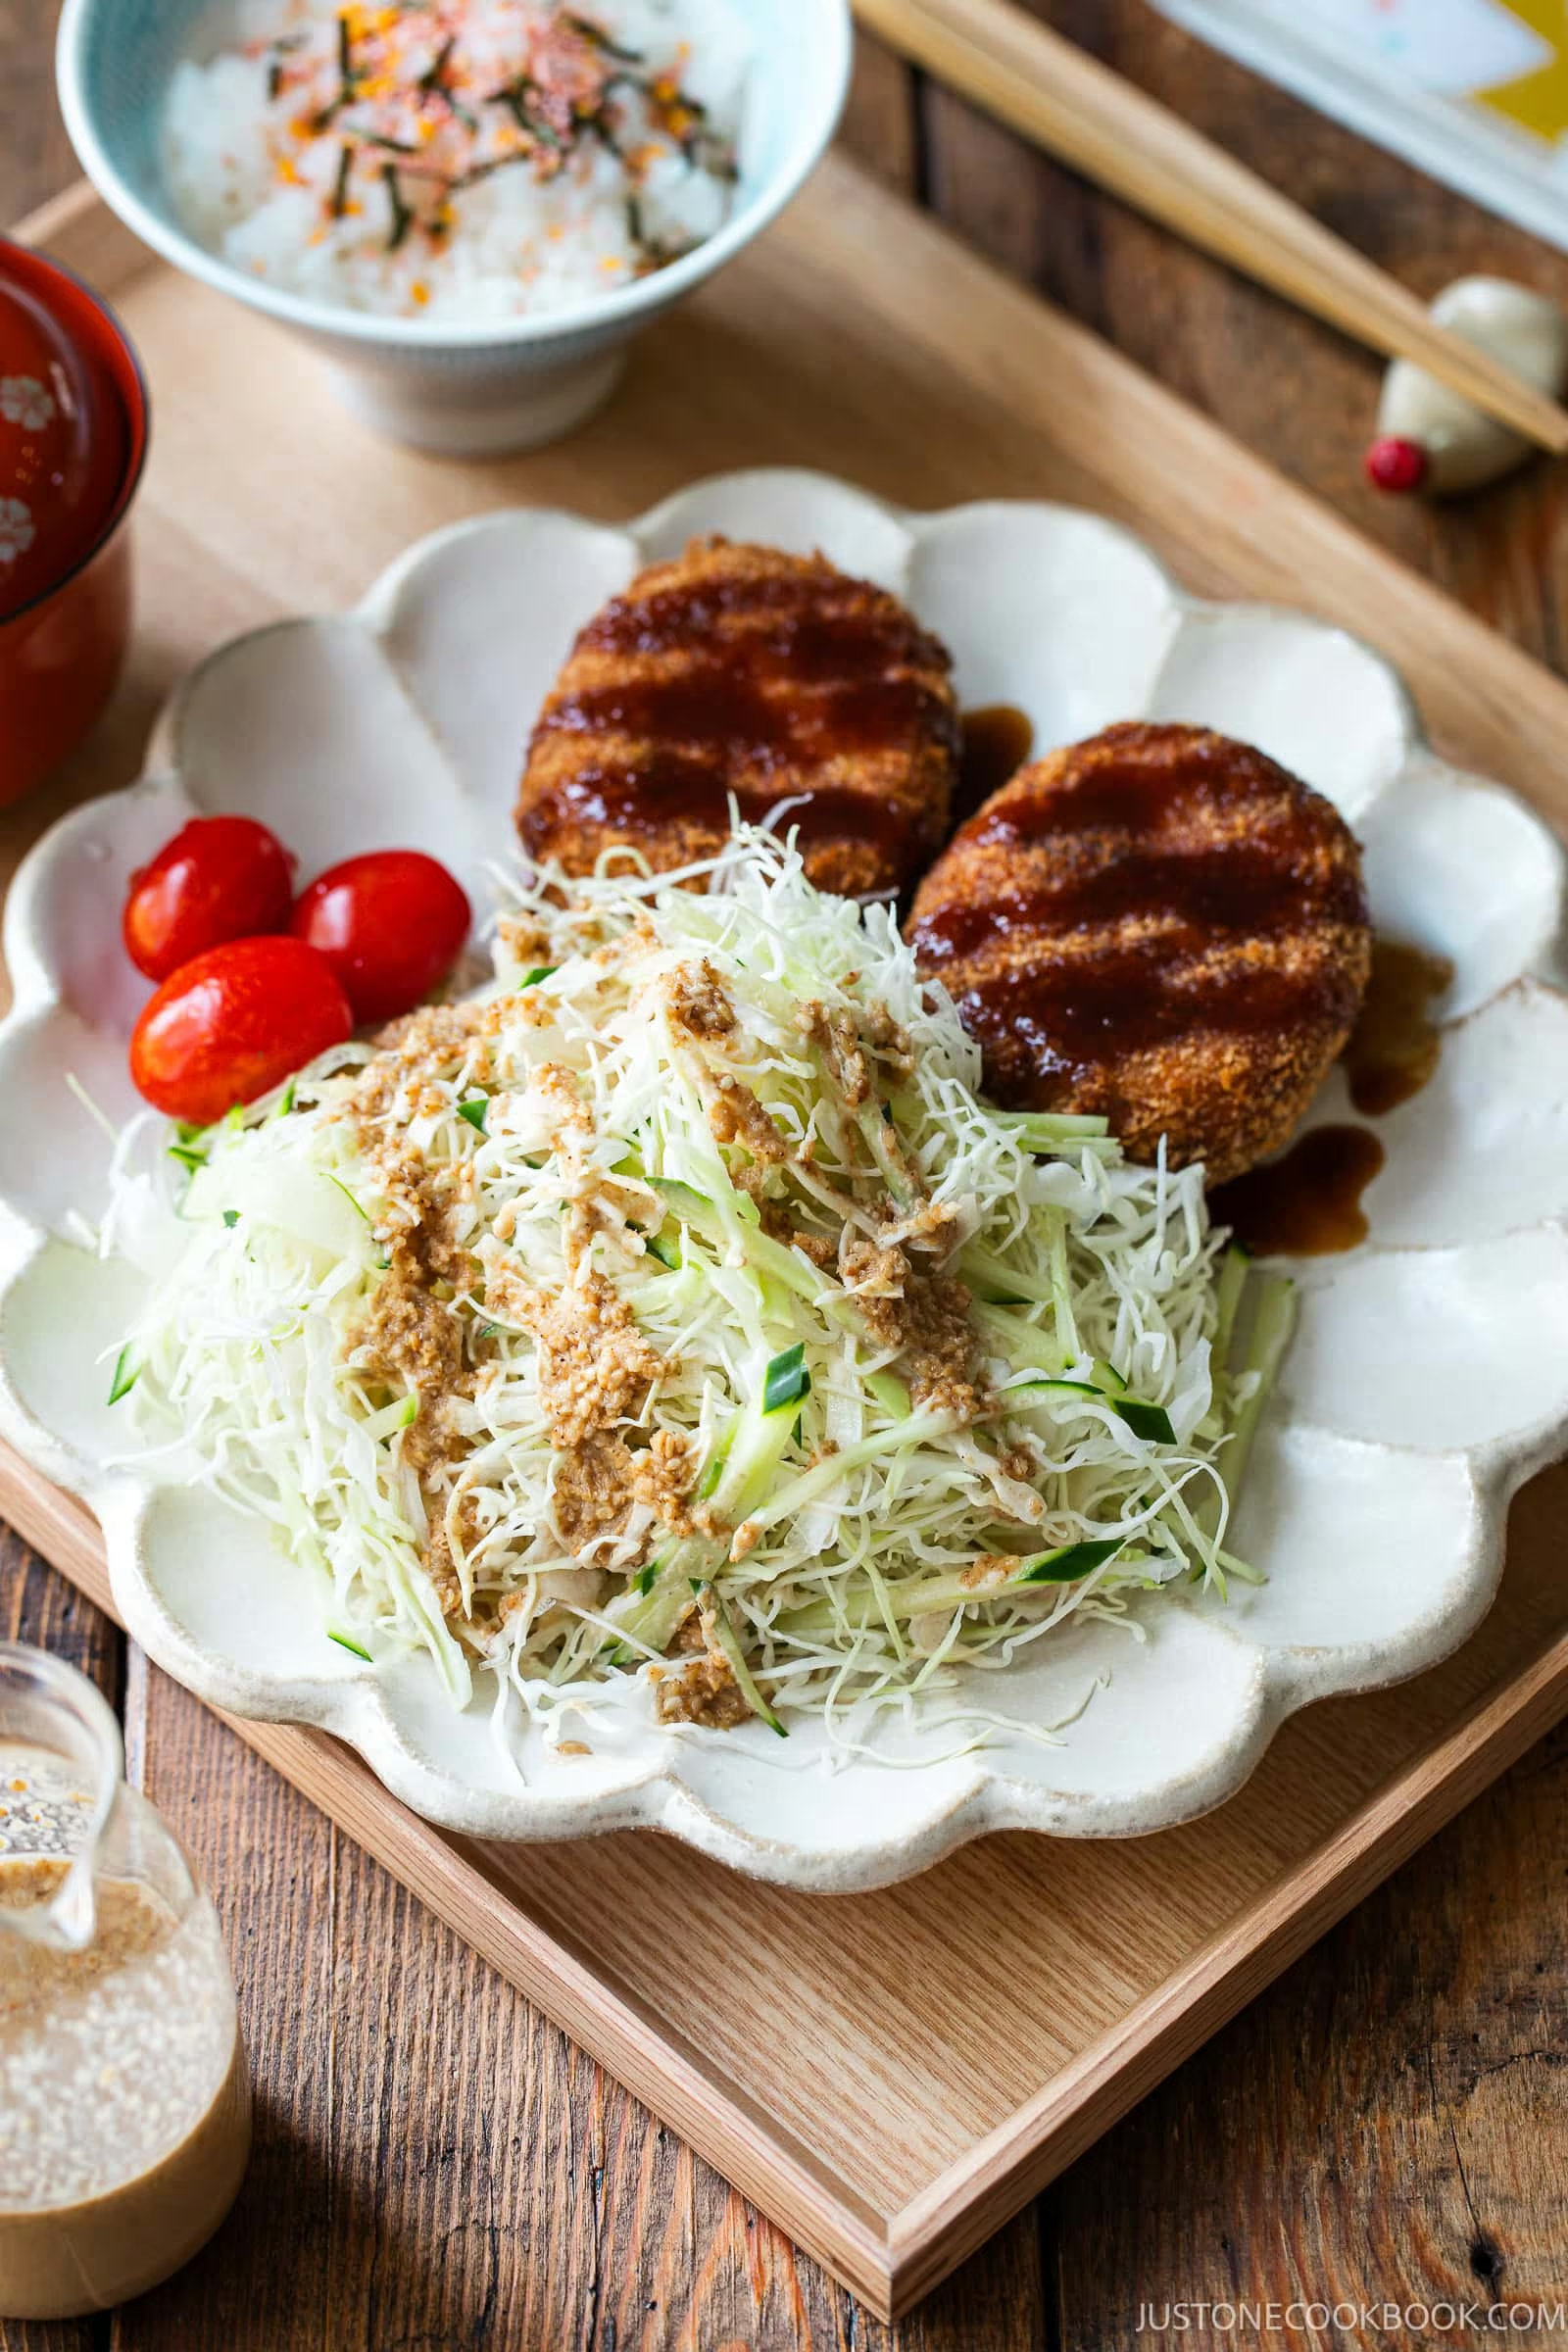
I eat salad year-round, which means I go through a lot of dressing, and this is the one I always keep a jar of in the refrigerator. It’s also my go-to dressing for shredded cabbage salad.
Mr. JOC likes it tangier than I do so when I make a batch for him, I add a little extra rice vinegar. That’s what I like about making your own dressings—it’s easy to customize and versatile!
If you love Japanese dressings, try my Wafu Dressing, Carrot Ginger Dressing, and Japanese Onion Dressing next!
Key Ingredients
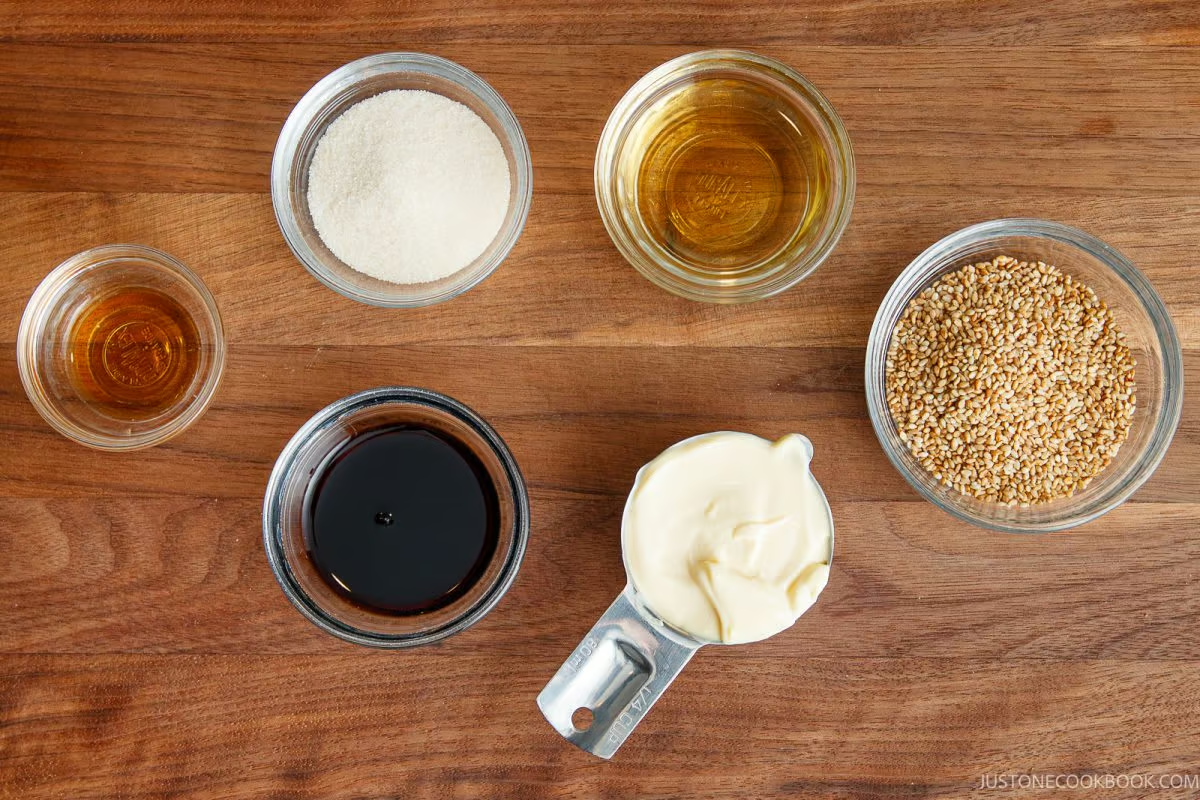
You only need six ingredients for this dressing and they’re all pantry staples: toasted white sesame seeds, Kewpie mayonnaise, rice vinegar, sugar, soy sauce, and toasted sesame oil. Nothing needs cooking.
- Toasted white sesame seeds – Buy them pre-toasted, then warm them briefly in a dry pan to bring the aroma back. Grinding them yourself is the whole point of this recipe; tahini stands in if you don’t have a grinder.
- Kewpie mayonnaise – Made with egg yolks only, which is why it tastes richer and tangier than the standard American mayonnaise. Regular mayonnaise works, but add a little extra rice vinegar to get the same tang. You can get Kewpie mayo on Amazon, or make my homemade Kewpie Mayo recipe.
- Rice vinegar – Japanese rice vinegar is milder and less acidic (4–5%) than white or white wine vinegar, so if you substitute either one, use a little less. I recommend unseasoned rice vinegar since seasoned rice vinegar already contains sugar and salt (you can get them on Amazon).
- Soy sauce – A splash of soy sauce adds background umami without turning the dressing dark or overly salty. Japanese cooks call this kakushiaji, a hidden flavor you notice only if it’s missing.
- Toasted sesame oil – A tiny amount carries most of the fragrance, so measure it rather than pouring free-hand. Since it has a strong flavor it can overtake the dressing if not careful.
Find the printable recipe with measurements below.
Jump to RecipeHow to Make Japanese Sesame Dressing
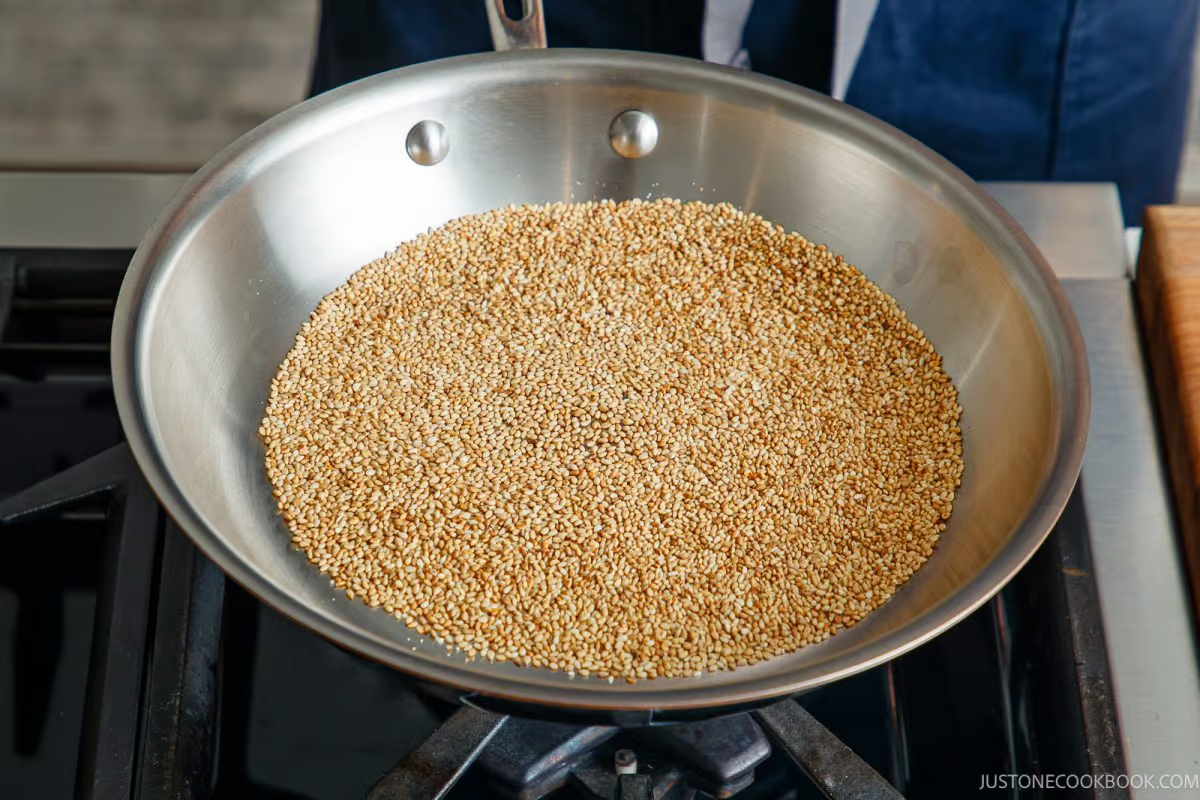
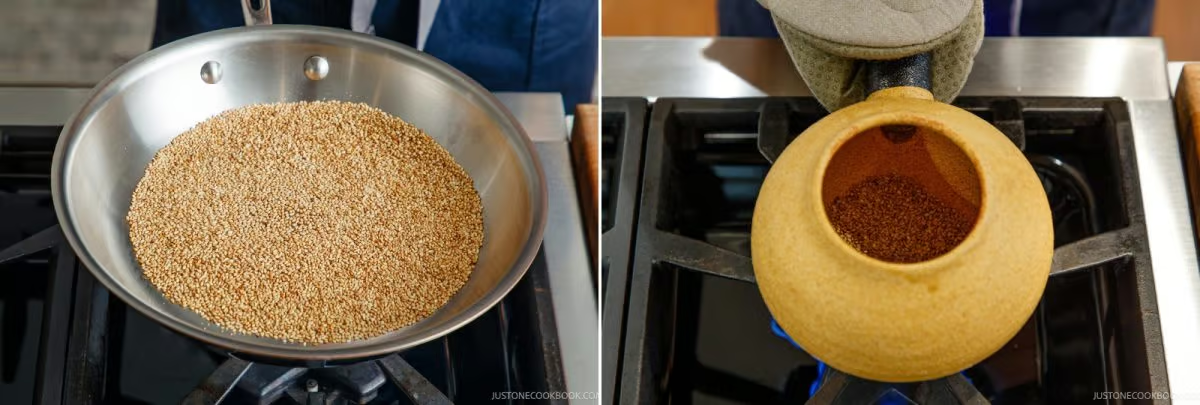
- Toast the sesame seeds. Warm the toasted white sesame seeds in a dry frying pan over medium-low heat, shaking constantly. Take the pan off the heat the moment two or three seeds pop, about 3 minutes.
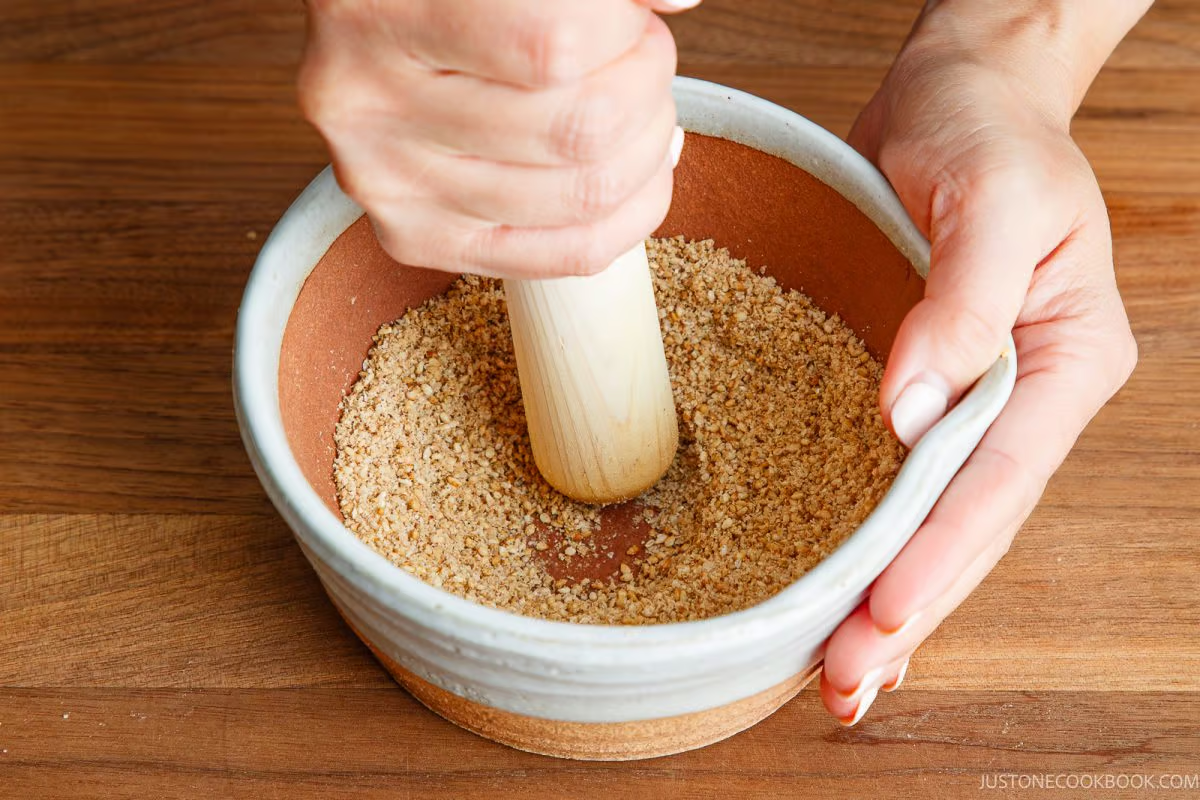
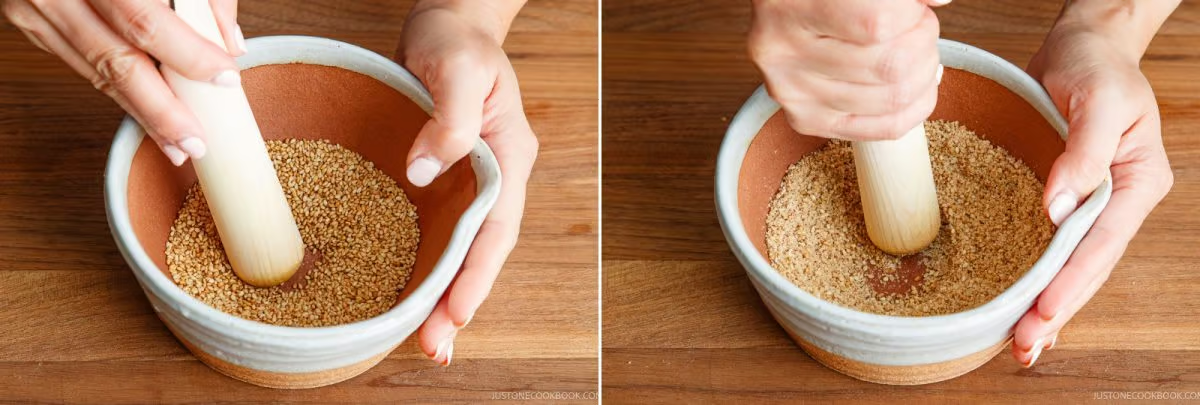
- Grind the seeds. Work them in a Japanese mortar and pestle until the mixture turns coarse and fragrant. Leave some seeds whole for the texture, if you like.
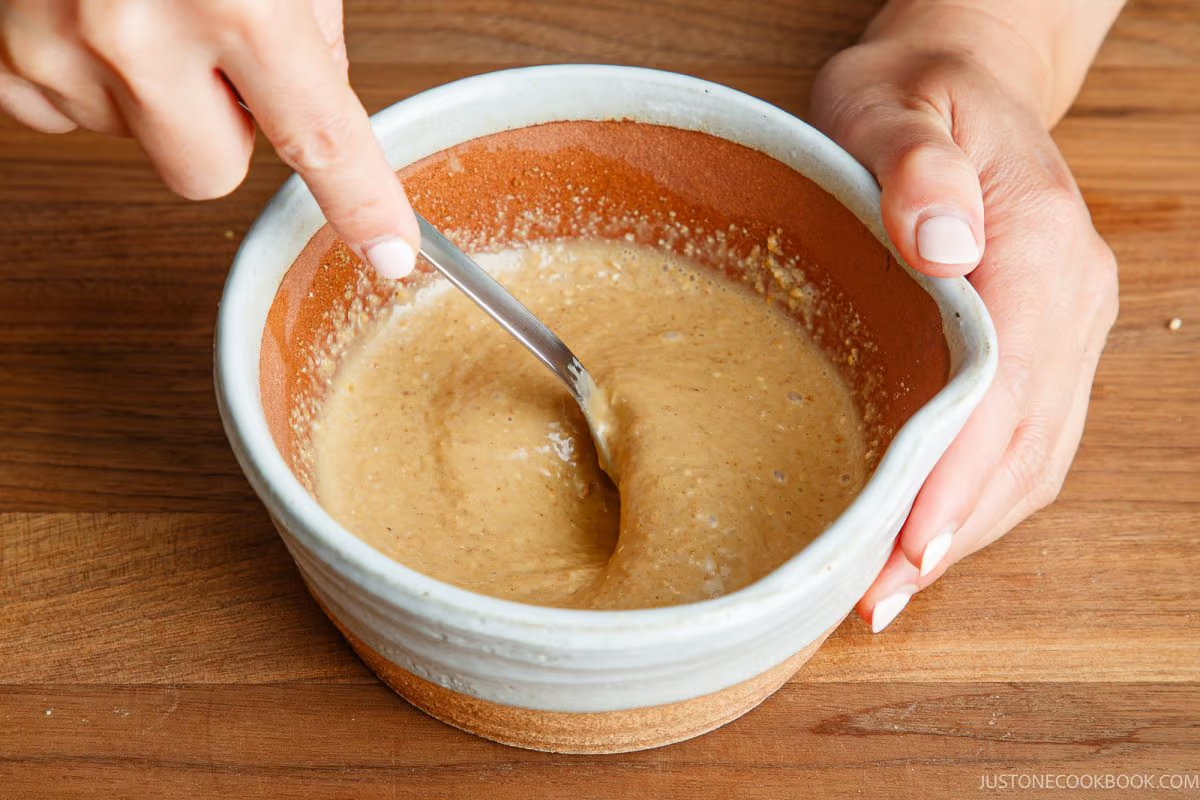
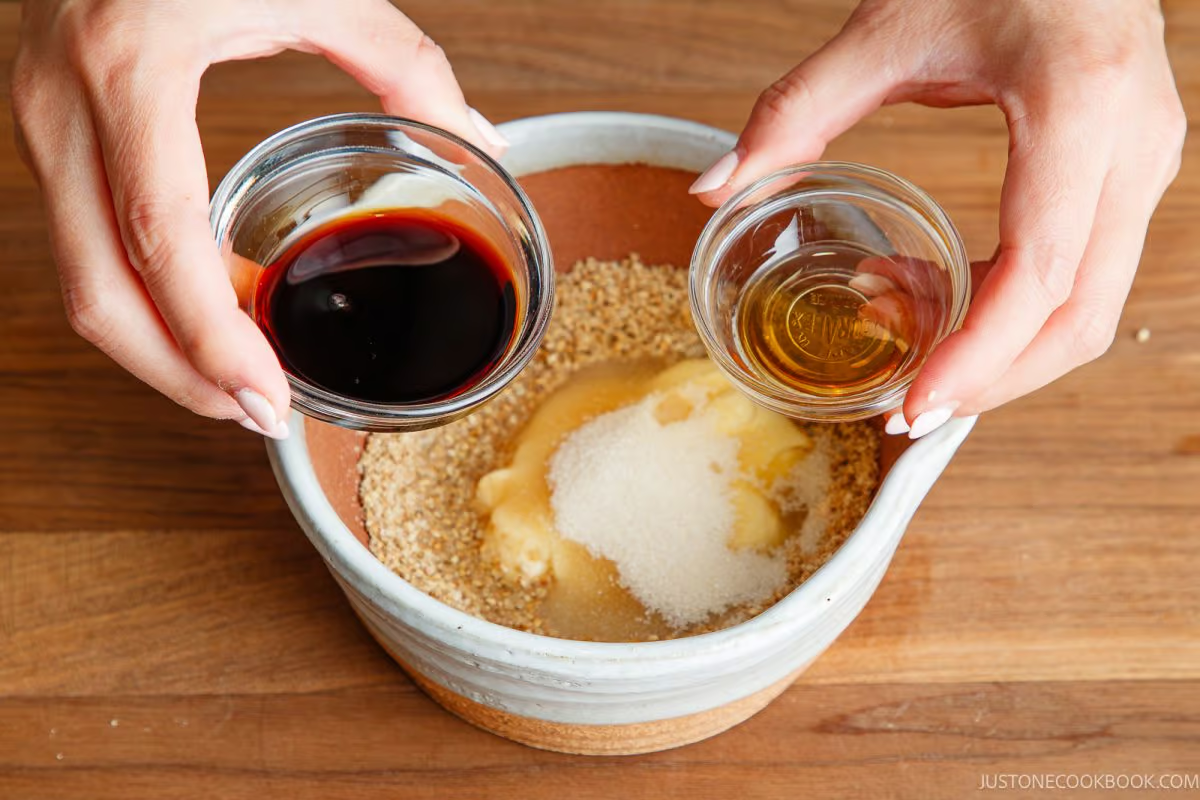
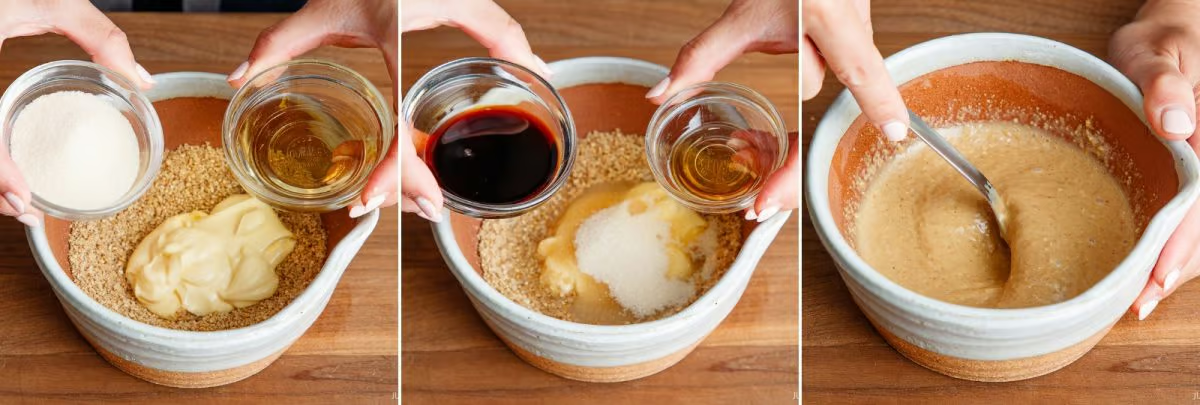
- Mix it together. Add the Kewpie mayonnaise, rice vinegar, sugar, soy sauce, and toasted sesame oil to the ground sesame and mix until smooth.
- Taste and adjust. More rice vinegar for tang, more sugar for sweetness. Serve, or chill until you need it.

Nami’s Recipe Tips
Before you start, here are a few things I’ve learned along the way.
- Re-toast even pre-toasted seeds – Two to three minutes in a dry pan over medium-low heat brings back the aroma that fades while they sit in the cupboard. Pull them when the seeds look glossy and two or three pop.
- Stop at two or three pops – That’s when the seeds are toasted through; seconds longer and they’ll scorch, making the batch bitter
- Leave the grind rough – Stop while some seeds are still whole. If you ground to a smooth paste, the dressing loses its texture. A Japanese mortar and pestle gives the most control. If you don’t have one, a food processor will work but grinds unevenly.
- Adjust the thickness with mayonnaise, not less vinegar – If it pours thinner than you want, whisk in more Kewpie mayo a spoonful at a time. If you use less vinegar it’ll be thinner, but then you lose the tang.
- Taste it after it chills again – Cold makes sweetness harder to taste while the vinegar stays just as sharp, so a dressing that seemed balanced on the counter can taste sour out of the refrigerator. Add a pinch of sugar if it does.
Make Ahead Tips
- Toast and grind the sesame ahead – Ground sesame keeps in an airtight jar for a few days, which turns the dressing itself into a two-minute job.
- Make the dressing a day early – The sesame softens into the mayonnaise overnight and the flavors settle together.
Storage Tips
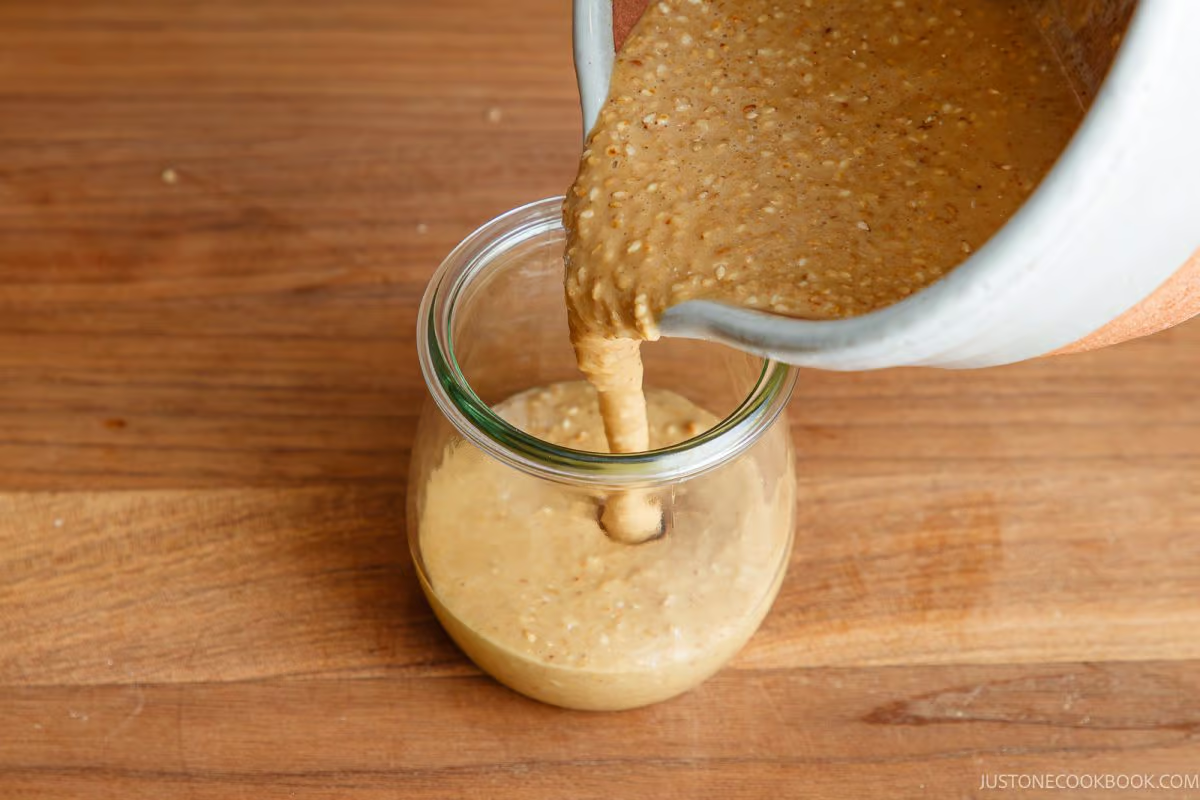
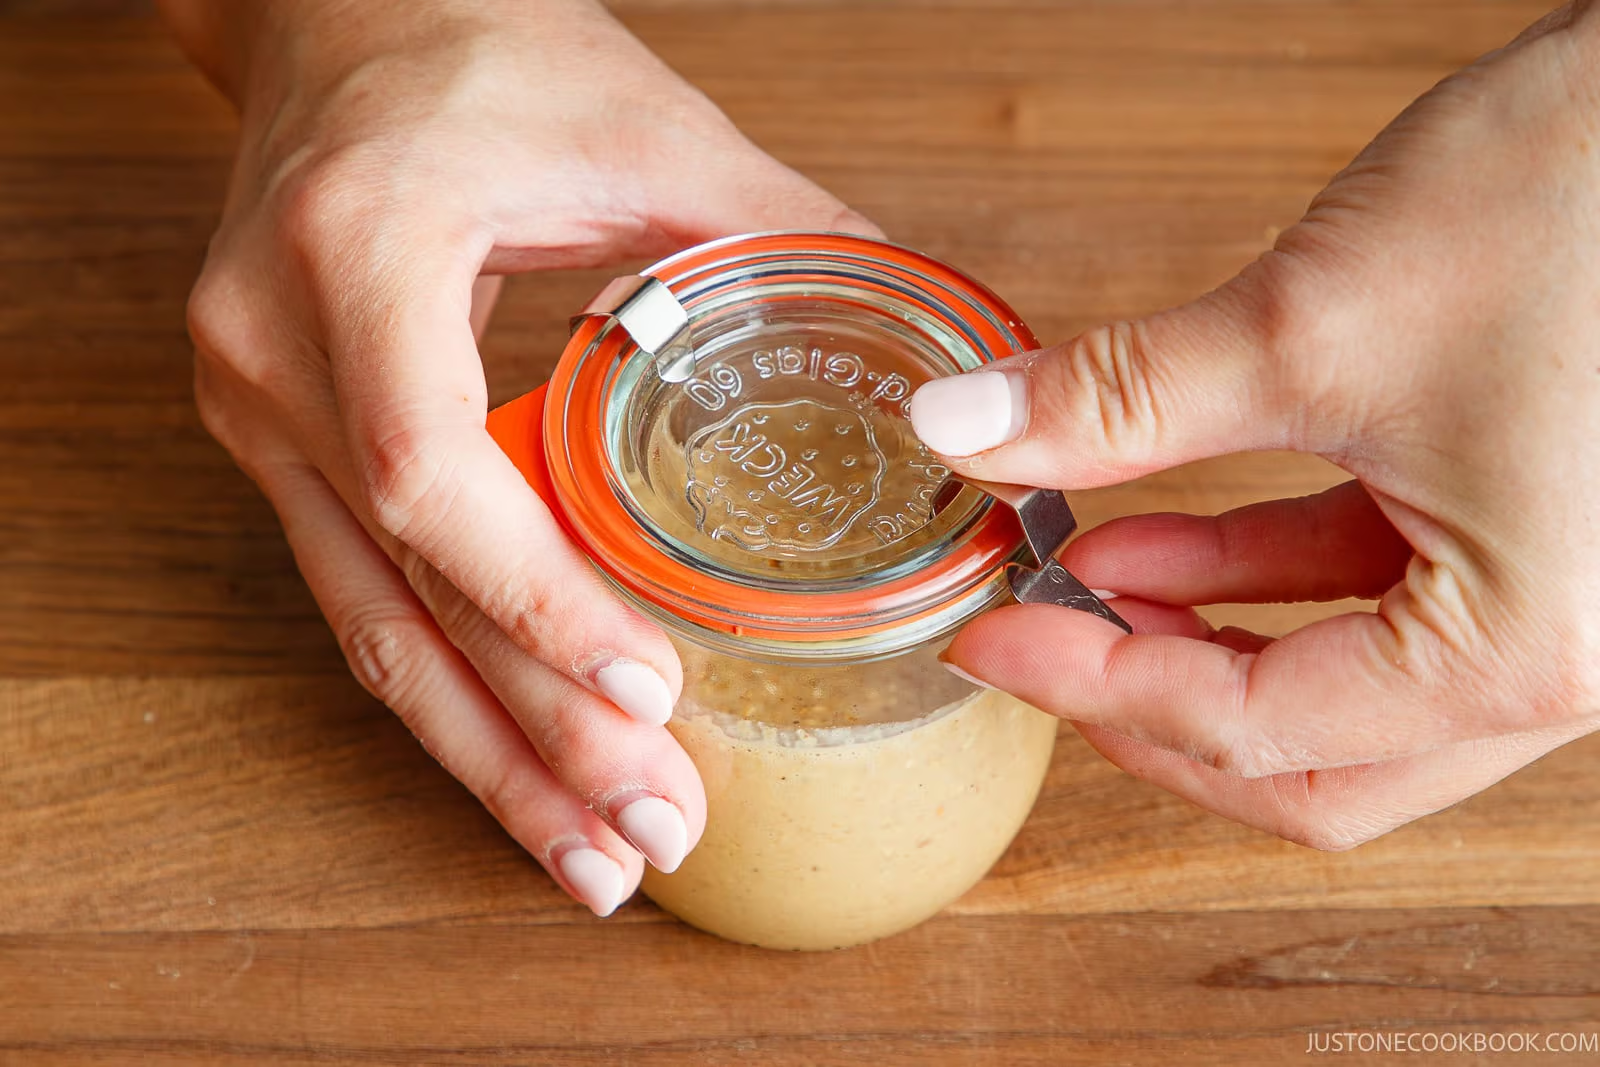
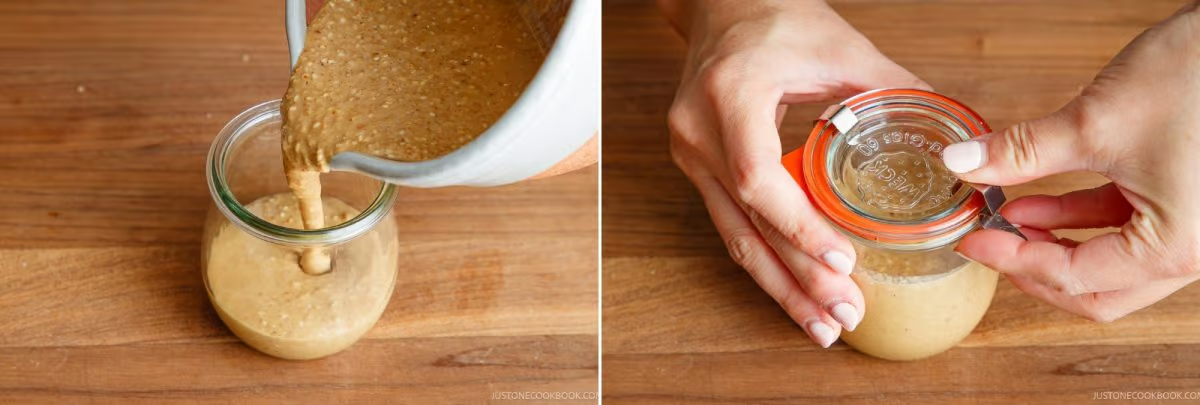
To store: Keep the dressing in an airtight jar in the refrigerator for up to 1 week. It thickens as it chills, so loosen it with a teaspoon of water and whisk or shake before serving.
Variations
A few easy swaps to suit your taste or pantry.
- Tahini in place of ground seeds. Smoother and slightly more bitter, but it works when there is no grinder in the house.
- A different sweetener. Turbinado, raw cane sugar, or honey.
- A different acid. Apple cider vinegar, or lemon juice diluted with a tablespoon or two of water.
- Gluten-free. Tamari or gluten-free soy sauce in place of regular soy sauce.
- Grated ginger. A small amount adds warmth and cuts through the richness.
- Creamier. More Kewpie mayonnaise and slightly less vinegar.
What to Serve with Japanese Sesame Dressing
I use sesame dressing not only for salad, but these recipes.
- Shabu Shabu Salad – Sesame sauce with cold pork shabu is a classic pairing, and this is the creamy version of it.
- Hiyayakko – Spoon it over cold tofu in place of soy sauce. The mayonnaise clings where a thin sauce slides off.
- Steamed Vegetables – Broccoli, green beans, and asparagus. Warm vegetables take a creamy dressing better than raw ones do, and it’s a shortcut goma-ae.
- Soba Noodle Salad – Toss it through cold soba. It coats the noodles instead of pooling at the bottom of the bowl the way a thin vinaigrette does.


FAQ
Can I use tahini or sesame paste instead of sesame seeds?
Yes. Tahini or Japanese neri goma both work in place of the ground sesame seeds. Start with the same amount and adjust. Since the pastes are more concentrated so you may want less. However, if you use pastes, the dressing will come out smoother and slightly more bitter, and you lose the rough texture.
Am I grinding the seeds to a powder or a paste?
Neither, really—stop while the mixture is still coarse and some seeds are whole. That rough texture is the whole point. A spice grinder or small food processor works, but pulse it and check often; they go from coarse to paste quickly.
Can I make it without mayonnaise?
The mayonnaise is what holds this dressing together, so leaving it out changes the dressing rather than adjusting it. Vegan mayonnaise works and keeps the texture. For a mayo-free style altogether, my Sesame Sauce (Goma Dare) is built on neri goma (tahini) and dashi stock instead. It’s thinner, but the same sesame base.
I’d love to hear how yours turned out! 💛 Please leave a star rating and comment below to share your experience. Your feedback not only supports Just One Cookbook but also helps other home cooks discover recipes they can trust.
Japanese Sesame Dressing
Equipment
Ingredients
- 4 Tbsp toasted white sesame seeds
- 4 Tbsp Japanese Kewpie mayonnaise
- 2 Tbsp rice vinegar (unseasoned) (reduce a bit if using white or white wine vinegar)
- 1 Tbsp sugar
- 2 tsp soy sauce (for umami and depth)
- ¼ tsp toasted sesame oil
Instructions
- Gather all the ingredients.
To Toast and Grind the Sesame Seeds
- Add 4 Tbsp toasted white sesame seeds to a dry frying pan. Toast over medium heat, holding the pan slightly above the burner and shaking it continuously so they heat evenly, about 3 minutes. When 2–3 seeds start popping, immediately remove the pan from the heat.Nami's Tip: Sesame goes from toasted to scorched in seconds, and scorched seeds turn the whole batch bitter.
- Grind the toasted sesame seeds in a Japanese mortar and pestle until coarse and fragrant. Stop while some seeds are still whole.Nami's Tip: Ground to a smooth paste, the dressing loses the texture that makes it worth grinding. A food processor works but grinds unevenly, so pulse and check often.
To Make the Dressing
- Add 4 Tbsp Japanese Kewpie mayonnaise, 2 Tbsp rice vinegar (unseasoned), 1 Tbsp sugar, 2 tsp soy sauce, and ¼ tsp toasted sesame oil to the mortar. Mix until combined.
To Chill (Optional)
- Transfer the dressing to an airtight jar and refrigerate for at least 20 minutes so the flavors settle as it cools.
To Serve
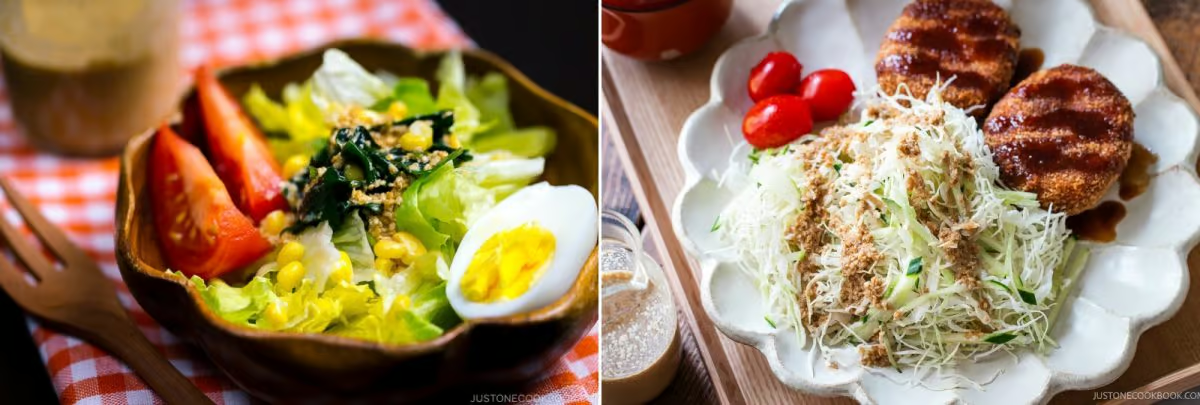
- Drizzle over a simple salad of iceberg lettuce, tomatoes, boiled eggs, wakame seaweed, and corn, or over shredded cabbage salad.
To Store
- Store the dressing in the refrigerator for up to a week.Nami's Tip: It thickens as it chills. Loosen it with a teaspoon of water and shake before serving.
Notes
Nutrition
The nutrition facts shown are generated by an online calculator and are estimates only. Please consult a professional nutritionist for specific dietary needs.
Did you make this recipe?
Tag @justonecookbook on Instagram so we can see your delicious creation!
Editor’s Note: This post was originally published on September 23, 2011, and updated with more detailed tips on June 6, 2016. It was updated on September 6, 2026, with an improved recipe, new photos, and updated ingredient and technique notes, as I wanted to simplify the ingredient list without losing any flavor—if anything, I was aiming for even better results.