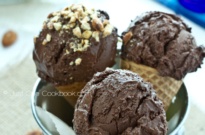
This heavenly rich, creamy, and extra-chocolatey ice cream is so good that the extra patience is well worth the reward! It is a big hit with my family, and I think it will be with yours too.
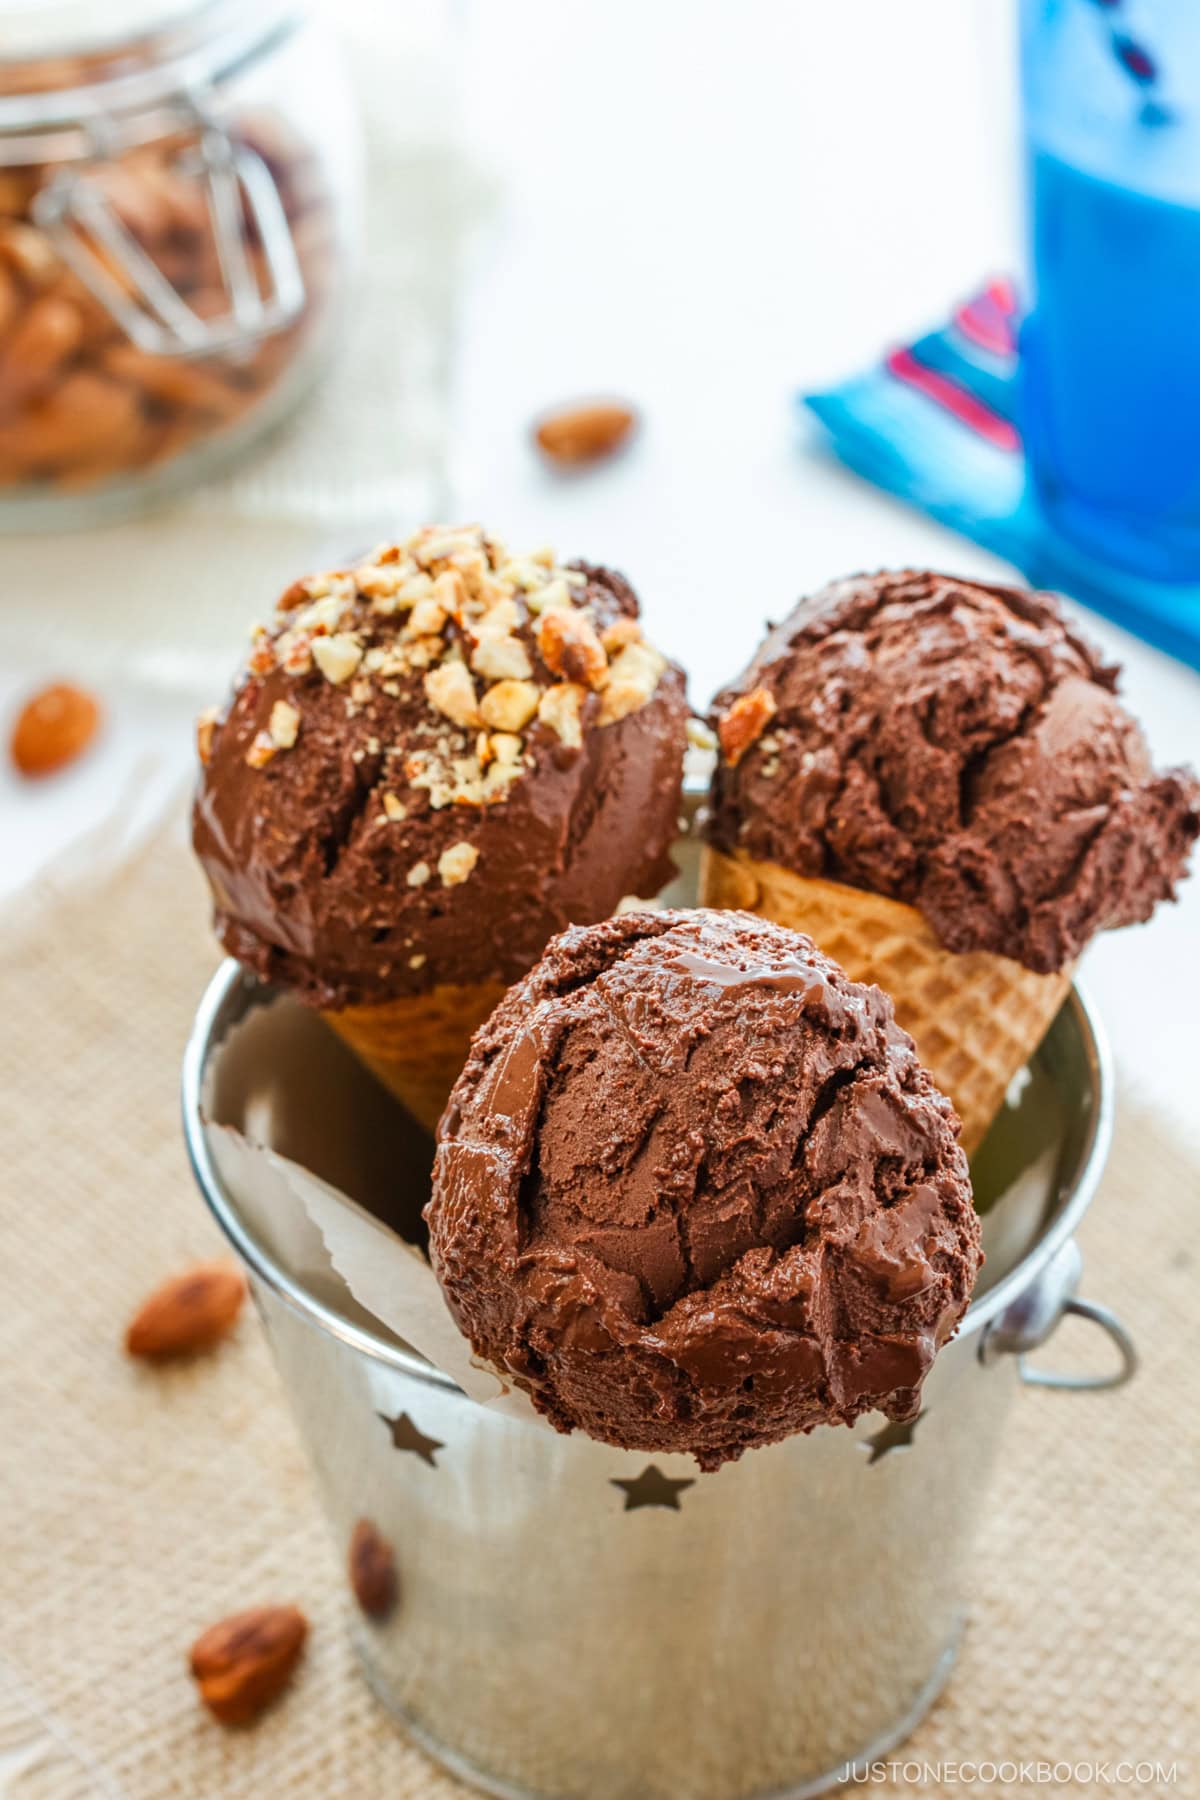
I don’t have a sweet tooth, but when the weather warms up, I crave ice cream like a kid. It is my weak spot. While it’s easy to buy quality ice cream from the stores these days, I still enjoy making ice cream at home.
This Super Rich Chocolate Ice Cream is my son’s favorite. It’s extra chocolatey, creamy, and tastes like truffles, but in an ice cream version. If you are a certified chocoholic and appreciate smooth homemade ice cream, then you must give this recipe a try!
Table of Contents
What Makes This Recipe Special?
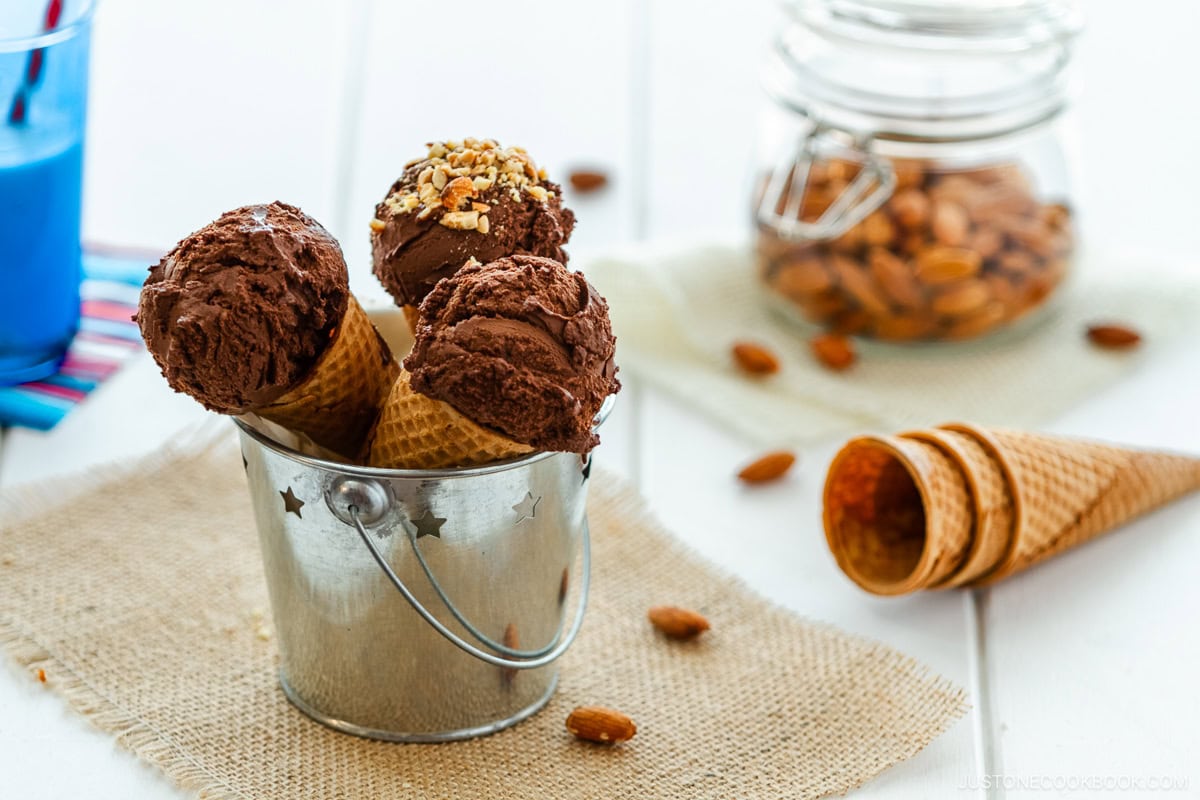
This chocolate ice cream requires standard ingredients to make. The quality of your chocolate and eggs does play a part in the result. What else? What makes it extra special?
First, we’ll make caramel to add to the chocolate custard. It is an extra step, but it adds amazing notes of intense, buttery flavor. You can’t go wrong with caramel!
Second, you’ll need to wait for 5 days before you can actually enjoy the ice cream. Five days? Yes, it’s not a typo. The flavor of the chocolate develops deeper as we let it chill, resulting in extra-rich and creamy ice cream for you to enjoy.

Ingredients You’ll Need
- Dark chocolate (70% to 75% cacao) — I used Trader Joe’s dark chocolate because I happened to have a few bars in the fridge. They are decent enough, but please use the best gourmet chocolate you can afford. I believe the quality of your chocolate can make a difference.
- Whole milk
- Unsweetened cocoa powder — I recommend the Ghirardelli or Guittard brand.
- Large egg yolks
- Sugar (for yolks and caramel)
- Water
- Heavy (whipping) cream
How to Make Chocolate Ice Cream
Here’s a quick overview of the ice cream making steps. You’ll find my step-by-step instructions in the Recipe Card below.
- Melt chopped dark chocolate until smooth. Set it aside and let it cool slightly.
- In another saucepan, make hot cocoa milk mixture by whisking together milk and cocoa powder.
- In a stand mixer, beat the egg yolks and sugar. Whisking constantly, gradually add the hot cocoa milk mixture to the egg yolks.
- Make the chocolate custard by combining the mixture with the melted chocolate.
- Make the caramel by heating sugar and water in saucepan. Gradually whisk in cream (the mixture will bubble vigorously). Whisk the caramel into the chocolate custard.
- Strain the custard into a large container; cover and chill for 2 days.
- Process the custard in an ice cream machine according to manufacturer’s instructions. Transfer it to another container; freeze for 3 days before eating.
Tips on Making The Best Chocolate Ice Cream
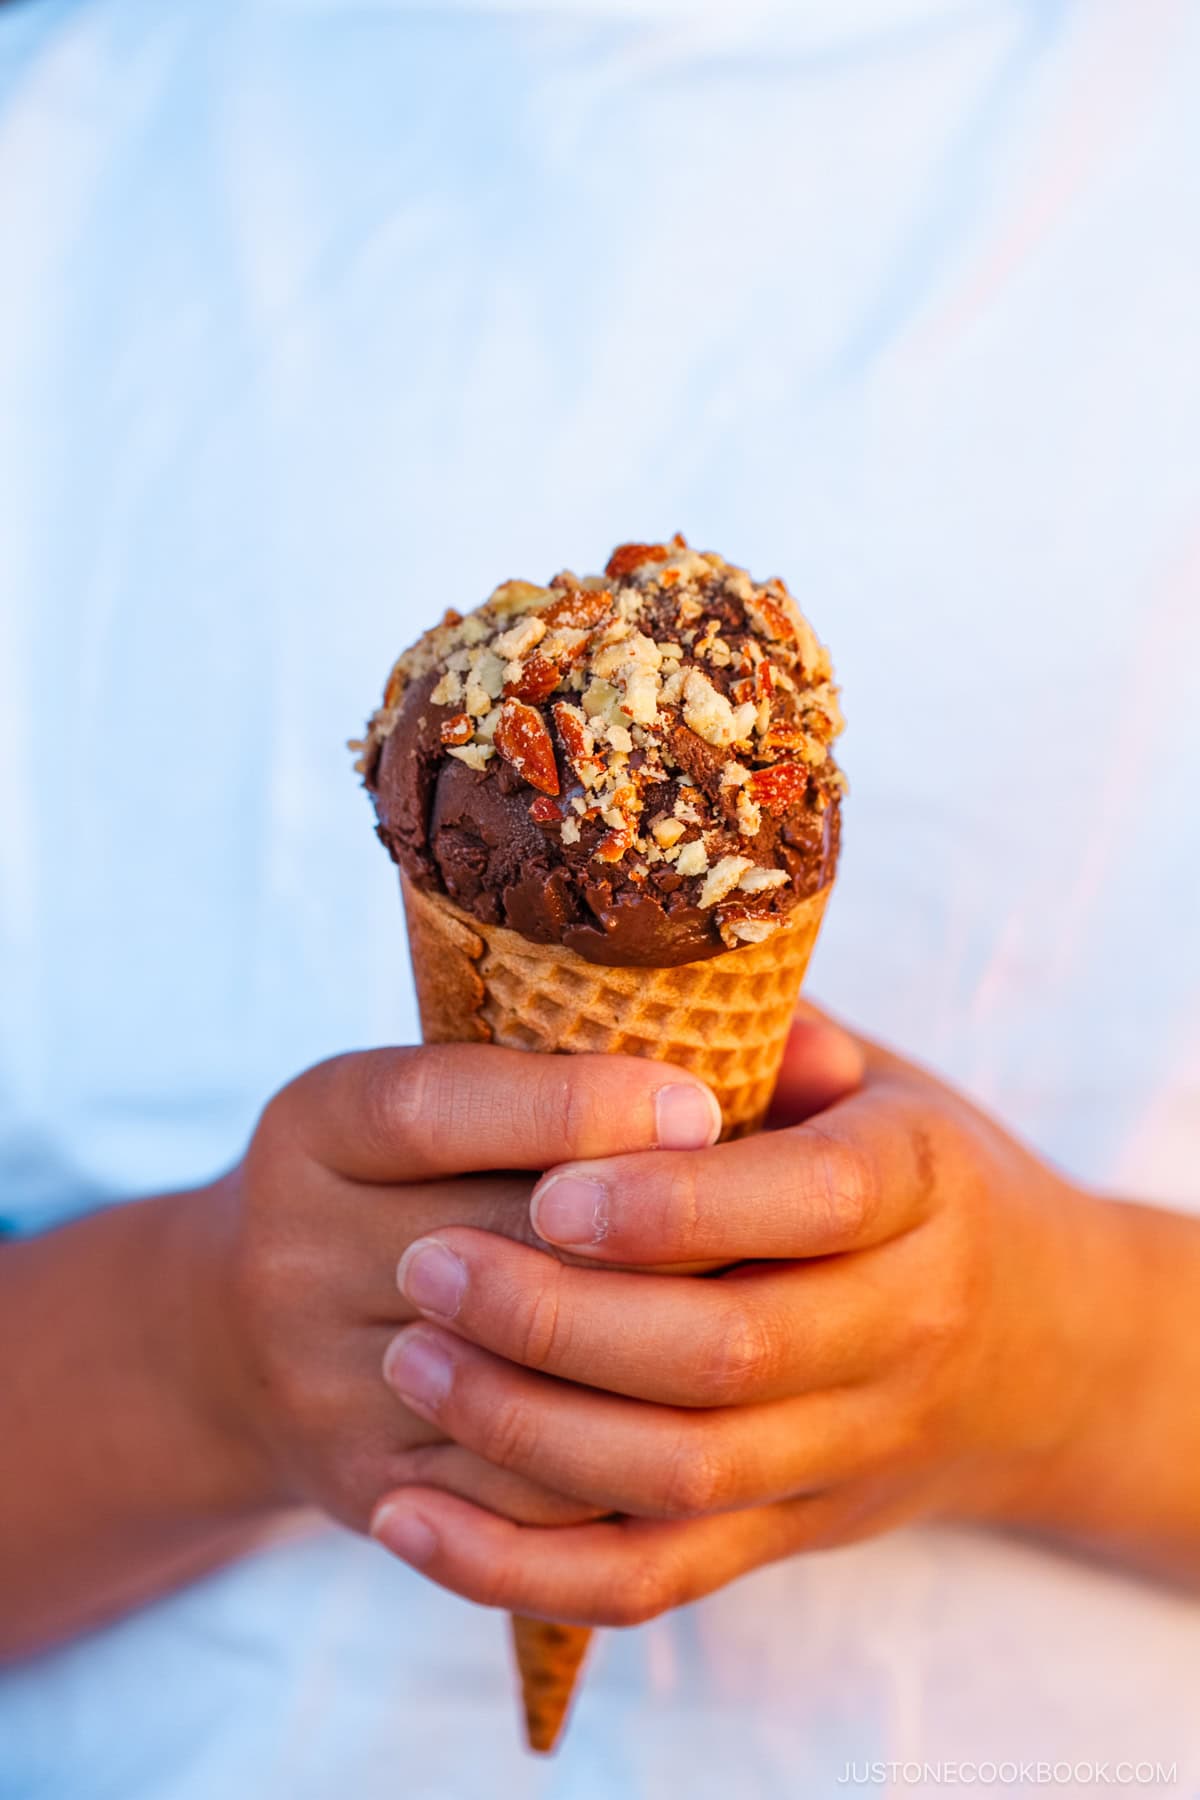
- The quality of your ingredients matters! That includes the eggs, cocoa powder, and dark chocolate. I mentioned them earlier, but they truly can make a big difference in chocolate ice cream. I included my recommended brands, but you can try different brands of cocoa powder and dark chocolate to see what works and tastes best for you.
- Add a flavor booster. Some people use a dash of vanilla, a pinch of sea salt, or espresso powder to give the chocolate ice cream a depth of flavor. For this recipe, I opted for caramel, as you know caramel makes everything taste 100 times better!
- Strain the mixture before the first chill. This is another extra step, but it guarantees a smooth, creamy texture.
I hope you enjoy making this heavenly-tasting chocolate ice cream recipe. The whole process is so rewarding that I promise you’ll make it more than once this summer.
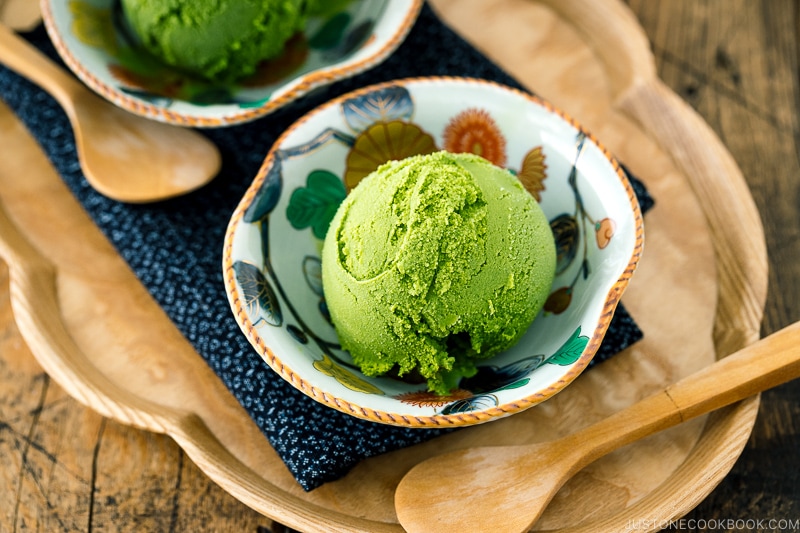
More Delicious Homemade Ice Cream Recipe
Wish to learn more about Japanese cooking? Sign up for our free newsletter to receive cooking tips & recipe updates! And stay in touch with me on Facebook, Pinterest, YouTube, and Instagram.

Chocolate Ice Cream
Ingredients
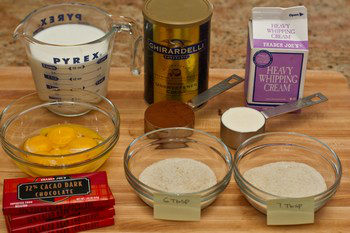
- 7 oz dark chocolate (70% to 75% cacao)
- 2 cups whole milk (480 ml)
- ⅓ cup unsweetened cocoa powder
- 6 large egg yolks
- 7 Tbsp sugar (for yolks)
- 6 Tbsp sugar (for caramel)
- 2 Tbsp water
- ¼ cup heavy (whipping) cream
Instructions
- Gather all the ingredients.
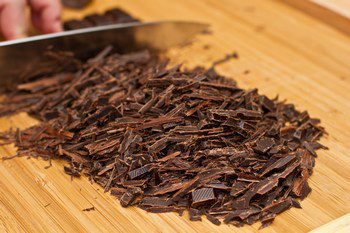
- Finely chop chocolate into small pieces.
- Place chocolate in a medium metal or glass bowl. Set bowl over a saucepan of barely simmering water. Stir chocolate until melted and smooth. Set melted chocolate aside; let cool slightly.

- Whisk milk and cocoa powder in a medium saucepan over medium heat until mixture begins to boil; set aside.

- In a stand mixer, beat egg yolks and 7 Tbsp (90 g) sugar until very thick ribbons form, about 2 minutes.

- Whisking constantly, gradually add hot milk mixture to egg yolk mixture.
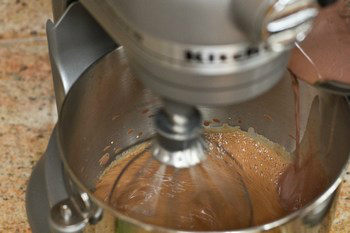
- Return mixture to saucepan.
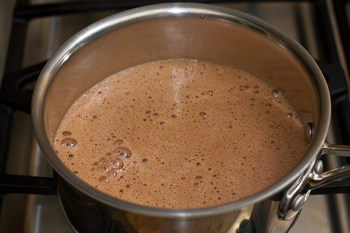
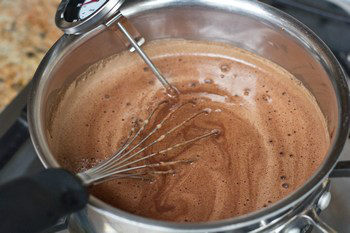
- Add melted chocolate and whisk to blend. Stir over low heat until slightly thickened and temperature reaches 175°F (80ºC), about 5 minutes.
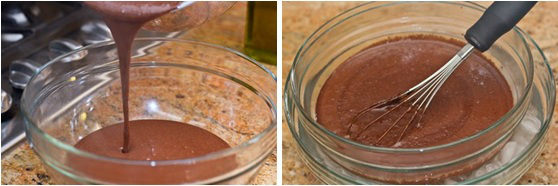
- Transfer chocolate custard to a large bowl and place over another large bowl of ice water. Stir until chocolate custard is cool.
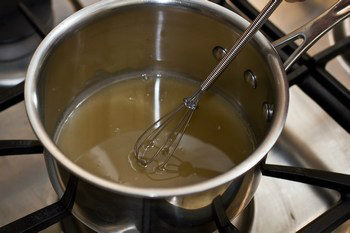
- Bring the remaining 6 Tbsp (80 g) sugar and 2 Tbsp water to a boil in a small saucepan over medium-high heat, stirring until sugar dissolves.
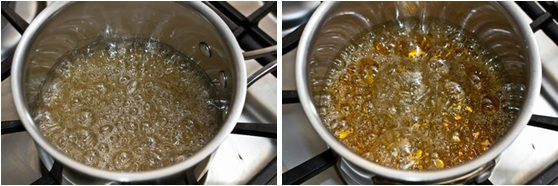
- Boil, occasionally swirling the pan (do not stir), until dark amber color forms, about 5 minutes.
- Gradually whisk in cream (mixture will bubble vigorously).

- Whisk caramel into chocolate custard.

- Strain into a large container; cover and chill for 2 days.

- Process custard in an ice cream machine according to manufacturer’s instructions.
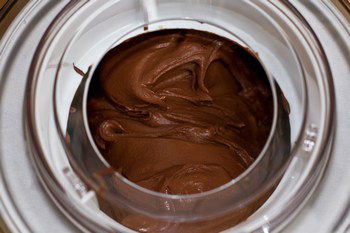
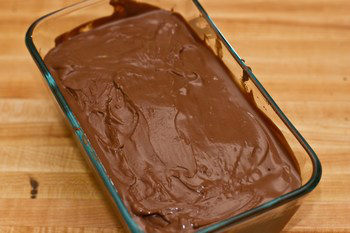
- Transfer to another container; freeze for 3 days before eating.


Hi Nami, first of all, thanks for great recipes. I found your blog awesome and cook from it regularly. After your bombastic soy sauce caramel on vanilla ice cream (who knew that soy sauce in caramel is a such a good idea?!), I decided to do this ice cream next. One question: any reasons to make it cool 2 days and then freeze for 3 days? What happens if we wait less? Thanks 🙂
Hi Zaur, Thank you very much for reading Nami’s post!
We did not try to shorten the days to tested this recipe and not sure how the outcome will be.
This recipe was an adapted recipe, and you can see the source in the Note section on the recipe card. In addition, there’s a link, so you can click to see the original recipe to find out more information. We hope this helps!🙂
I wanna try this, but it seems difficult. Yet the ingredients aren’t cheap. They’re also quite difficult to find. But this is great. Are you find all of these recipes by yourself? You must be sooo great!
Hi Minerva! This was so good – but as I wrote, it takes 5 days (mostly waiting period)…. but it was amazing!
No, this recipe was not mine, and when I use someone’s or adapted from someone’s recipe, you can see the source in Note section of my recipe. There’s a link, so you can click to see the original recipe. 🙂 Japanese food is my original, but when it comes to dessert, I usually rely on someone’s recipes and start adapting my version from there.
Thank you! 🙂
thanks a lot for the recipe… ^^ it’s look very delicious
Hi Camella! You’re welcome, I’m happy to hear you liked the recipe! 🙂
Cooked the Nikujaga recipe today https://www.justonecookbook.com/recipes/nikujaga/
My wife loved it 🙂
Hi Tzu! I’m so happy your wife enjoyed Nikujaga recipe. 🙂 Thanks for letting me know!