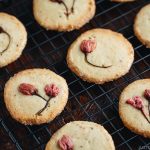
Cherry Blossom Cookies
Celebrate the magic of spring with these crispy and buttery Cherry Blossom Cookies. Rolled in sparkling sugar and topped with edible salt-pickled sakura buds, these cookies are infused with the heavenly fragrance and flavor of Japanese cherry blossoms. Enjoy them for dessert or an afternoon snack with a hot cup of Japanese green tea.
Servings: 16
Calories: 90kcal
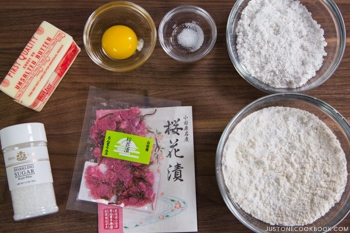
Ingredients
- ½ cup unsalted butter (4 oz, 1 stick, or 8 Tbsp; at room temperature)
- 1 oz salt-pickled cherry blossoms (1 pack; you can (buy it online)
- 1 cup cake flour (weigh your flour; for weights, click the Metric button above; or use the “fluff and sprinkle“ method and level it off; you can made homemade cake flour; for gluten free, substitute an equal amount of this GF flour or this GF flour)
- ⅛ tsp Diamond Crystal kosher salt
- ½ cup confectioners’ sugar
- 1 large egg yolk (0.5 oz, 15 g per egg yolk)
- white sparkling sugar (this is a coarse sugar with larger grains, so it won't melt and disappear; it also gives a nice look and crunch)
Instructions
Before You Start...
- Please note that this recipe requires at least 2 hours of chilling time.
- Gather all the ingredients. I highly encourage you to weigh your ingredients using a kitchen scale for this recipe. For weights, click the Metric button at the top of the recipe to convert the measurements. If you‘re using a cup measurement, please follow the “fluff and sprinkle“ method: Fluff your flour with a spoon, sprinkle the flour into your measuring cup, and level it off. Otherwise, you may scoop more flour than you need.
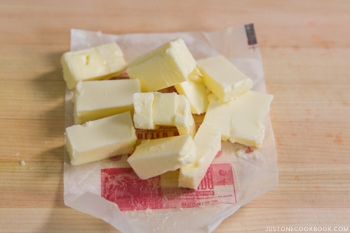
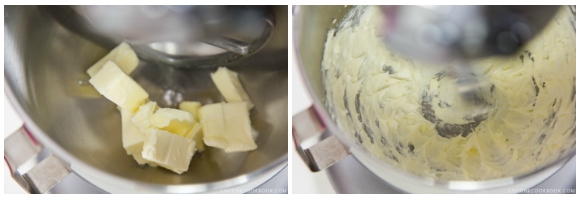
- If the ½ cup unsalted butter is not at room temperature yet, cut it into smaller pieces so that it will soften faster. It’s important to soften the butter before we start.
To Prepare the Cherry Blossoms
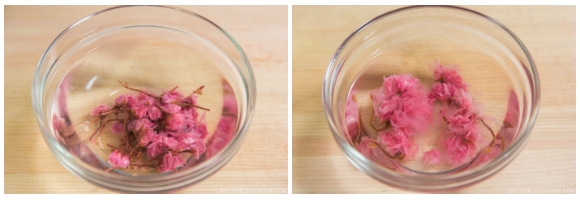
- Separate 1 oz salt-pickled cherry blossoms into two groups: 1) The good flowers for decorating the cookies; and 2) 1 Tbsp of the damaged flowers for blending into the cookie dough.
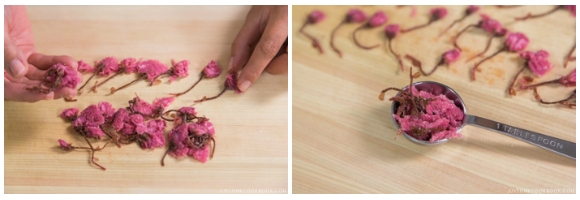
- To remove the saltiness, soak the two groups of flowers in separate bowls of water for at least 30 minutes. Tip: Salt is used to preserve the sakura leaves and flowers, but it‘s too salty to consume them as is, so we always need to soak them in water to remove the excess salt.
- After 30 minutes, squeeze out the water from the damaged flowers and pat them dry with a paper towel.
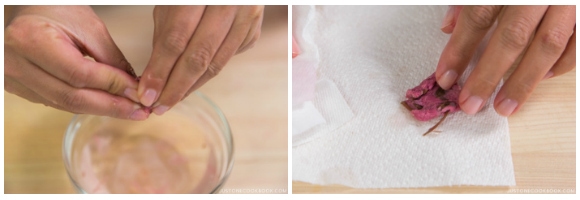
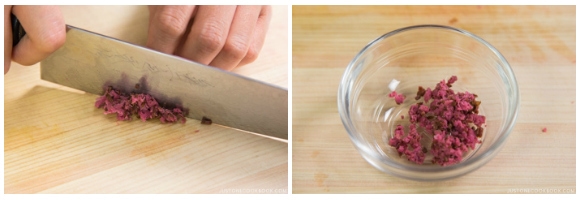
- Then, mince the damaged flowers and set aside.
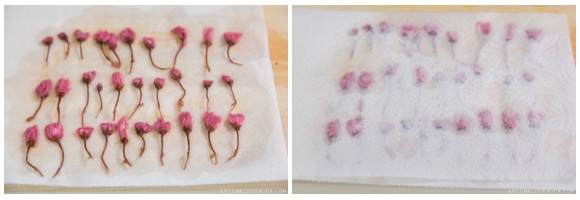
- Next, prepare the good flowers. Remove them from the soaking water, one stem at a time. As you do so, dip the flower head in the soaking water a few times so the petals point upward and lie in the same direction. Place it on a paper towel. Repeat with the rest of the cherry blossoms. When you‘re done, cover the flowers with another sheet of paper towel and gently pat dry. Set aside.
To Mix the Dough
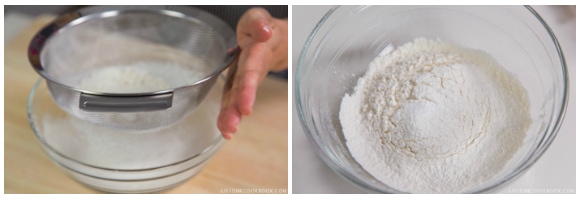
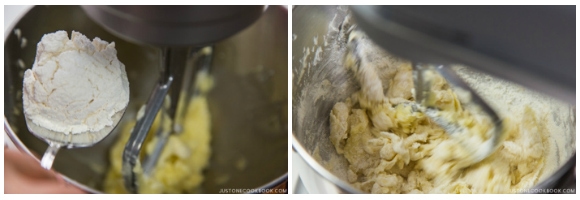
- Sift 1 cup cake flour in a bowl and add ⅛ tsp Diamond Crystal kosher salt to the same bowl. Set aside.
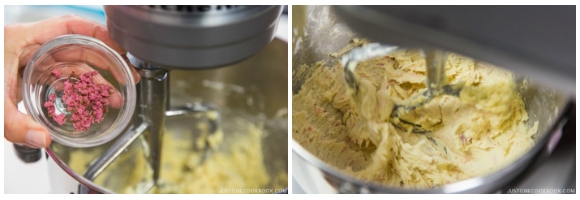
- In a stand mixer fitted with a paddle attachment or in a large bowl with a hand mixer, beat the softened butter until smooth and creamy.
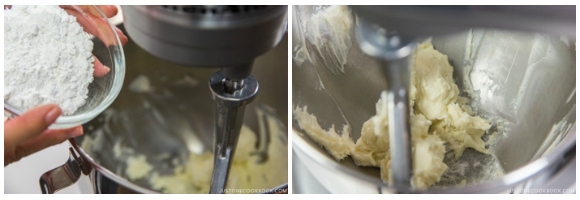
- Add ½ cup confectioners’ sugar and blend until soft and light, occasionally scraping down the bowl as needed.
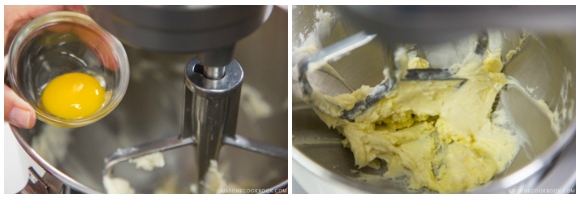
- Add 1 large egg yolk and mix well until combined.
- Add the minced cherry blossoms and blend well. Note: I‘ve revised this recipe (3/4/23) to add the cherry blossoms to the dough before adding the flour; the video and the step-by-step pictures reflect the previous version of the recipe.
- Gradually add the sifted cake flour and salt to the bowl and stir until just blended. Tip: Do not overmix, or the dough will be tough.
To Form the Cookies
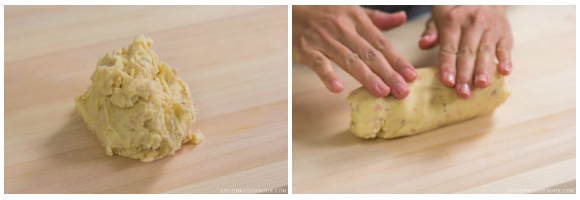
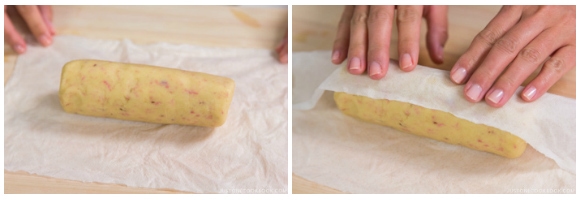
- Remove the dough from the bowl and place it on your work surface. Shape it into a cylinder, about 1½ inches (4 cm) in diameter. Tip: If the dough is too soft and sticky to roll, wrap it with plastic wrap and chill it in the refrigerator for 15–30 minutes. This will firm up the dough and allow you to roll it into a log shape.
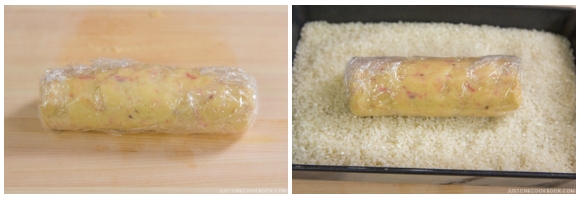
- Wrap the dough log in plastic wrap and chill in the refrigerator until firm, at least 2 hours. Optional: You can place the dough on a bed of rice while chilling. It’ll help keep the dough in a nice cylindrical shape, so your cookie slices won’t be flat on one side.
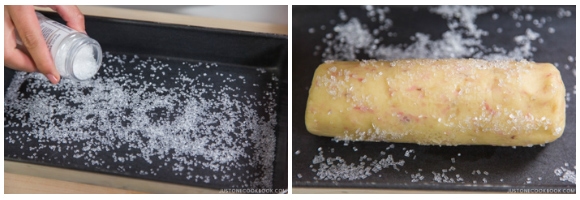
- After 2 hours, take out the dough log from the refrigerator and remove the plastic. Next, wrap the dough with a damp paper towel to wet its surface slightly. Of course, you can use the traditional method and brush egg wash on the dough, but the damp paper towel method works every time for me.
- In a tray that fits the cookie dough, sprinkle the white sparkling sugar. Remove the damp paper towel and roll the dough log in the sparkling sugar so that it adheres.
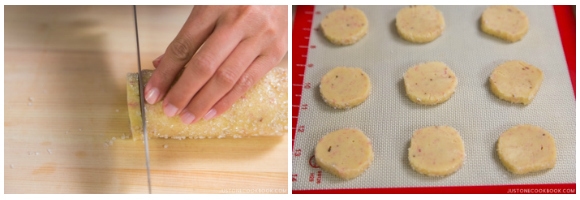
- With a sharp knife, slice the dough into rounds about ⅓ inch (7 mm) thick. You should get 16–18 cookie rounds from one log. Place them on a baking sheet lined with parchment paper or a silicone baking liner. Leave about 1 inch (2.5 cm) of space between the rounds.
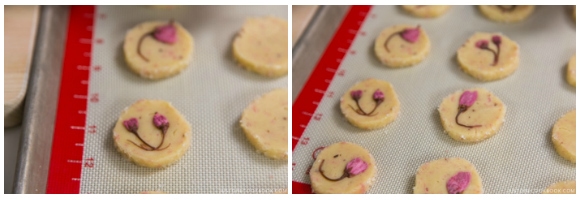
- Decorate the top of each cookie round with one or two reserved cherry blossoms, gently pressing them down so they adhere to the dough. Put the baking sheet with the cookies in the refrigerator for 10–15 minutes (or in the freezer for a short time) until firm and chilled. During this time, place the oven rack in the center position and preheat the oven to 350ºF (175ºC). For a convection oven, reduce the cooking temperature by 25ºF (15ºC). Tip: If you don‘t chill the cookie dough, the butter will melt too quickly in the oven and the cookie dough will spread and flatten.
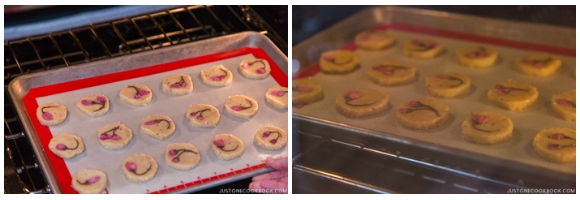
To Bake
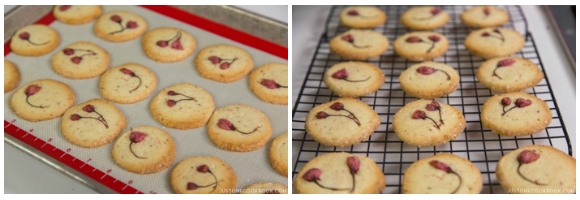
- When the oven is preheated, take out the baking sheet from the refrigerator and bake the cookies at 350ºF (170ºC) for about 15 minutes, or until the edges turn golden brown.
- Remove from the oven and let cool on the baking sheet for 5 minutes; then, carefully transfer them to a wire rack and let cool completely before serving.
To Store
- You can keep the cookies in an airtight container and store in a cool place for at least 4 days. You can also freeze the unbaked logs of dough, wrapped in plastic wrap, for up to 2 months. Let the frozen logs sit at room temperature for about 10 minutes before cutting and baking. Do not let the dough fully defrost.
Notes
Cake Flour: A properly measured cup of cake flour weighs 4.23 oz (120 g). The weight for 1 cup flour varies on how you measure it. When you measure flour by volume, please follow the methods below. I’ve tested this method many times, and if you do it properly, 1 cup is VERY close to 120 g each time:
- Fluff up the flour several times with a spoon.
- Using the spoon, sprinkle the flour into your dry measuring cup (the one that measures exactly a cup at the top).
- Scrape off the excess with a knife.
Nutrition
Calories: 90 kcal · Carbohydrates: 8 g · Protein: 1 g · Fat: 6 g · Saturated Fat: 4 g · Polyunsaturated Fat: 1 g · Monounsaturated Fat: 2 g · Trans Fat: 1 g · Cholesterol: 25 mg · Sodium: 10 mg · Potassium: 14 mg · Fiber: 1 g · Sugar: 2 g · Vitamin A: 225 IU · Vitamin C: 1 mg · Calcium: 5 mg · Iron: 1 mg