

This post may contain affiliate links. Please read my disclosure policy.
Homemade Japanese Mayonnaise at a Glance
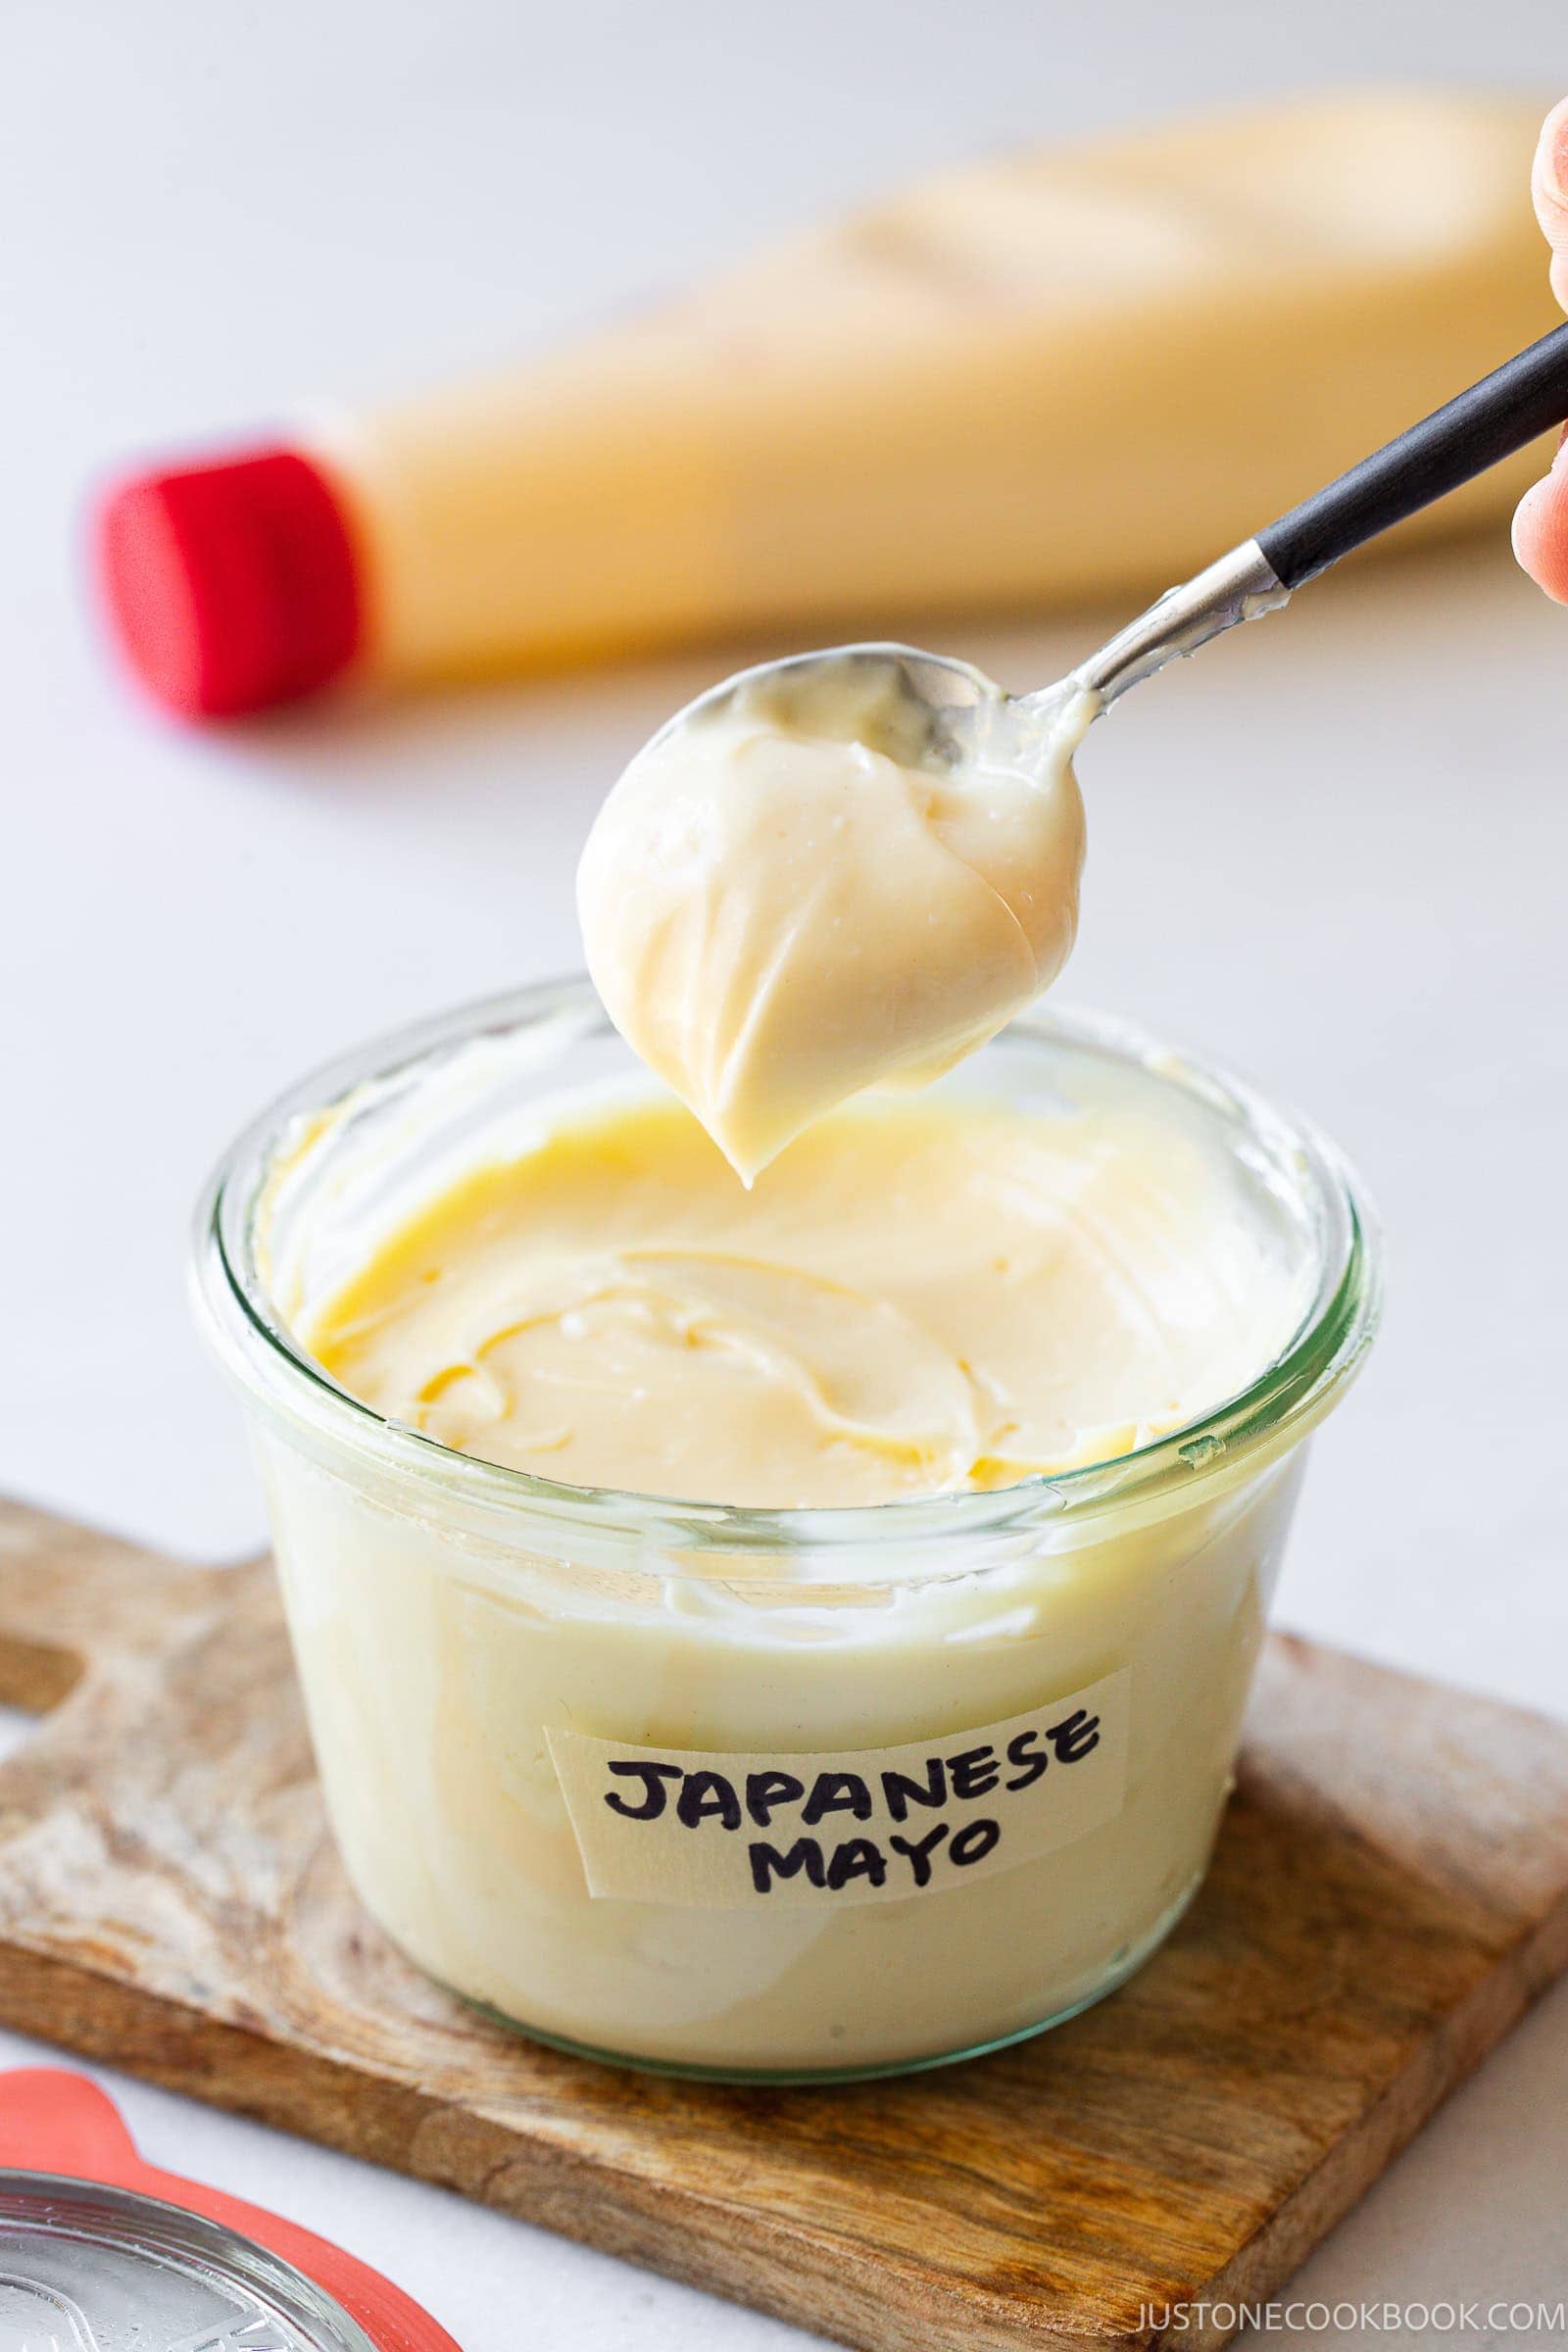
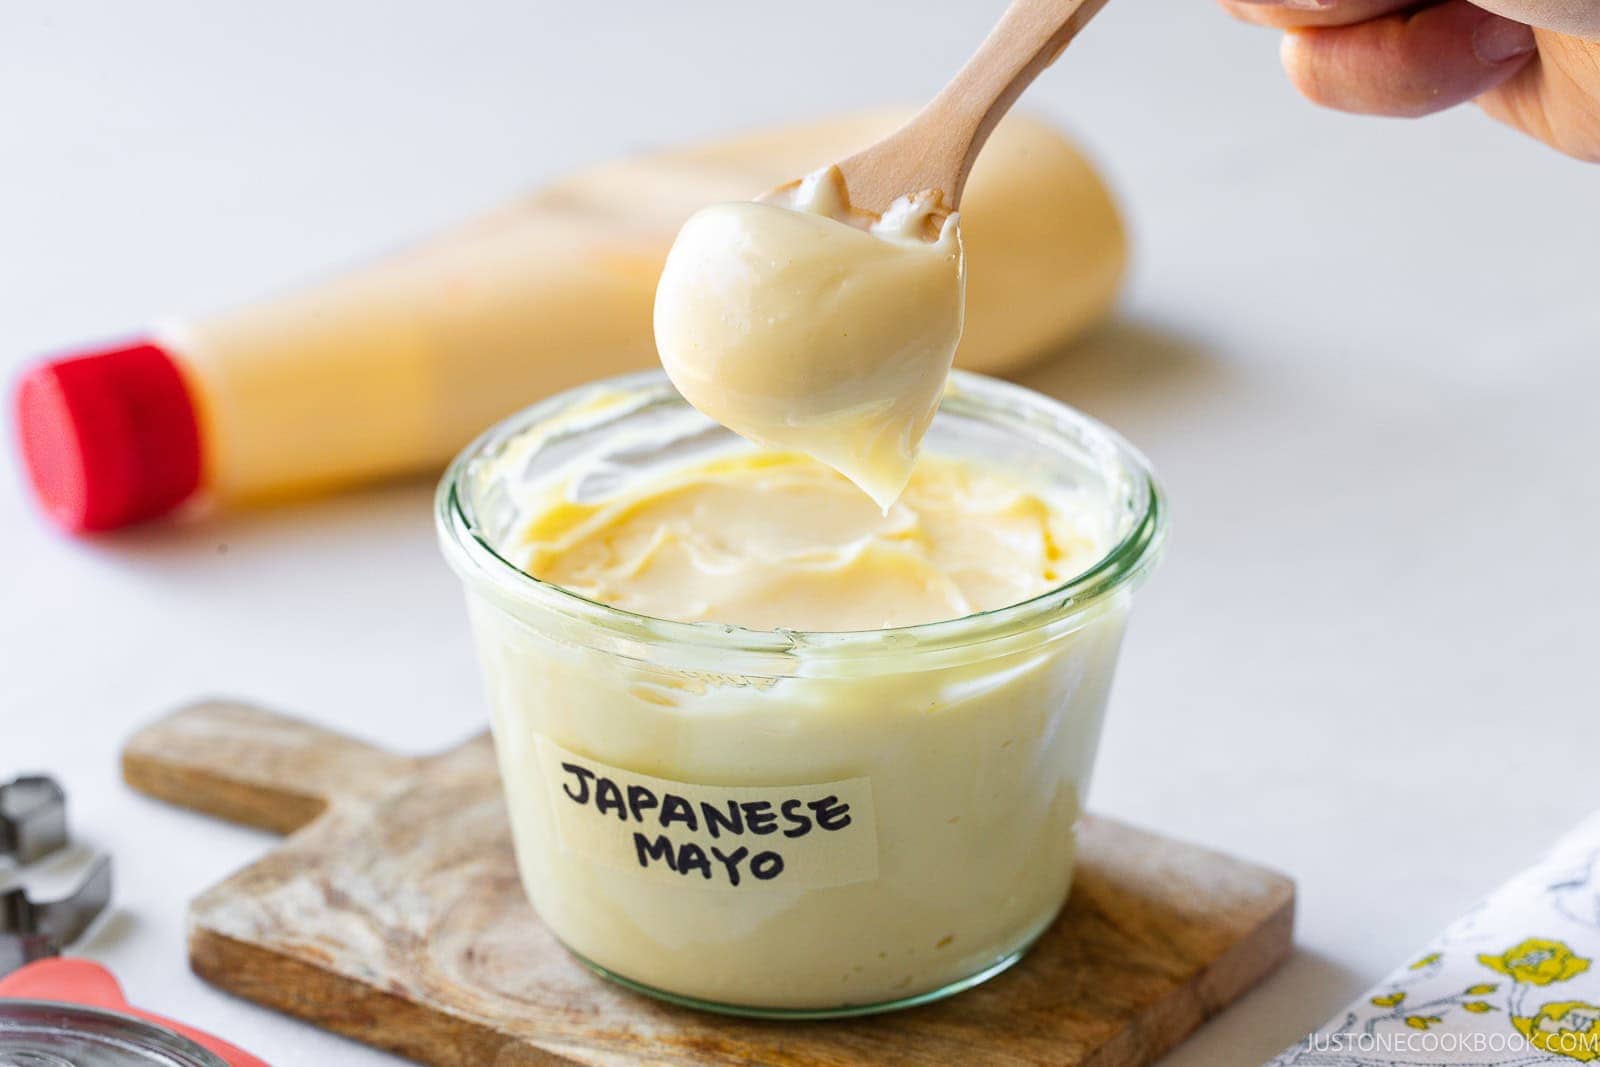
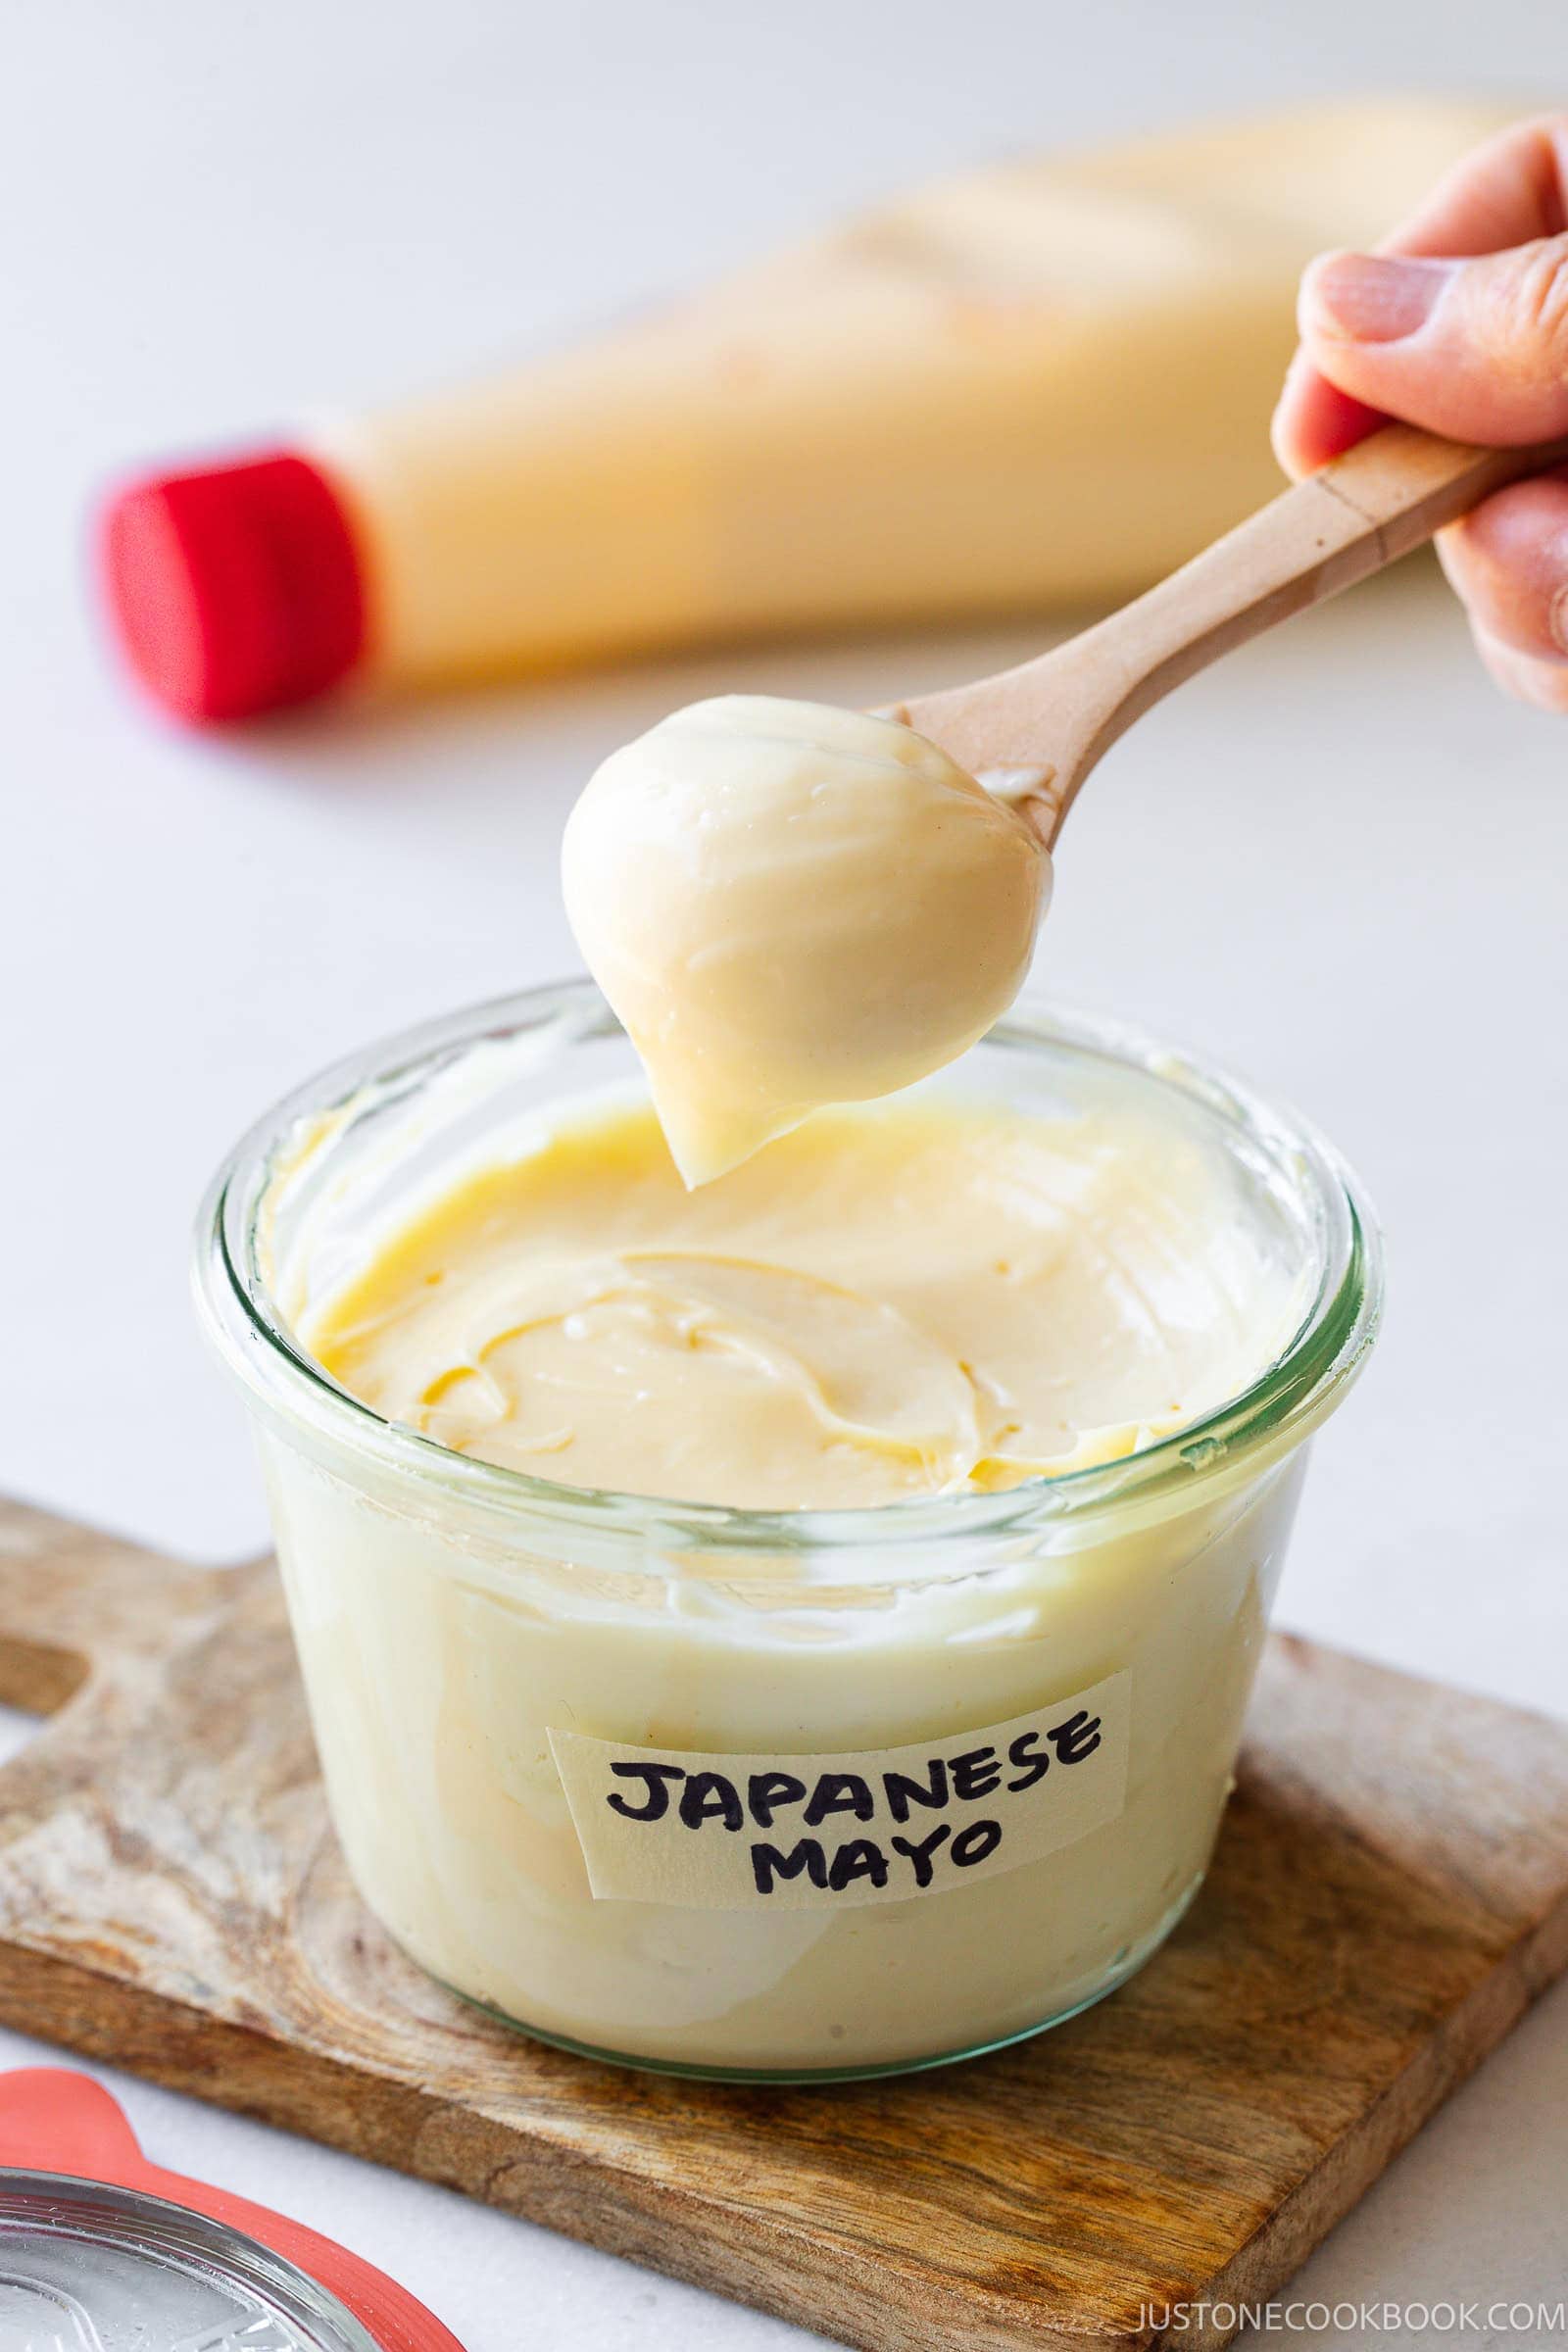
Japanese mayonnaise (マヨネーズ), better known as Kewpie mayo, is a staple in Japanese households. Made with egg yolks and mild vinegar, it has a thicker, custard-like texture and savory-sweet tang compared to American mayo, which typically uses whole eggs and sharper distilled vinegar.
Why You’ll Love It
- Even mayo skeptics write to tell me they like Japanese mayo. Its tangy umami and creamy texture are nothing like the American kind.
- Custard-like texture from egg yolks only. It gives this mayonnaise a thick, velvety body that whole-egg American mayonnaise cannot match.
- A retested yolk to oil ratio holds the emulsion together so every batch comes out as smooth, creamy mayo without separating.
“おいしい!Wow, this tastes just like Kewpie mayo! And it’s easy to make too! Now on to the macaroni salad recipe!”
Laura
My Recipe Story
I first shared this recipe in 2017. Back then, Japanese mayo was hard to find in US stores, and homemade recipes were rare. Many readers asked for a version with the same creamy texture, subtle sweetness, and rich umami.
Since then, your feedback helped me retest the recipe and learn why some emulsions failed. I discovered three changes that made the difference:
Machine speed: My original recipe used the “Stir” setting on my old Cuisinart blender/food processor. Most standard food processors need high speed to emulsify the oil and egg yolk, which has been updated in this version.
Oil choice: Not all neutral oils work equally. Thick oils feel heavy, and unrefined oils resist emulsifying, even turning bitter at high speeds. The updated recipe now calls for thin, fast-flowing refined oils like canola, safflower, or refined grapeseed/avocado oil.
Adjusted ratios: I tweaked the egg yolk-to-oil ratio for a more reliable emulsion. I kept the dashi powder for extra umami, but it’s now optional. Too much can make the mayo taste fishy.
If you enjoy making sauces from scratch, try my Homemade Tonkatsu Sauce, Homemade Eel Sauce, and Homemade Ponzu Sauce next!
Key Ingredients for Japanese Mayonnaise
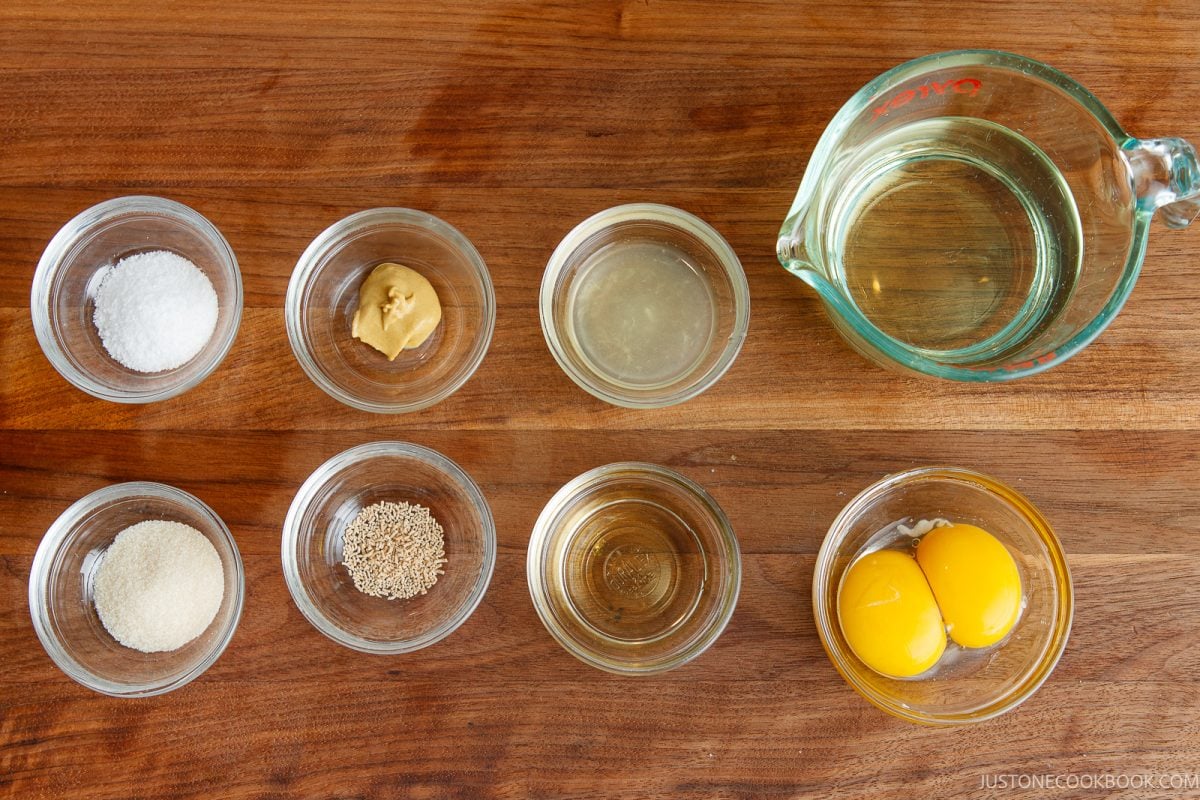
You’ll need egg yolks, Dijon mustard, neutral oil, kosher salt, sugar, dashi powder, rice vinegar, and fresh lemon juice.
- Pasteurized egg yolks – Yolks alone give the mayo a rich, custard-like texture. Buy pasteurized eggs, or pasteurize them at home with an immersion circulator. See my How to Pasteurize Eggs at Home post.
- Neutral oil – Choose a thin, fast-flowing refined oil like canola, safflower, or refined grapeseed or avocado oil. Skip extra virgin olive oil and unrefined vegetable oil blends (corn or soybean). They have a greasy mouthfeel and turn bitter when blended at a high speed.
- Dijon mustard – Don’t skip this! Its natural lecithin and mucilage compounds help the egg yolks hold tiny oil droplets to stabilize the emulsion. It also balances the overall flavor. Yellow mustard works 1:1.
- Rice vinegar (unseasoned) – Milder than distilled white vinegar, it adds a subtle tang without any harsh acidity. Champagne vinegar also works.
- Dashi powder (optional) – Boosts umami to mirror store-bought Kewpie. Substitute with a pinch of MSG (Ajinomoto), or leave it out.
Find the printable recipe with measurements below.
Jump to Recipe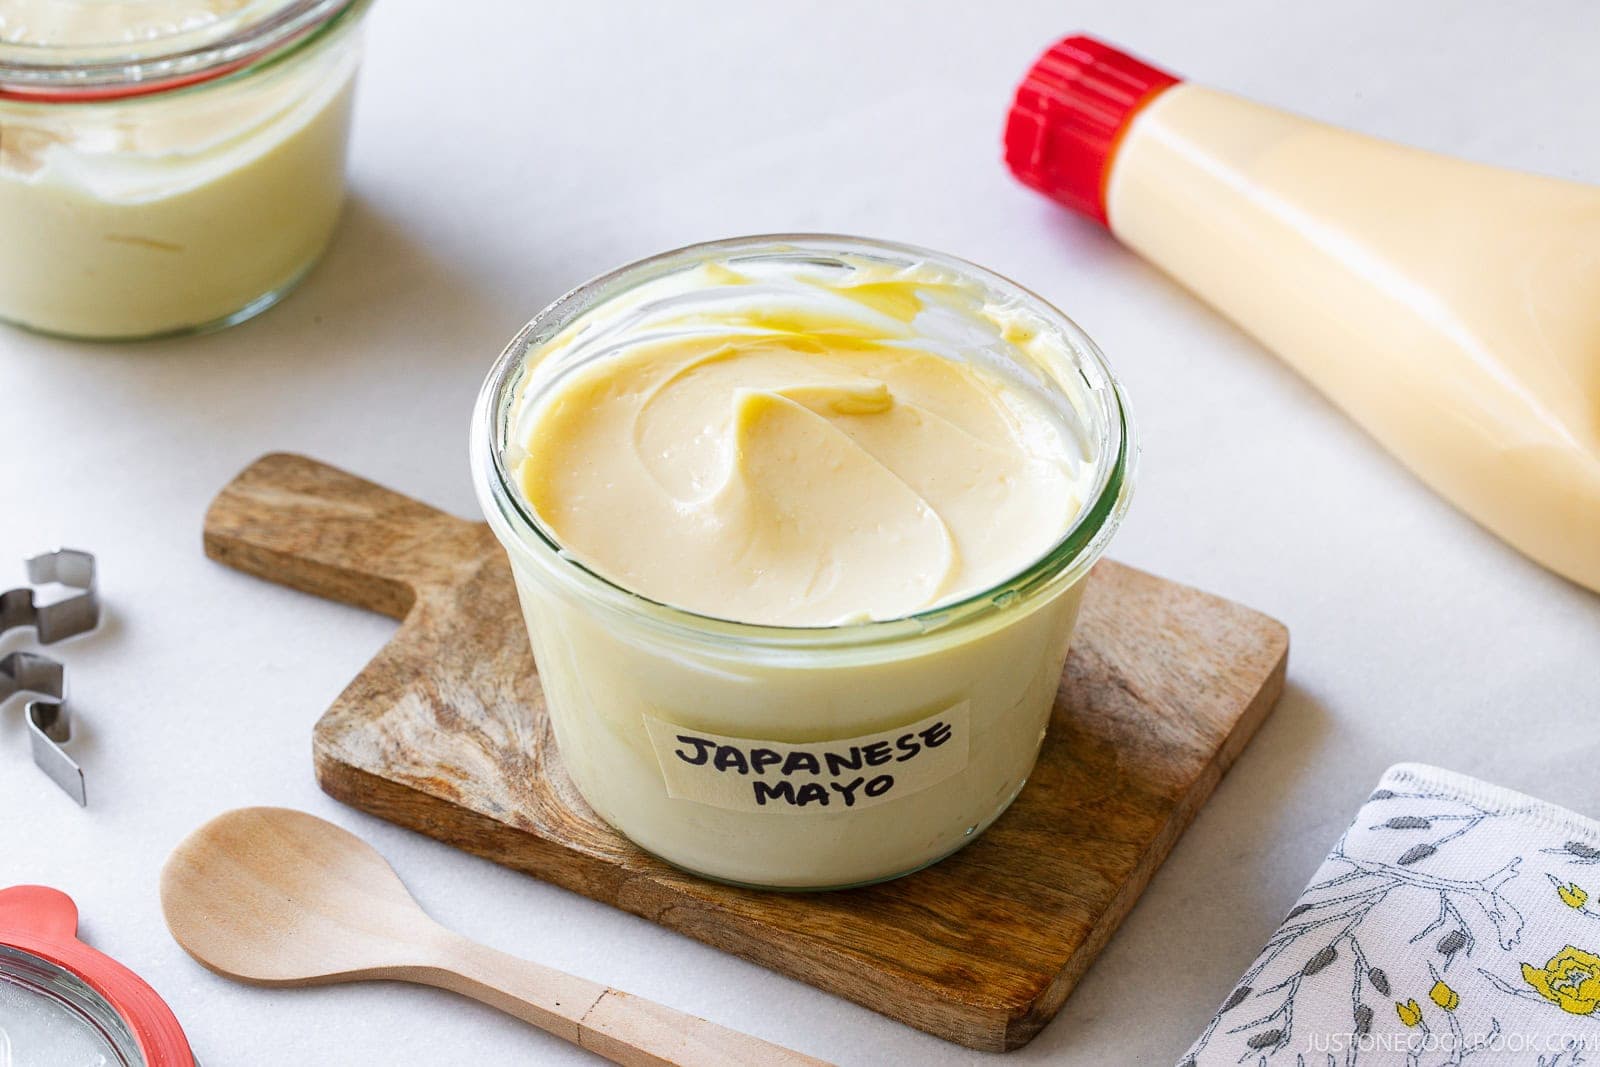
How to Make Kewpie Mayo—Two Ways
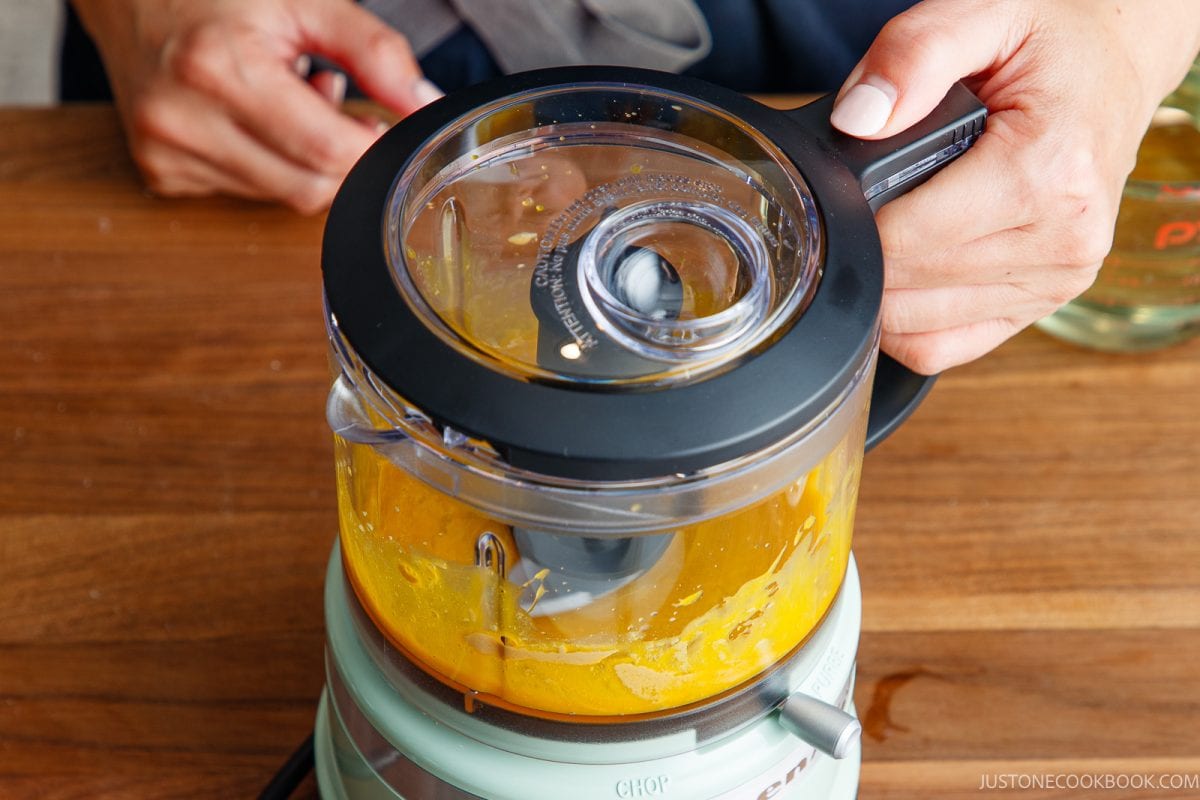
With a Food Processor
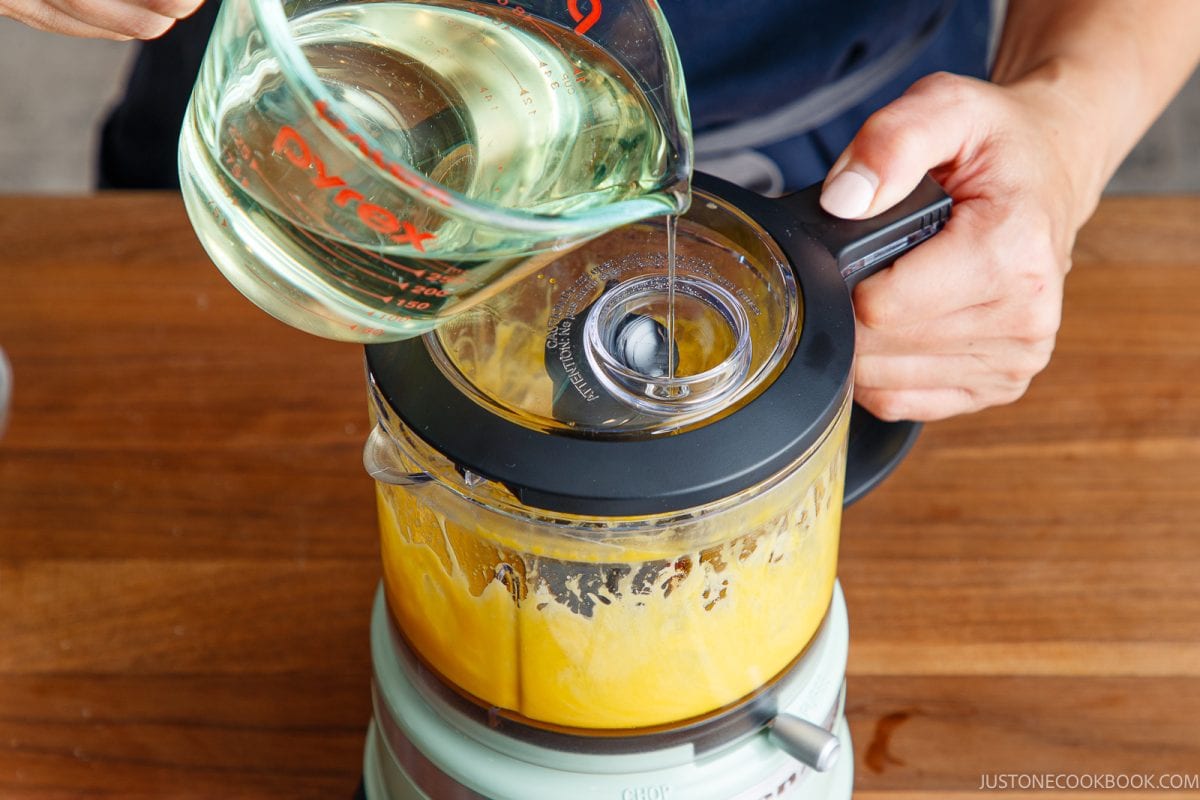
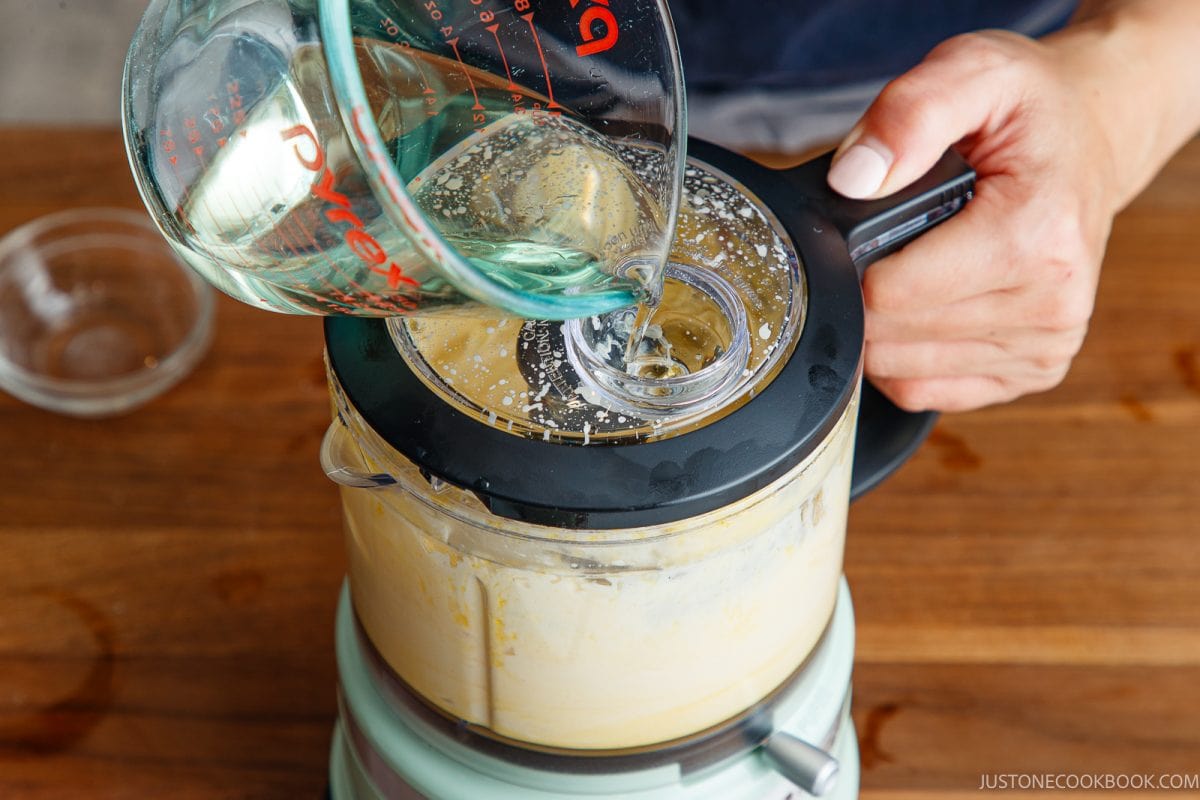
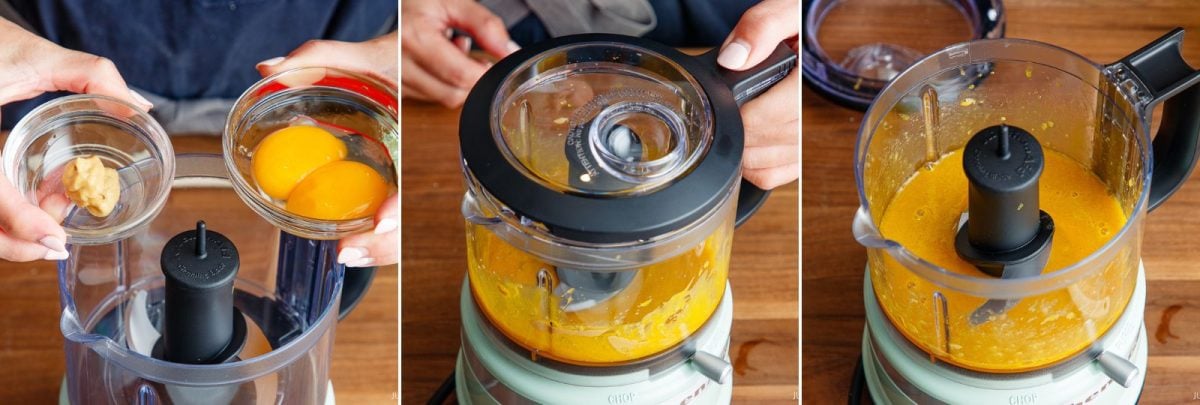
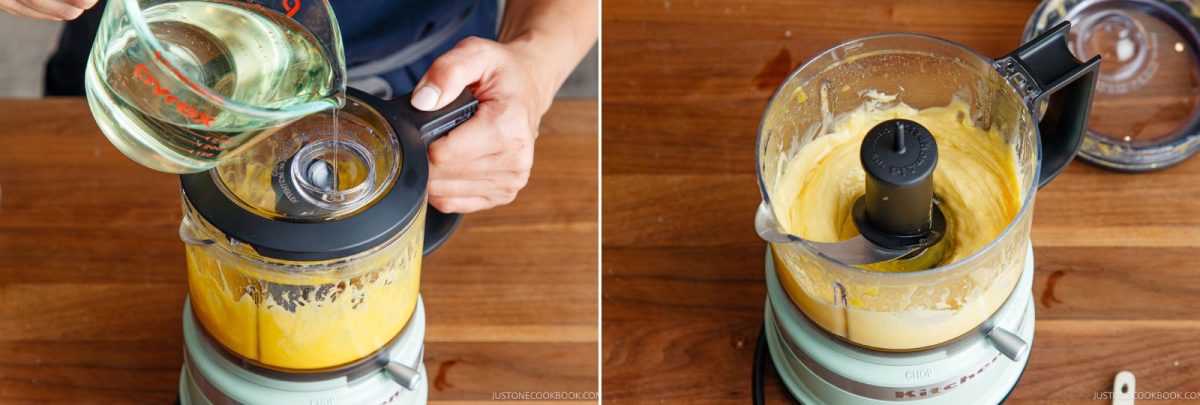
- Blend the base and first 1/3 of oil. Process the room-temperature egg yolks and Dijon mustard in a small food processor until combined. With the motor on high, slowly drizzle in the first ⅓ of the oil to form a thick emulsion.
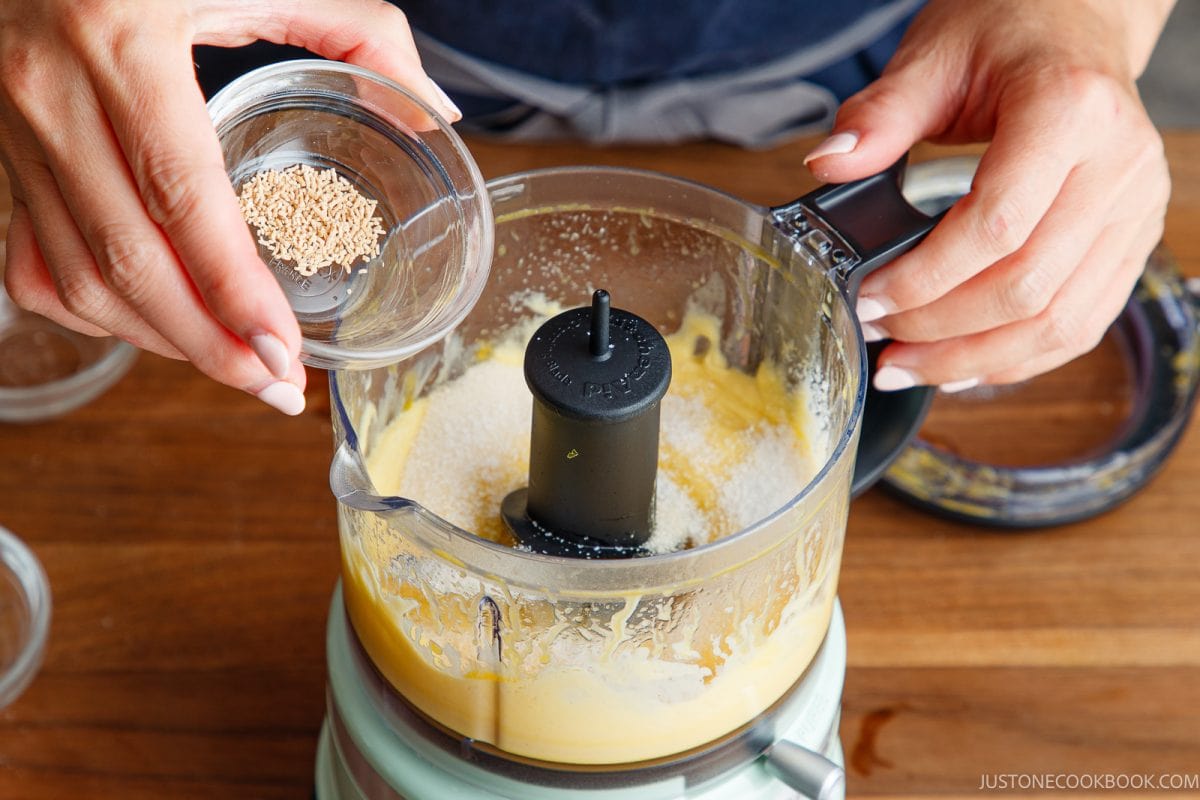
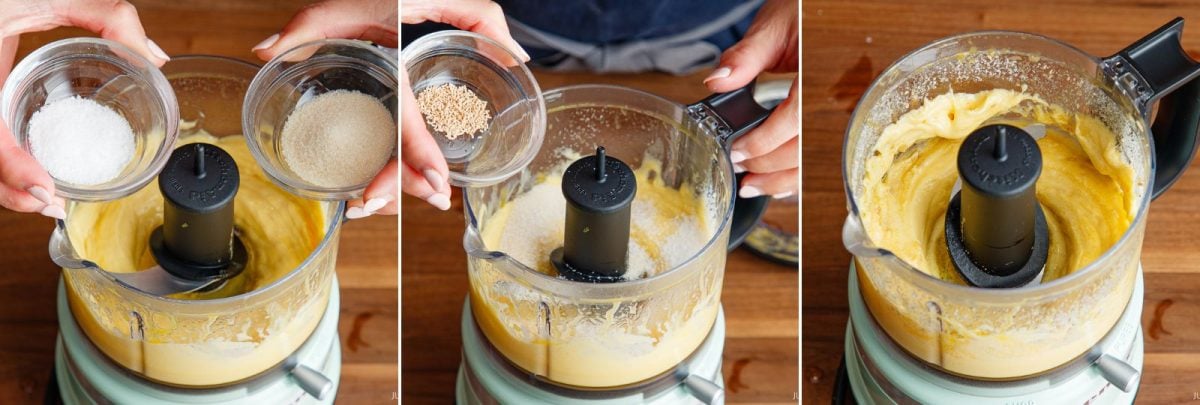
- Add the seasonings and second 1/3 oil. Add the salt, sugar, and optional dashi powder. Process until combined. With the processor running, slowly stream in the second ⅓ of oil.
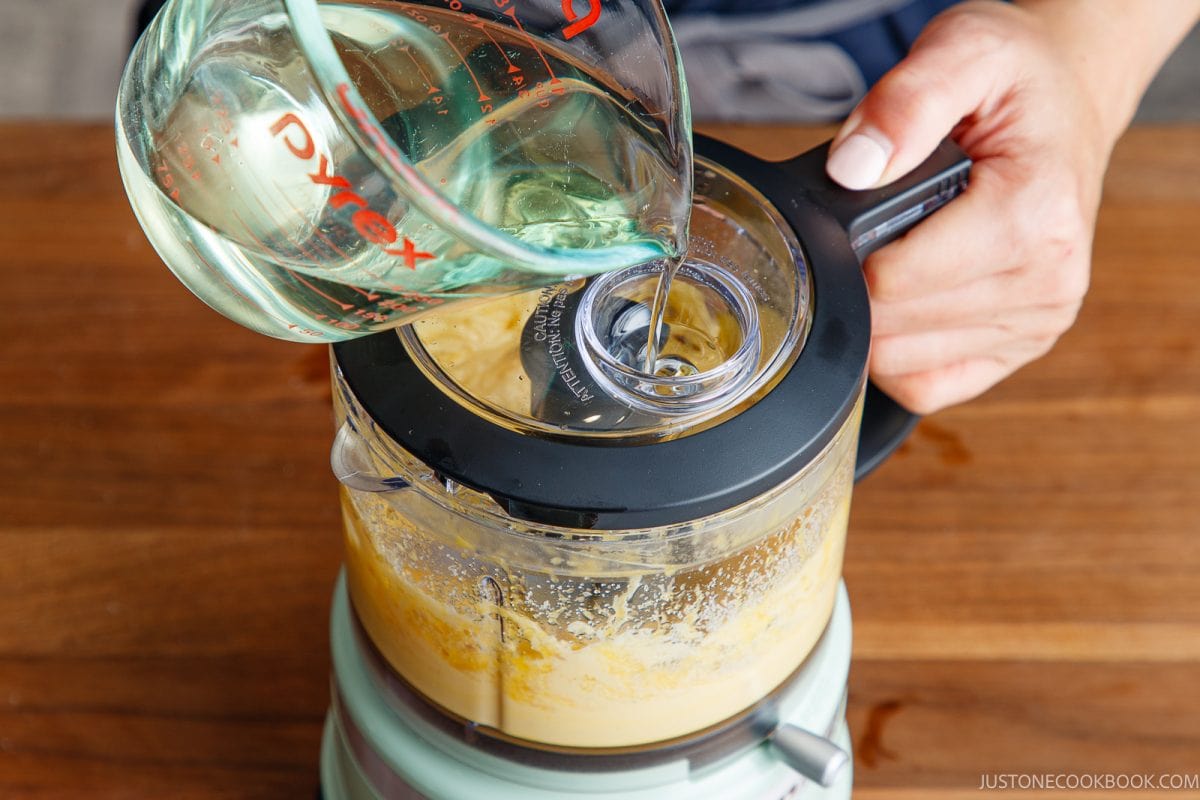
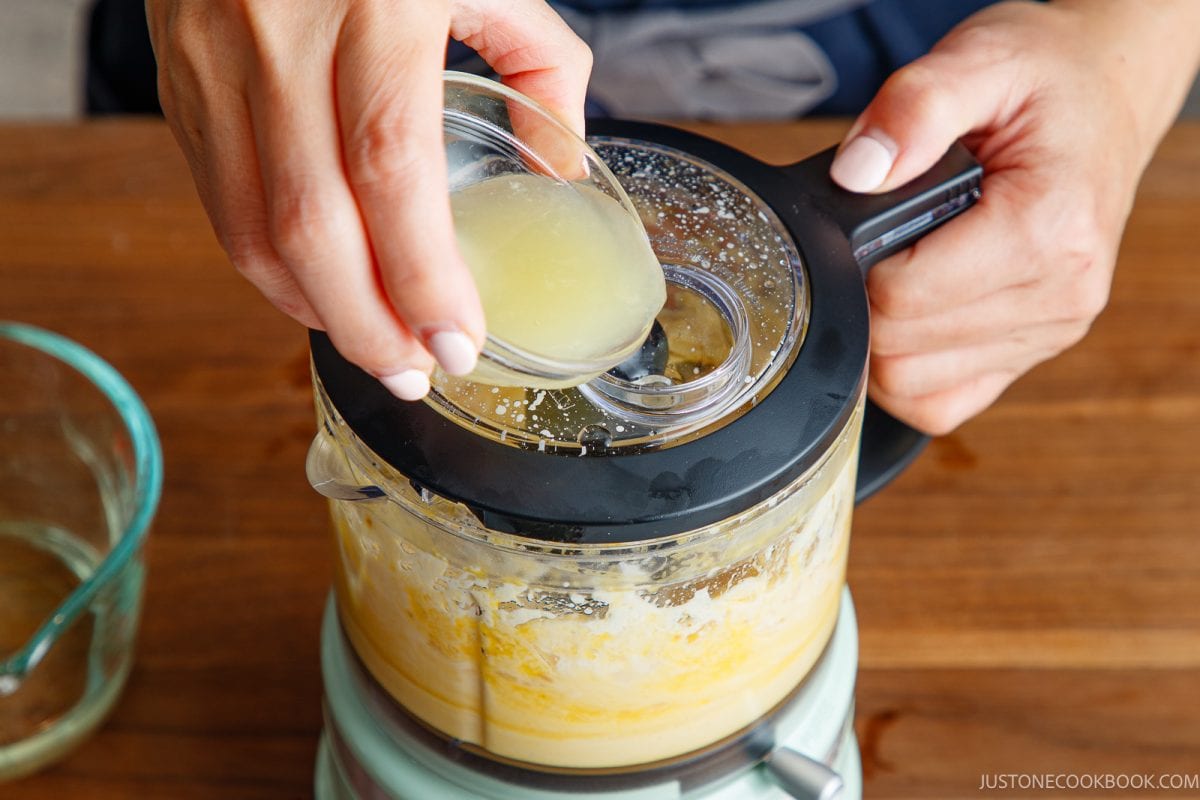
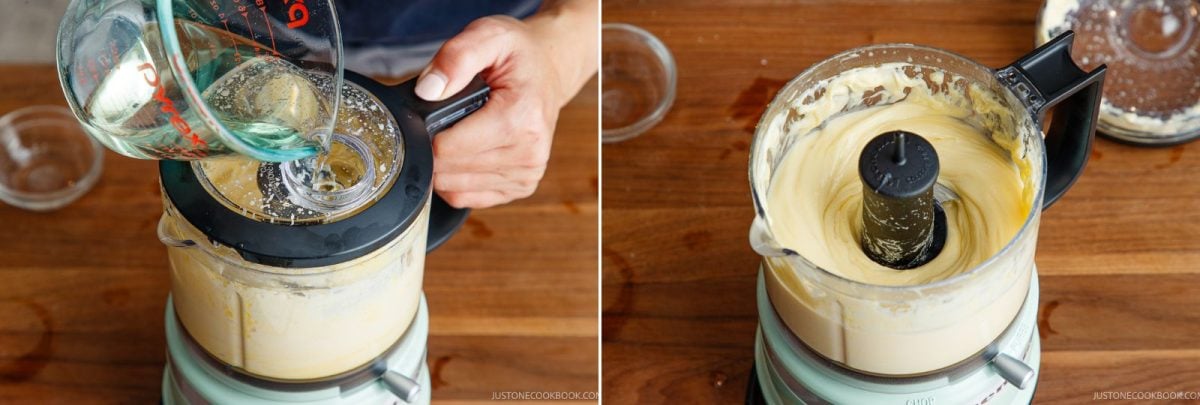
- Add the acids and last 1/3 of the oil. Add the rice vinegar and lemon juice and process until smooth. With the motor running, pour in the remaining ⅓ of oil.
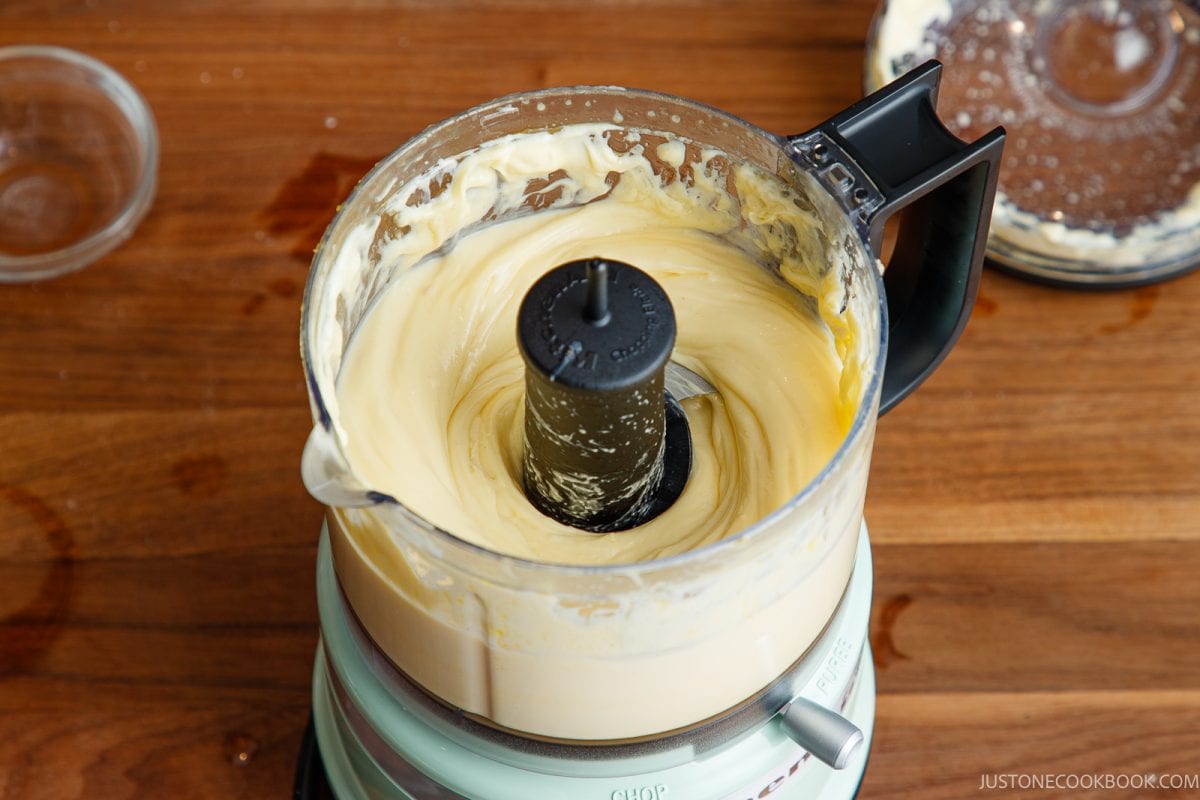
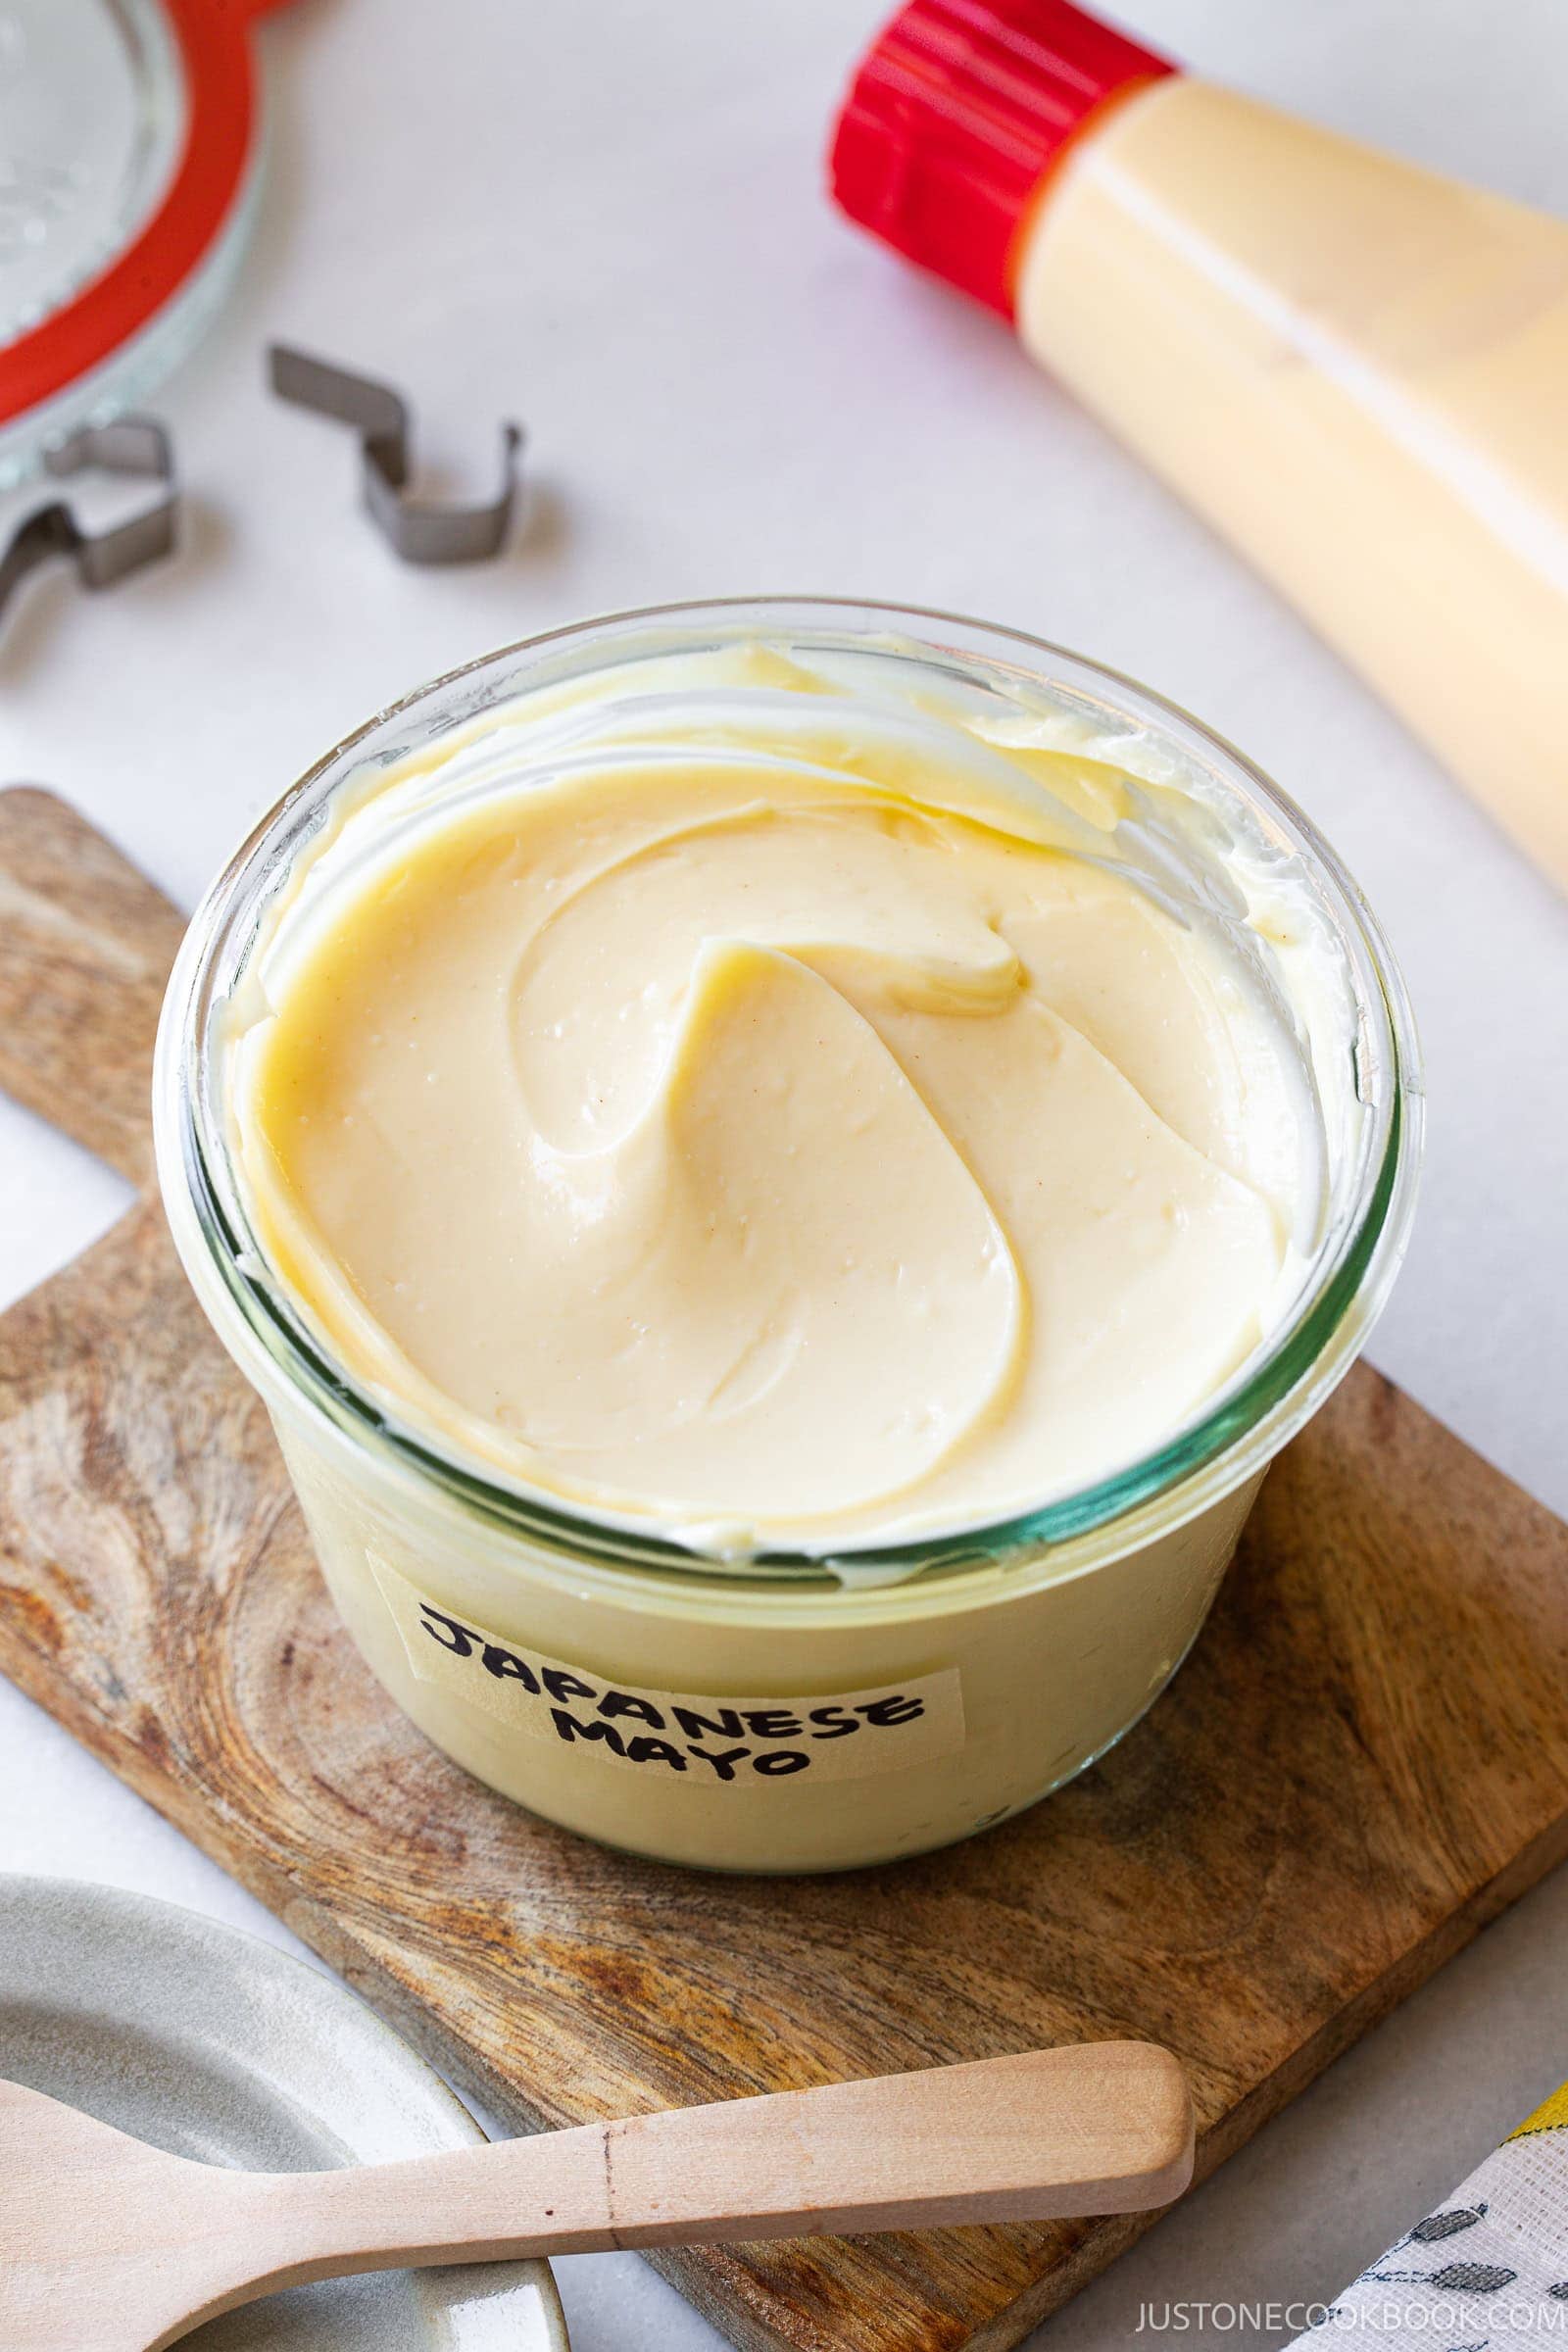
- Finish and taste. Process on high speed until the mayonnaise is smooth, glossy, and thick. Give it a quick stir, adjusting the seasoning if needed.
With an Immersion Blender
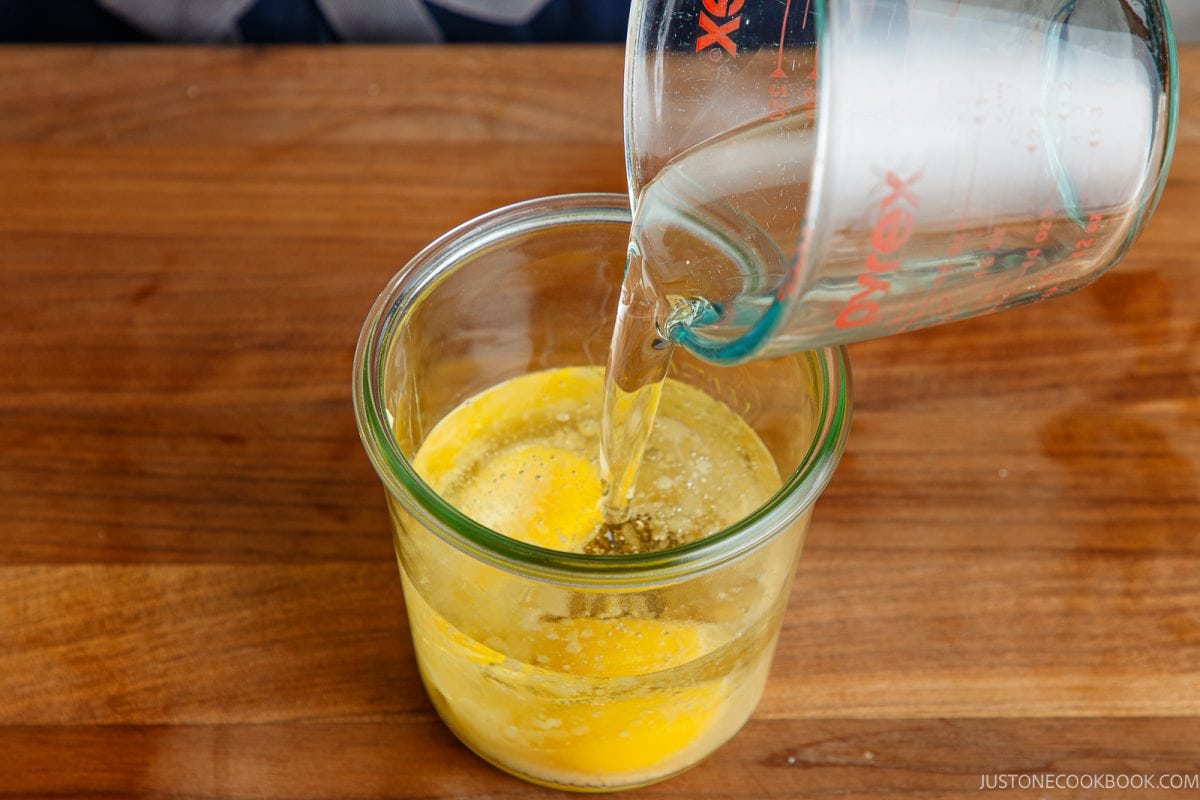
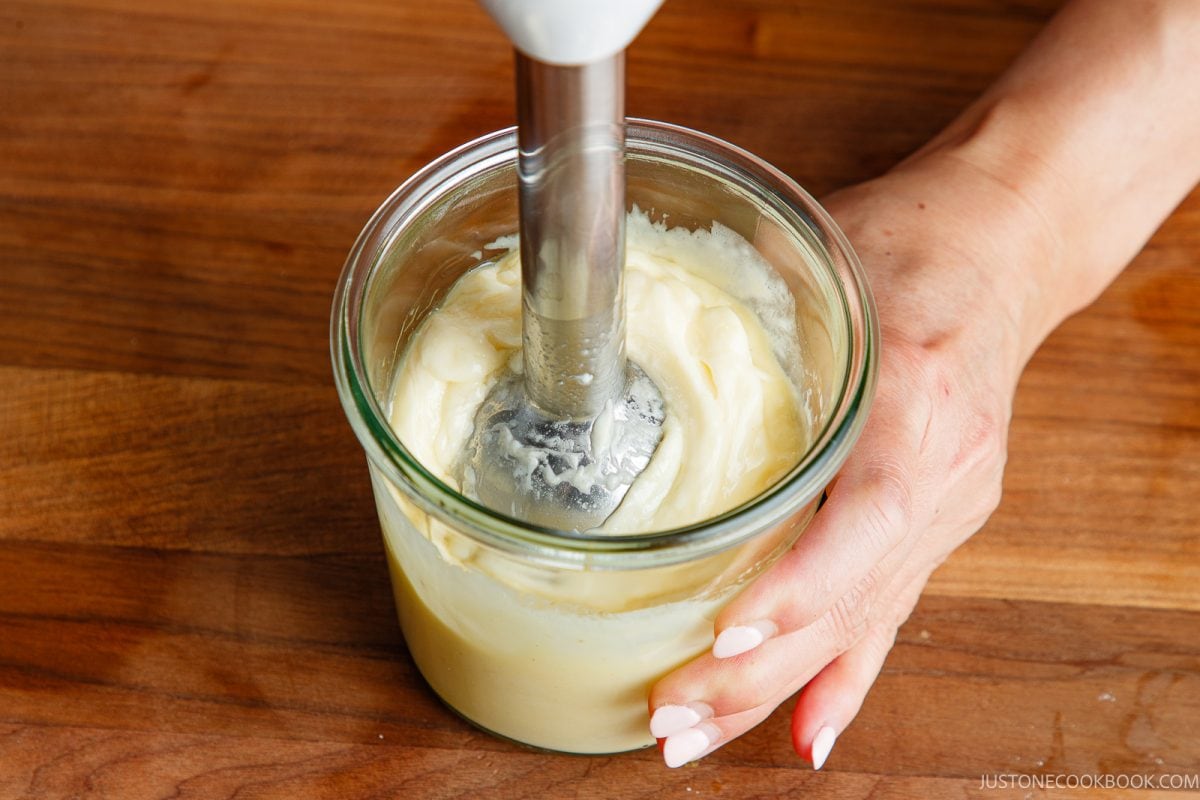
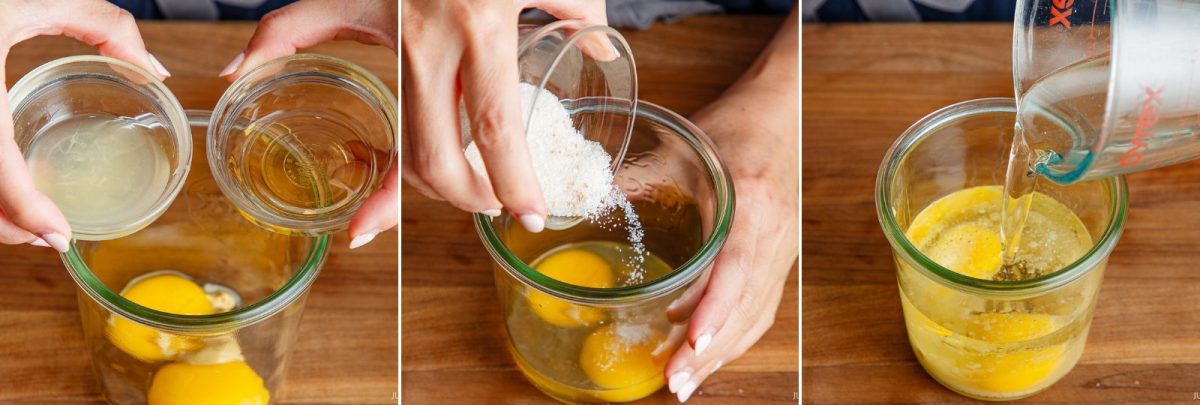
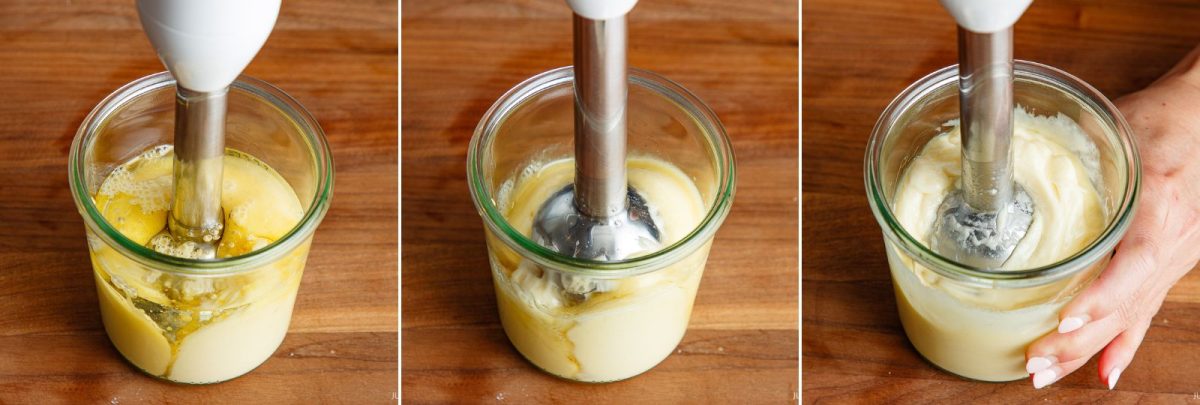
- Layer the ingredients. Add the room-temperature egg yolks, mustard, vinegar, lemon juice, salt, sugar, and optional dashi powder to a tall jar. Pour the oil on top and let settle for 1 minutes so the heavy liquids sink to the bottom.
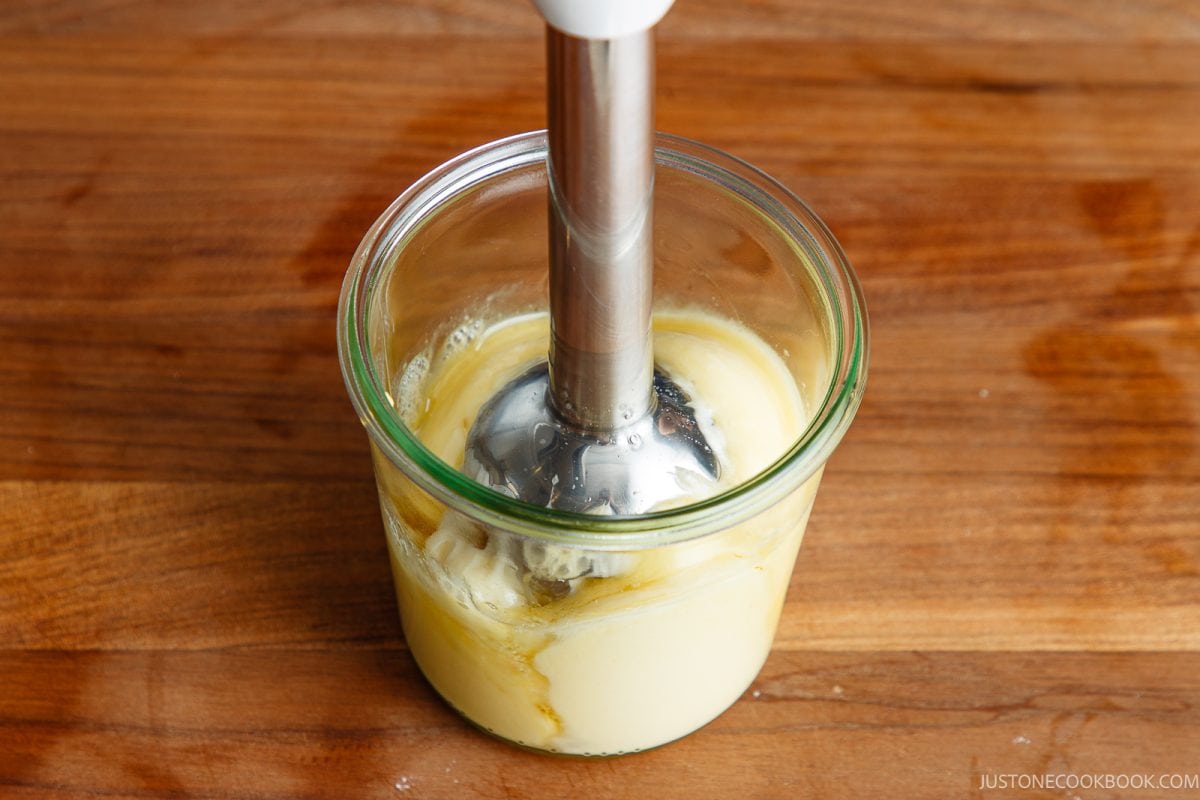
- Blend and emulsify from the bottom. Place the blender against the bottom of the jar covering the egg yolks. Blend on high without moving for 10 seconds until creamy. Slowly pull the blender up and down for a few seconds to incorporate the remaining oil.
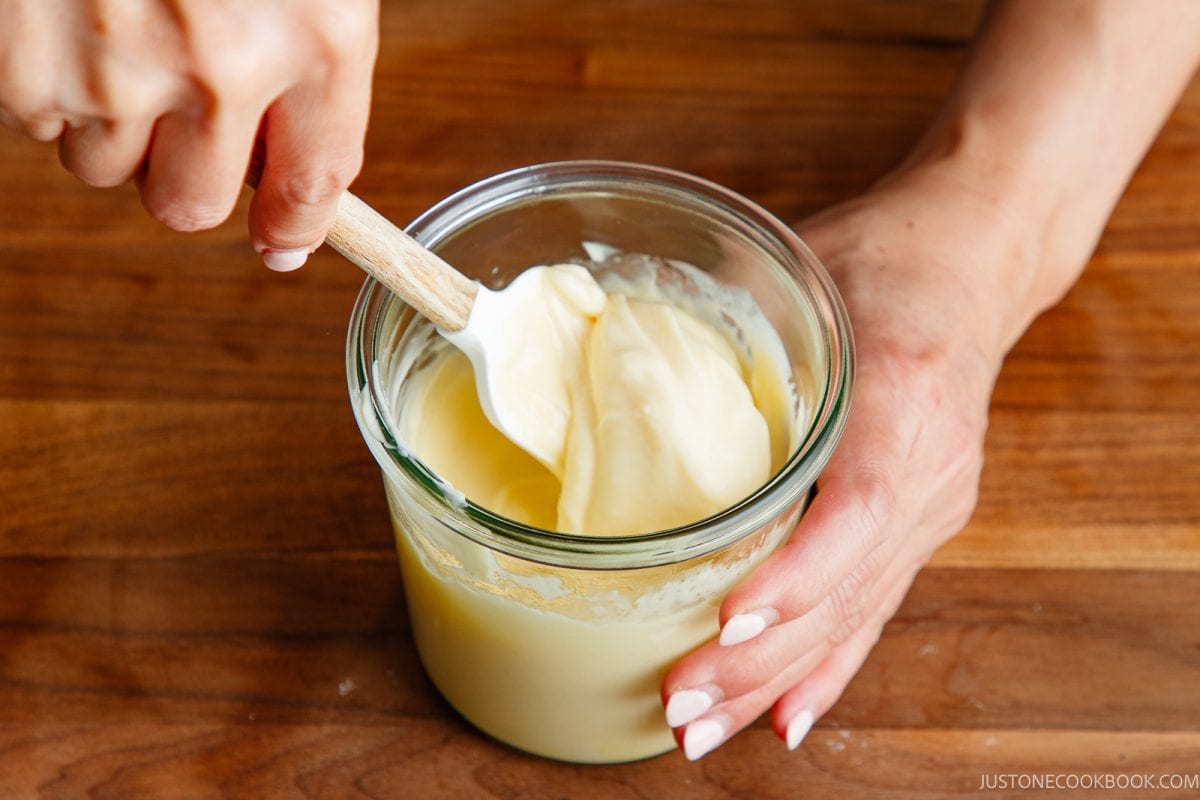
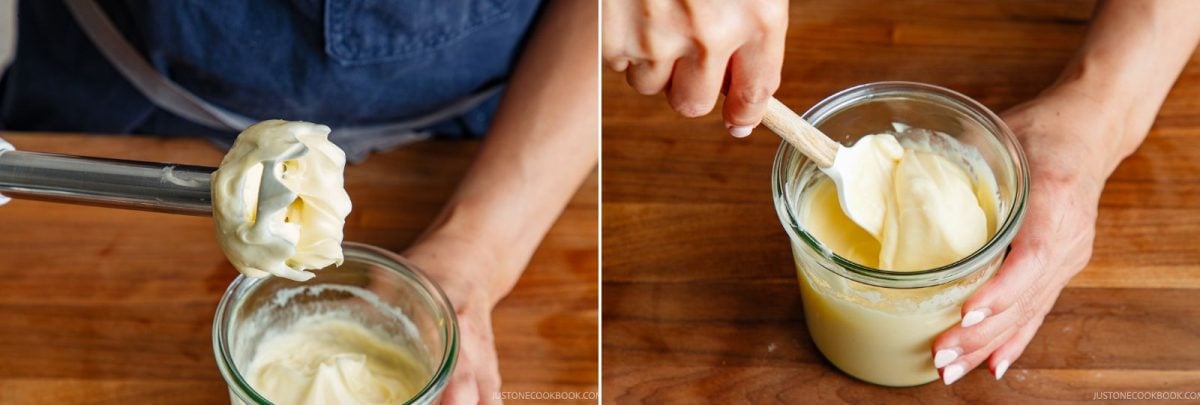
- Finish and check. Stir gently with a spoon until smooth and even. Adjust the seasoning if needed.

Nami’s Recipe Tips
Keep these tips in mind for the best results every time.
- Use a 3-cup food processor – In a standard (7–14 cup) food processor, the yolks sit below the blades and won’t emulsify. A mini 3-cup food processor lets the blades reach them. Otherwise, double the recipe or use an immersion blender.
- Use room-temperature egg yolks – Cold yolks can make it harder for the oil and egg yolk to emulsify, increasing the risk of separation.
- Choose a light, refined oil – I recommend high-quality canola, safflower, or refined grapeseed or avocado oil. Thick or unrefined oils like extra virgin olive oil feel greasy and turn bitter when blended.
- Use both rice vinegar and lemon juice – Rice vinegar adds mild sweetness, and lemon juice adds a bright, clean edge. Together, they cut the richness without tasting too sour. It creates the most authentic Kewpie mayo flavor.
- Blend on high speed – High speed breaks the oil into tiny droplets for a stable emulsion. Avoid the pulse or low settings.
- Add the oil in 3 portions – Slowly drizzle each portion in a thin, steady stream so the yolks can absorb it. Adding it all at once overwhelms the yolks, and separates the emulsion.
- Hold the immersion blender at the bottom – If using an immersion blender, hold the immersion blender flat over the yolks at the bottom of the jar, blending on high for 10 seconds before lifting. This helps the blades pull in the dense egg mixture first so the emulsion forms almost immediately.
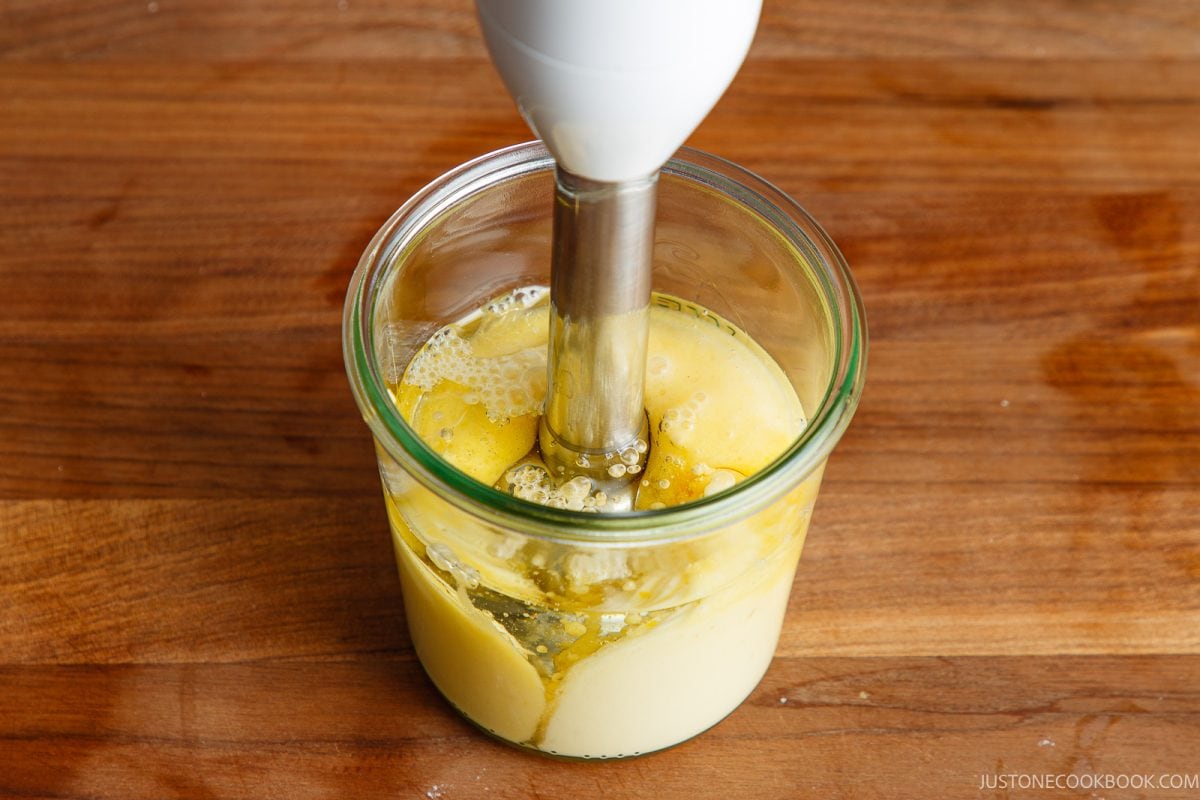
- Stop as soon as the mayo comes together – Homemade mayonnaise comes together quickly. Overprocessing can heat the mixture and cause the emulsion to break.
- Rescue broken mayonnaise – If the mayo separates, add 1 egg yolk (or 1 teaspoon warm water) to a clean bowl or jar. Slowly blend in the broken mayo one spoonful at a time until thick and creamy.
Storage Tips
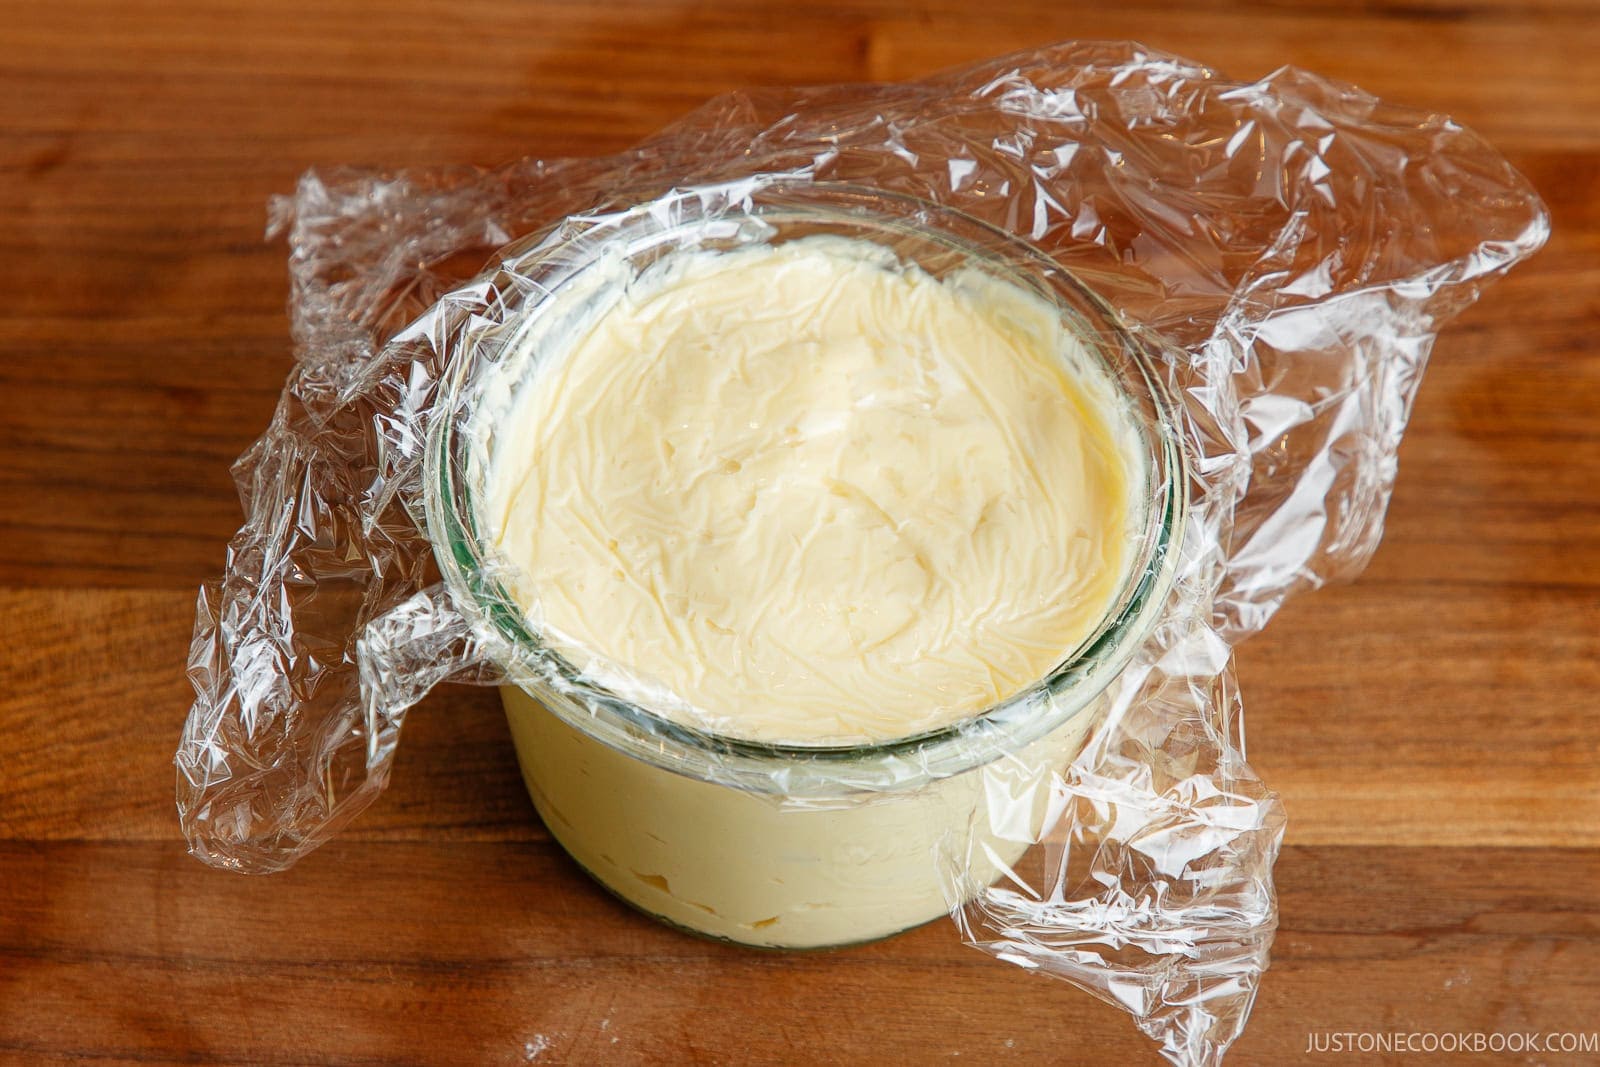
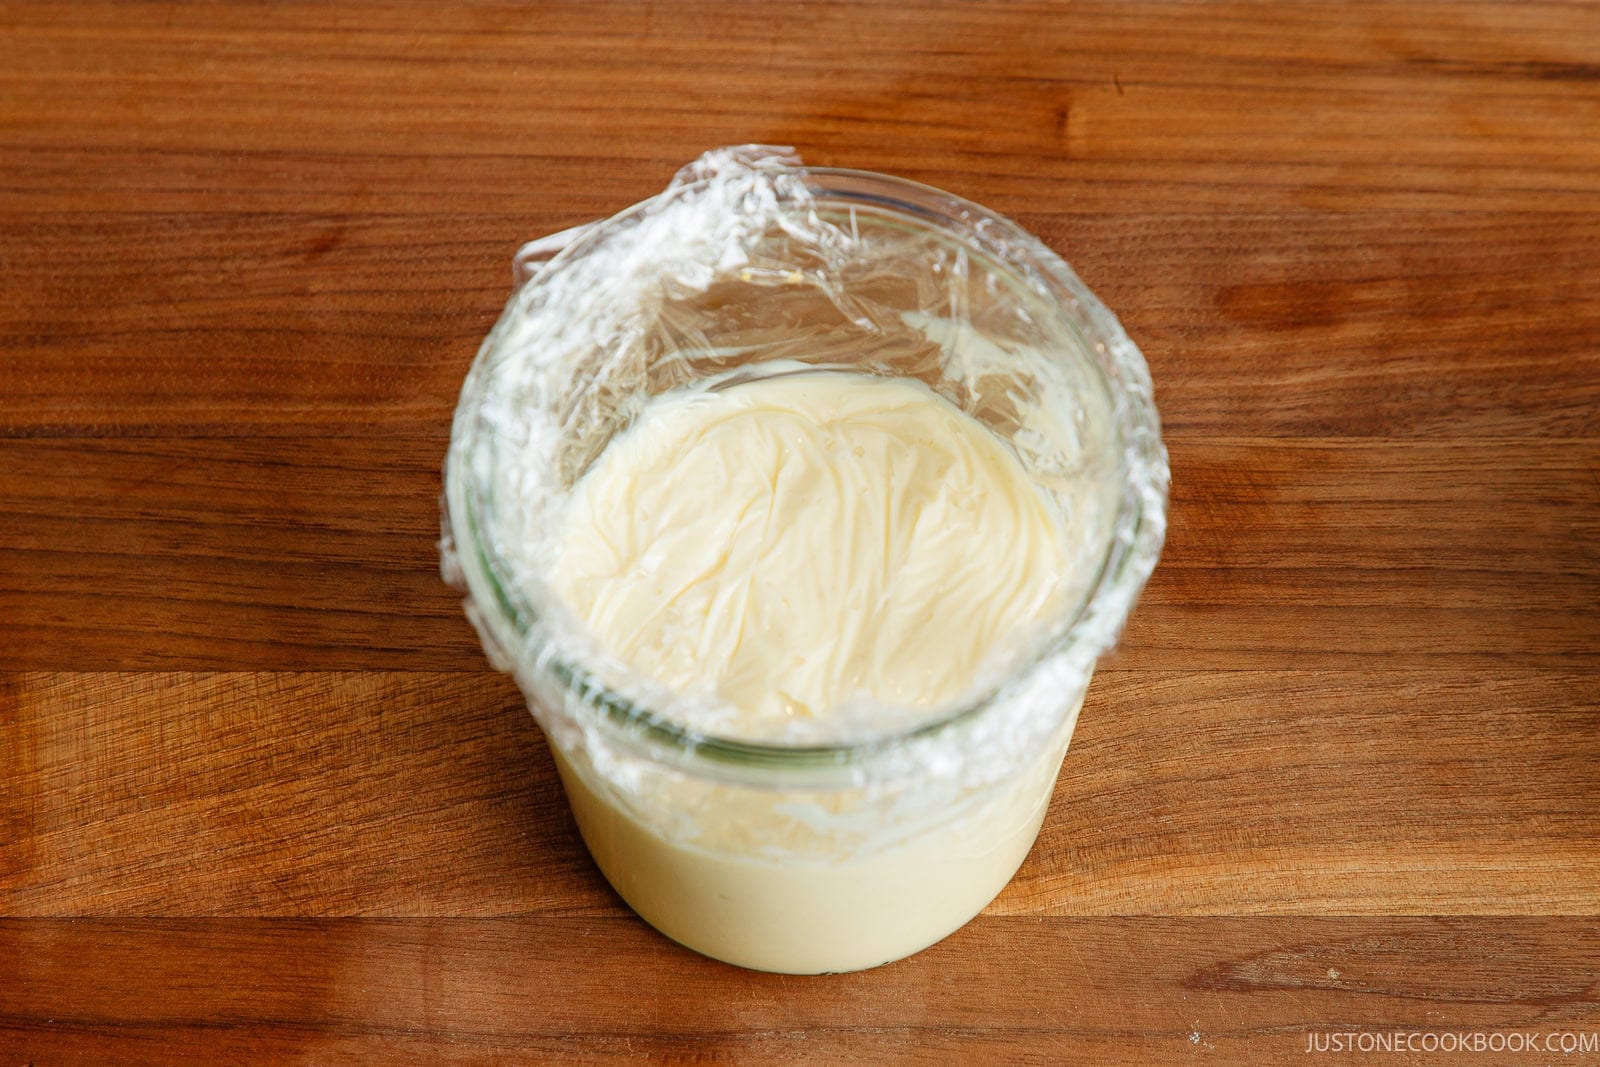
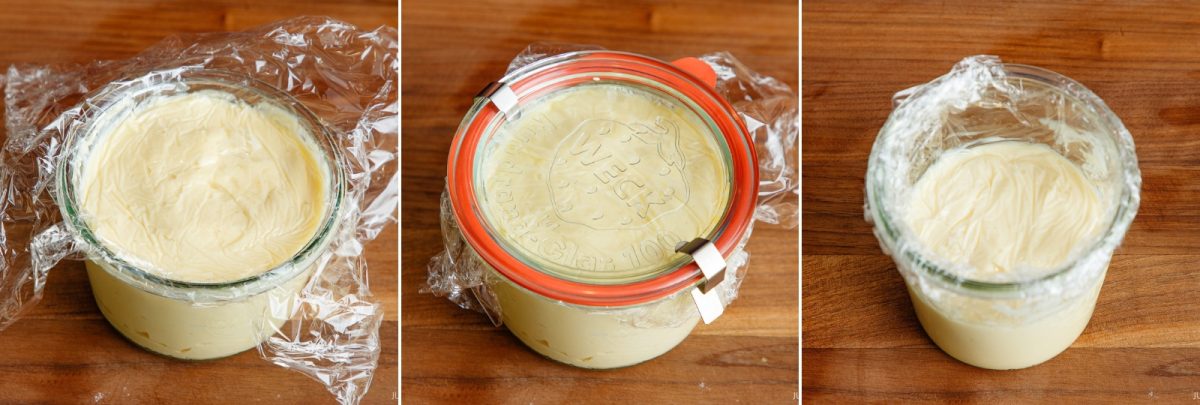
To store: Transfer the mayo to an airtight jar or glass bowl. Press plastic wrap directly onto the surface, then seal with a lid. This blocks air and keeps a rubbery skin from forming so your mayo will be fresh, smooth, and creamy. It will keep for 4–5 days.
Store in the main compartment, not the door, since the temperature swings each time you open it. Avoid the back wall and cold-air vent, where it can partially freeze and separate.
Do not freeze: Freezing will break the emulsion. Once thawed, the oil and liquid separate into a watery mess.
Variations
Here are a few easy ways to customize this recipe or adapt it for different diets.
- Make my quick shortcut version. If you’re in a pinch, transform Western mayonnaise into a Japanese-style version. For 1 cup of American mayo, whisk in 2 tablespoons of rice vinegar and 1 tablespoon of sugar.
- Make it spicy. Mix in sriracha sauce and fresh lime juice to create a vibrant, spicy mayo. I love using it on fusion sushi, sandwiches, rice bowls, and tacos for a kick of heat. Check out my easy Homemade Spicy Mayo Recipe for using in my Dragon Roll Recipe.


- Make mentaiko (spicy cod roe) mayo. Fold in 1 to 2 tablespoons of skinned mentaiko or tarako. It creates a rich, savory spread that is incredible on toast, onigiri (rice balls), or roasted potatoes.
- Make miso or wasabi mayo. Whisk in 1 tablespoon of Japanese miso paste or a small dab of freshly grated wasabi for a spicy, savory dip for fresh vegetable sticks or grilled meat.
- Make it vegan. I’ve never made vegan Japanese mayonnaise myself, but my friend Lisa has a great recipe for it. See Lisa’s Vegan Japanese Mayonnaise recipe.
Ways to Use Japanese Mayo
Japanese mayonnaise is incredibly versatile. We use it for sandwiches, rice bowls, salads, sushi, and even pizza. Growing up in Japan, I even ate my salad with a dollop of Kewpie mayo! Here are some of my favorite ways to use it:
- In sandwiches – It’s the key ingredient that makes the famous Japanese egg sandwich so special.
- In salads – Kewpie mayo adds a rich, tangy flavor to classic japanese potato salad.
- In sushi – Mix it into the creamy crab filling for a homemade california roll.
- As a topping – Drizzle it over okonomiyaki or takoyaki for that classic look and flavor.
- As a dip – I love dipping crispy, juicy karaage in Kewpie mayo sprinkled with shichimi togarashi (Japanese seven spice).


FAQ
What is Kewpie Mayo?
Kewpie mayo is the flagship brand of Japanese mayonnaise, famous for its signature soft squeeze bottle with a red cap and doll logo. It was created in 1925 by Toichiro Nakashima, the founder of Kewpie Corporation. After he first noticed mayonnaise in the potato salad he was served in America, he decided a yolk-only version would better suit Japanese tastes.

The name Kewpie has become synonymous with Japanese mayonnaise itself. For more information, read my guide to Japanese Mayonnaise (Kewpie Mayo).
Can I make a smaller portion of this recipe?
I don’t recommend scaling down this recipe for a food processor. The full batch is calibrated for a mini 3-cup food processor—reducing the ingredients further causes the egg yolks to sit below the blades where they won’t catch or emulsify. If you want a half portion, stick to the immersion blender method in a tall, narrow jar.
Why didn’t my mayo emulsify?
You may have added the oil too quickly if your mayonnaise didn’t come together. Make sure to drizzle it in a slow, thin, steady stream while running the food processor on high speed. Additionally, make sure your egg yolks are at room temperature and avoid using thick or unrefined oils (like extra virgin olive oil and vegetable oil). They are more viscous and contain compounds that resist emulsifying.
I’d love to hear how yours turned out! 💛 Please leave a star rating and comment below to share your experience. Your feedback not only supports Just One Cookbook but also helps other home cooks discover recipes they can trust.
Homemade Japanese Mayonnaise (Kewpie Mayo)

Equipment
- 1 3-cup food processor, (or an immersion blender)
Ingredients
- 2 large egg yolks (room temperature; use store-bought pasteurized eggs or follow how to pasteurize eggs)
- 1 tsp Dijon mustard (see Notes below for substitute)
- 1 cup neutral oil (use lightweight, flavorless oil such as canola, safflower, or refined grapeseed/avocado oil; see Notes for details)
- 1 tsp Diamond Crystal kosher salt (use half for Morton or table salt)
- 2 tsp sugar
- ¼ tsp dashi powder (optional)
- 1 Tbsp rice vinegar (unseasoned) (use half if you substitute distilled white vinegar or white wine vinegar)
- 1 Tbsp fresh lemon juice
Instructions
- Gather all the ingredients. Proceed with one of the following two methods.
With a Food Processor
- Blend the Base: Add 2 large egg yolks and 2 large egg yolks to a 3-cup food processor. Process until well combined.Nami's Tip: Don't halve this recipe in a food processor. A half batch sits below the blades and never emulsifies. If you want a smaller amount, use an immersion blender in a tall jar or whisk it by hand.
- Add the First Portion of Oil: With the food processor running on high speed (or the standard "on" setting if your machine has only one speed), slowly drizzle in the first third (⅓) of 1 cup neutral oil through the feed tube until emulsified. Stop the machine, open the lid, and check that the mixture is thick and properly emulsified.Nami's Tip: Adding oil in 3 portions allows the egg yolks time to absorb it. Adding all the oil at once overwhelms the egg base, causing it to separate.
- Mix in the Dry Ingredients: Add 1 cup neutral oil, 2 tsp sugar, and 1 tsp Diamond Crystal kosher salt, then process until fully incorporated.
- Add the Second Portion of Oil and Rice Vinegar: With the processor running, gradually drizzle in the second third (⅓) of the oil through the feed tube, followed by 1 Tbsp rice vinegar.
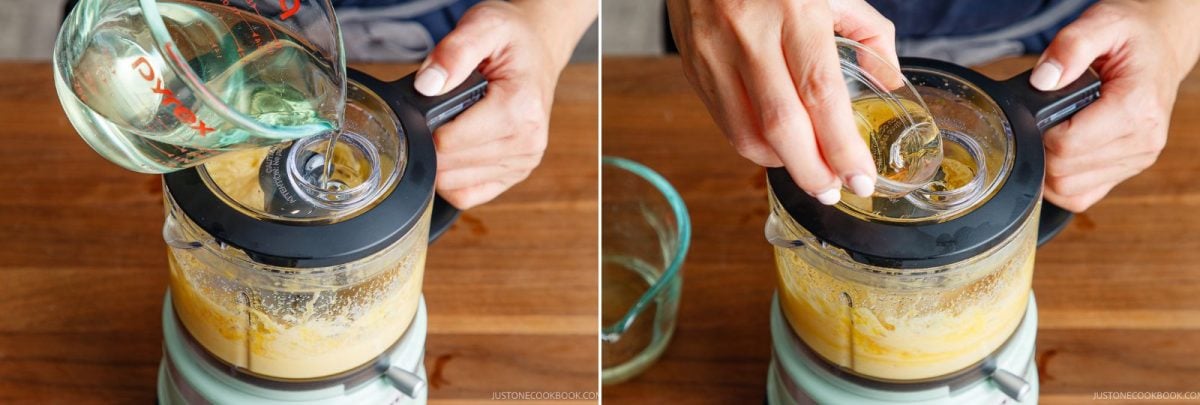
- Add the Lemon Juice: Pour 2 tsp sugar through the feed tube (make sure no seeds or pulp block the opening). Stop the machine, open the lid, and scrape down the sides with a spatula.
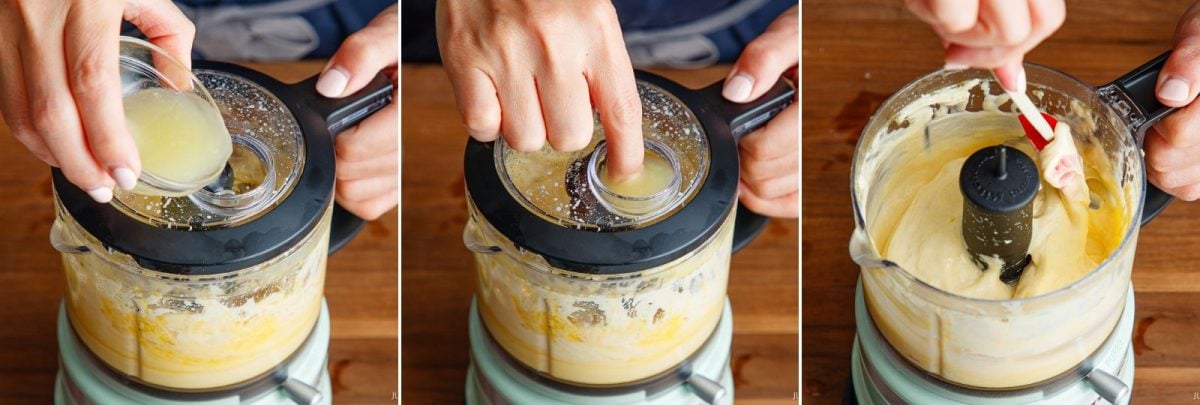
- Add the Final Portion of Oil and Finish: With the processor running, slowly pour in the final third (⅓) of the oil until smooth and fully emulsified. Stop the machine, then check that the mayonnaise is thick, smooth, and glossy. Give it a quick stir and it is ready to serve. See below for how to store it.Nami's Tip: Taste the mayonnaise and adjust the flavor with an extra squeeze of fresh lemon juice, a pinch of salt, or a splash of rice vinegar to suit your preference.
With an Immersion Blender
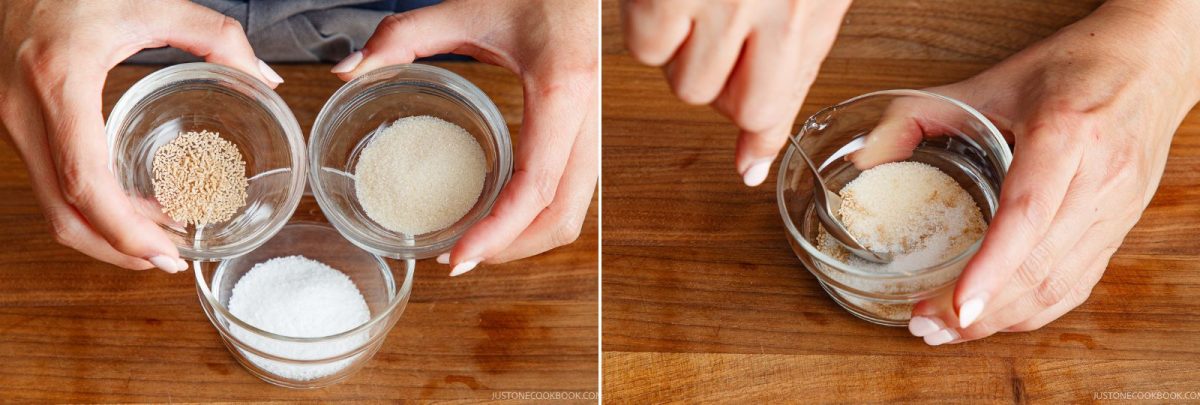
- Mix the Dry Ingredients: In a small bowl, combine 1 cup neutral oil, 2 tsp sugar, and 1 tsp Diamond Crystal kosher salt.
- Layer the Ingredients in a Jar: Add 2 large egg yolks, 2 large egg yolks, 1 Tbsp rice vinegar, and 2 tsp sugar to a tall jar. Sprinkle the dry ingredient mixture evenly on top, then slowly pour in 1 cup neutral oil and let it settle for 1 minute.Nami's Tip: Resting for 1 minute allows the heavy egg yolk and acid mixture to sink to the bottom while the lighter oil floats to the top.
- Emulsify the Mixture: Press the immersion blender firmly against the bottom of the jar, covering the egg yolks.Turn it on high and hold it at the bottom for 10 seconds without moving it.Once a creamy emulsion forms, gently move the blender up and down for about 5 seconds. Avoid overblending.Nami's Tip: Covering the egg yolks helps the blades pull in the egg mixture first, so the emulsion forms almost immediately.
- Check and Finish: Lift the blender to check the consistency. Give the mayonnaise a quick stir with a spoon to ensure it's evenly mixed. It is ready to serve.Nami's Tip: Taste the mayonnaise and adjust the flavor with an extra squeeze of fresh lemon juice, a pinch of salt, or a splash of rice vinegar to suit your preference.
To Store
- Transfer the mayonnaise to an airtight jar and press a piece of plastic wrap directly onto the surface before sealing with a lid. Store it in the main compartment of your refrigerator (avoid the door) for up to 4–5 days. Do not freeze as it breaks the emulsion, causing the oil and liquids to separate into a watery mess when thawed.Nami's Tip: Pressing plastic wrap directly against the surface keeps air out, even when using a deep jar. This prevents a rubbery skin from forming and keeps the mayo smooth, fresh, and creamy.
Notes
Nutrition
The nutrition facts shown are generated by an online calculator and are estimates only. Please consult a professional nutritionist for specific dietary needs.
Did you make this recipe?
Tag @justonecookbook on Instagram so we can see your delicious creation!
Editor’s Note: This post was originally published on December 5, 2017. It was republished with more helpful content on April 1, 2025, and updated on September 30, 2026, with a retested and revised recipe, a second immersion blender method, more helpful success tips, and new images.

